
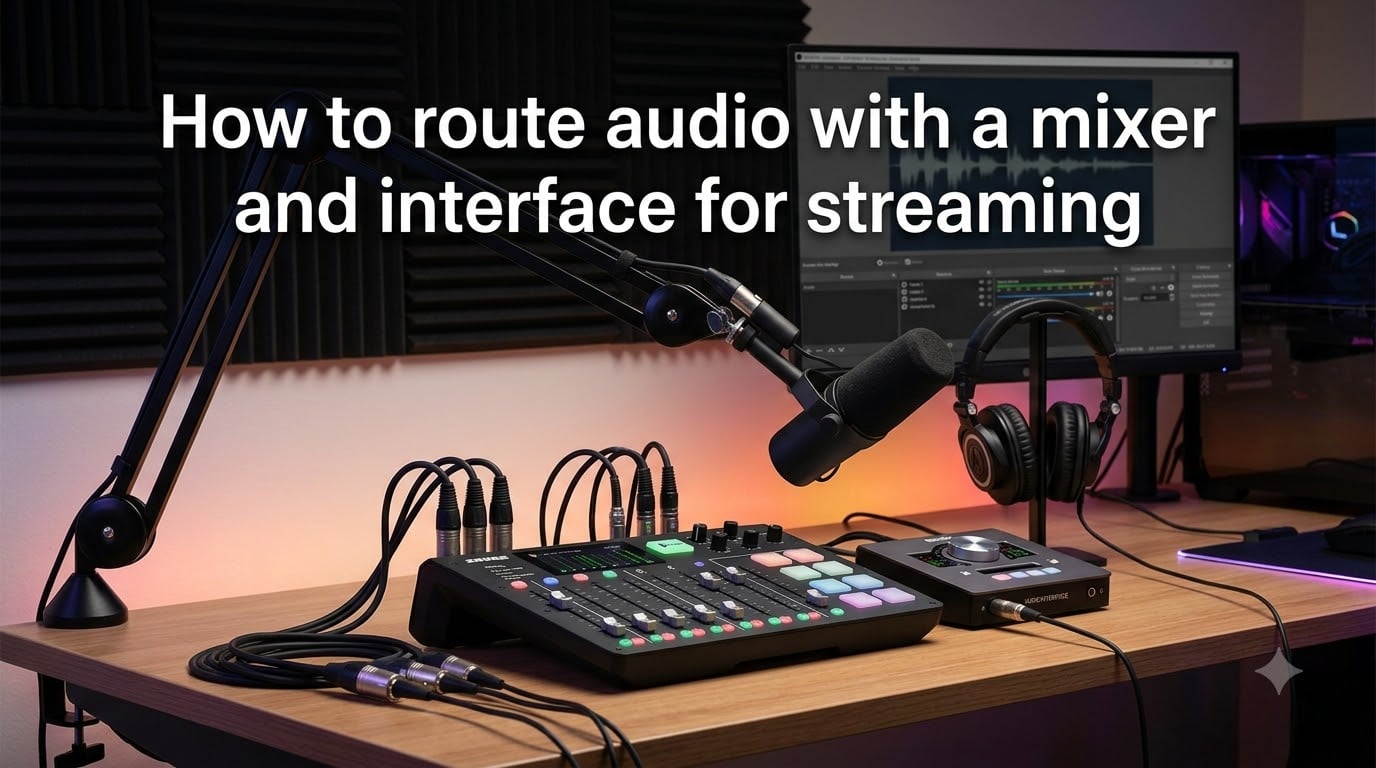
When I first started streaming, I thought a USB microphone was enough. Then I added music, Discord calls, and game audio to the mix, and everything fell apart. Learning how to route audio with a mixer and interface for streaming changed my setup forever, and it can do the same for yours.
Audio routing is simply the path your sound travels from microphones, game audio, and Discord, through mixers and interfaces, into your streaming software. When done well, your stream sounds clean, balanced, and professional. This guide walks through every step, from picking cables to configuring OBS and fixing the hum that drives everyone crazy.
Table of Contents
- What Is an Audio Interface?
- What Is a Mixer?
- Why Use Both a Mixer and Interface for Streaming?
- Basic Audio Signal Flow Explained
- How to Route Audio with a Mixer and Interface for Streaming: Step-by-Step
- OBS Audio Setup with a Mixer and Interface
- Virtual Audio Routing with VoiceMeeter and VB-Audio
- Mix-Minus Setup for Discord and Call-Ins
- Common Audio Routing Problems and Fixes
- Frequently Asked Questions
- Conclusion
What Is an Audio Interface?
An audio interface is a hardware box that converts analog audio signals into digital data your computer can understand. It takes sound from microphones or line-level devices and turns it into a USB or Thunderbolt stream your streaming software can capture.
Most interfaces include high-quality preamps, 48V phantom power for condenser microphones, and at least one headphone output with its own volume knob. Common picks for streamers include the Focusrite Scarlett 2i2, the Elgato Wave XLR, and the Universal Audio Volt 276.
For streaming, the interface acts as the bridge between your analog world (mixers, microphones, instruments) and your digital world (OBS, Discord, recording software). Without one, your computer would only hear whatever its built-in sound card can handle, which is rarely good enough for broadcast audio.
What Is a Mixer?
A mixer is a device that combines multiple audio sources into one or more outputs. Each source gets its own channel, with its own gain, EQ, pan, and volume fader. The result is a controlled blend you can adjust in real time.
Mixers designed for streaming typically include XLR inputs with built-in preamps, AUX sends for routing audio to separate destinations, mute and solo buttons for instant control, and sometimes built-in effects like reverb or compression. Popular models include the Yamaha MG10XU, Mackie ProFX series, and Allen and Heath ZED mixers.
For streamers, a mixer solves a specific problem: how do I manage my mic, game audio, Discord voice chat, and music all at once, without taking my hands off the controls? A mixer gives you tactile faders and knobs so you can ride levels during a live broadcast.
Why Use Both a Mixer and Interface for Streaming?
This is the question I see most often on Reddit and audio forums. The short answer: a mixer handles control, an interface handles conversion. They do different jobs and they work better together.
A mixer alone usually cannot connect to your computer in a way that gives you separate tracks per source. Most mixers output a single stereo mix, which means your stream hears your mic, game audio, and Discord blended together. You cannot unmute a guest without unmuting the music.
An interface alone gives you clean digital conversion, but typically only two inputs. That covers a microphone, but not much else. There are no faders, no EQ, no AUX sends.
Pairing them together gives you the best of both worlds. The mixer handles mic preamps, EQ, compression, and real-time level control. The interface takes the mixer’s output and sends it to your computer as a clean digital signal that OBS can capture.
If your budget allows only one device right now, an audio interface is the better first purchase for solo streaming. If you regularly run multi-guest shows or want hands-on control, a mixer makes the next biggest difference.
Basic Audio Signal Flow Explained
Audio signal flow is just the order in which sound moves through your gear. Understanding this prevents 90 percent of the routing headaches streamers run into.
Here is the typical flow when using both a mixer and an interface:
- Source: Your microphone, game console, or Discord call produces an analog signal.
- Mixer input: The signal enters a channel on your mixer, where you set gain and EQ.
- Mixer output: The combined mix leaves the mixer through main outputs or an AUX send.
- Interface input: The mixer’s output enters a line-level input on your audio interface.
- Interface output: The interface converts the analog signal to digital and sends it over USB to your PC.
- Streaming software: OBS or your encoder captures the interface as its audio source.
Anything you change on the mixer (gain, EQ, faders) shows up in OBS because the mixer sits earlier in the chain. The interface is just a translator at the end.
How to Route Audio with a Mixer and Interface for Streaming: Step-by-Step
Follow these steps in order. I tested this exact flow on a Yamaha MG10XU feeding a Focusrite Scarlett 2i2, and it works for most mixer and interface combinations on the market.
Step 1: Position your gear. Place the mixer close enough to reach during streams, and keep the interface within USB cable length of your PC. Six feet of USB cable is usually enough.
Step 2: Connect your microphone to the mixer. Plug your XLR microphone into Channel 1 on the mixer. Engage the 48V phantom power switch if your mic needs it (most condenser mics do, dynamic mics do not).
Step 3: Set proper gain on the mixer. Speak at your normal streaming volume and slowly raise the gain knob until the channel meter peaks around -12 dB. This gives you headroom for loud laughs or yells without clipping.
Step 4: Connect the mixer’s main outputs to the interface. Use two balanced TRS cables (or XLR cables) to run from the mixer’s Main Left and Right outputs to two line inputs on the interface. Make sure the interface inputs are set to line level, not instrument or mic level.
Step 5: Connect the interface to your PC. Plug the interface into a USB port on your streaming PC. Avoid USB hubs when possible, since they can cause dropouts.
Step 6: Route additional sources into the mixer. Plug your phone, tablet, or Discord feed into another mixer channel. Set its gain like you did for the microphone.
Step 7: Set the master fader. Bring the mixer’s master fader to unity (0 dB) as a starting point. Adjust channel faders to balance sources against each other.
Step 8: Open your streaming software and select the interface. In OBS, go to Settings, then Audio, and set the Desktop Audio and Mic/Auxiliary Audio devices to your audio interface.
Step 9: Test with headphones. Plug headphones into the interface and listen. You should hear your microphone clearly, along with whatever else you routed through the mixer.
Step 10: Record a test stream. Run a 60-second test, then listen back. If anything sounds off, adjust gain or EQ on the mixer before going live.
OBS Audio Setup with a Mixer and Interface
OBS is where most routing problems either get solved or get worse. Setting it up correctly takes about five minutes.
Open OBS and head to Settings, then Audio. Set your Sample Rate to 48 kHz to match most professional gear. Under Global Audio Devices, set Mic/Auxiliary Audio to your audio interface. Leave Desktop Audio on Default unless you want full control.
For separate audio tracks, click Edit, then Advanced Audio Properties on each source. From here you can route your mic to Track 1, music to Track 2, and Discord to Track 3. This lets you record each source independently and produce a clean VOD after the stream.
Add an Audio Source in your scene and select your interface as the device. OBS will then capture whatever your mixer sends through the interface.
If you want to monitor your stream audio without delay, plug headphones into the interface’s headphone jack rather than the PC. This avoids the latency caused by round-tripping through OBS.
Virtual Audio Routing with VoiceMeeter and VB-Audio
Sometimes your hardware cannot handle every audio source at once. That is where virtual audio routing software comes in. VoiceMeeter and VB-Audio Cable let you create software inputs and outputs that behave like physical cables.
VB-Audio Cable is the simpler option. Install it, and you get two extra virtual audio devices in Windows. Route Discord into one VB-Cable input, then add it as a source in OBS. No mixer channel required.
VoiceMeeter is more powerful but more complex. It works as a virtual mixer with multiple inputs and outputs, EQ per channel, and routing rules. Many streamers use VoiceMeeter Banana as a free GoXLR alternative.
To set up VoiceMeeter for streaming, install it, then assign your hardware outputs (speakers, headphones) to its outputs. Bring Discord into VoiceMeeter Input 2, your microphone into Input 1, and game audio into the system. Send the final mix to a virtual output that OBS captures.
The trade-off is CPU usage. VoiceMeeter adds a small processing load and a tiny bit of latency. For most modern PCs this is negligible, but budget laptops may struggle.
Mix-Minus Setup for Discord and Call-Ins
Mix-minus is the trick that prevents Discord callers from hearing themselves with a one-second delay, which is the number one cause of echo complaints on stream.
The idea is simple: send Discord everything except Discord’s own audio back. Your guest hears your mic, your game audio, and your music, but not their own voice. This eliminates the feedback loop that creates echo.
To set this up, plug your Discord feed into a mixer channel using a USB audio feed or an AUX input. Patch that channel’s signal to your monitors and your stream, but do not send it back to Discord. Most mixers handle this through AUX sends: route everything except Discord to the AUX output that feeds Discord.
If your mixer lacks AUX sends, VoiceMeeter can build a software mix-minus. Mute the Discord channel on the output that goes back to Discord, while keeping it audible on your monitoring and stream outputs.
Test by joining a call with a friend before going live. Have them listen for echo or delay while you talk. If they hear themselves, recheck your routing.
Common Audio Routing Problems and Fixes
Even with perfect wiring, things go wrong. Here are the issues I see most often, and what actually fixes them.
Problem: OBS shows no audio from the interface. Check that the interface is selected as the audio device in OBS Settings. On Windows, also confirm the interface is set as the default playback device, or at least that OBS has permission to use it.
Problem: Hum or buzz in the stream. This is almost always a ground loop. Use balanced TRS or XLR cables between the mixer and interface. If the hum persists, try a ground lift adapter or plug everything into the same power strip.
Problem: Discord hears an echo. You are sending Discord’s own audio back to it. Set up a mix-minus configuration as described above.
Problem: Audio is delayed or out of sync. Add an audio sync offset in OBS under Advanced Audio Properties. Start with a -100 ms offset and adjust until your lips match the audio.
Problem: Not enough inputs on the interface. Use VoiceMeeter or VB-Audio Cable to combine sources in software. You can also pick a mixer with more channels so all your sources hit hardware first.
Problem: Mixer output is too quiet. Confirm the interface input is set to line level, not mic level. Mic-level inputs expect a much weaker signal and will sound thin if you feed them a line output.
Frequently Asked Questions
Can you use a mixer with an audio interface?
Yes. Connect the mixer’s main outputs to the interface’s line-level inputs using balanced TRS or XLR cables. The mixer handles combining and shaping your audio sources, while the interface converts the analog signal to digital for your streaming software. This is the standard way streamers get both hands-on control and clean digital audio.
How to setup an audio mixer for streaming?
Plug your microphone into the mixer with an XLR cable, enable phantom power if needed, and set the channel gain until peaks hit around -12 dB. Connect your other sources (Discord, music, game audio) into additional channels. Run the mixer’s main outputs into your audio interface, then select the interface as the audio device in OBS. Finally, set up a mix-minus if you take Discord calls.
Can I use an audio interface for streaming?
Yes, and many solo streamers start with just an interface. An interface converts your microphone’s analog signal to digital and sends it to OBS over USB. You will miss out on tactile faders, multi-source control, and AUX sends, but the audio quality is excellent for single-mic setups.
What cables do I need to connect a mixer to an interface?
Use two balanced TRS cables (1/4 inch) or XLR cables to connect the mixer’s Main Left and Main Right outputs to two line-level inputs on your interface. Balanced cables reject noise over long runs and are the standard for pro audio. Avoid RCA cables when possible since they are unbalanced and prone to hum.
Conclusion
Learning how to route audio with a mixer and interface for streaming unlocks the kind of clean, controlled sound that separates hobby streams from professional broadcasts. The mixer gives you tactile control over every source, and the interface gives your computer a clean digital feed to work with.
Start with the basic wiring: mixer outputs to interface inputs via balanced cables, interface to PC via USB, OBS set to the interface as its audio source. From there, add complexity only when you need it: mix-minus for Discord, separate tracks for VOD editing, virtual routing for extra sources. Test every change before going live, and your stream audio will thank you.