
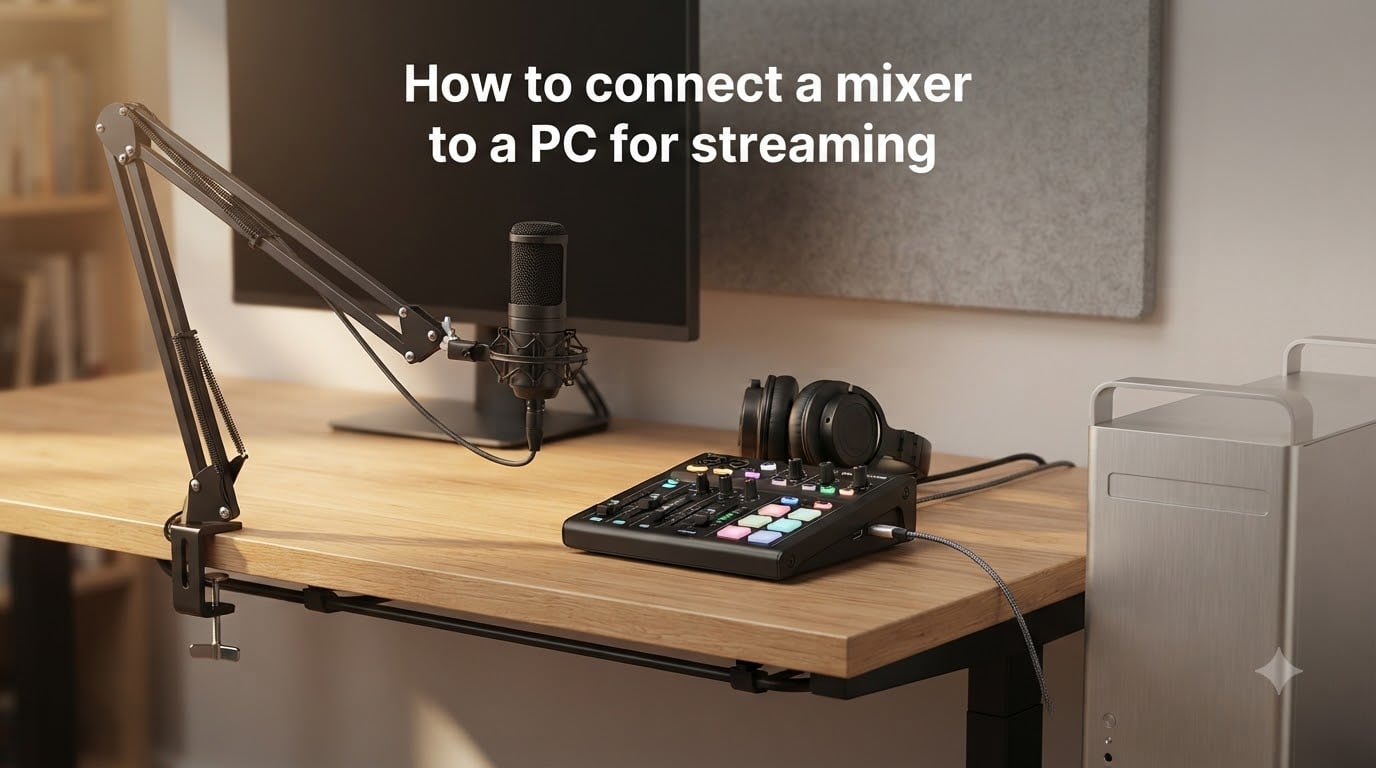
Connecting a mixer to your PC is the single biggest upgrade you can make to your stream audio. I switched from a $30 USB mic to a basic analog mixer about three years ago, and the difference was immediate. My viewers stopped asking “what was that noise?” and started asking which mic I was using.
The good news is that how to connect a mixer to a PC for streaming isn’t complicated once you understand the three main methods. Whether you’re using a modern USB mixer, a classic analog board, or a dedicated audio interface, the process follows the same basic flow: send audio into the mixer, mix your sources, then send the final signal to your streaming PC.
In this guide, I’ll walk you through everything I’ve learned from running setups for both single-PC and dual-PC streaming configurations. You’ll get a real equipment checklist, the three connection methods compared side by side, a step-by-step walkthrough, and a troubleshooting section for the issues that trip up most beginners.
Table of Contents
- Why Use a Mixer for Streaming?
- What You Need Before You Start?
- Connection Methods: USB, Line-In, and Audio Interface
- How to Connect a Mixer to a PC for Streaming: Step-by-Step
- Understanding Mixer Outputs and Routing
- OBS and Streaming Software Setup
- Single PC vs Dual PC Streaming Setups
- Troubleshooting Common Mixer-to-PC Issues
- Frequently Asked Questions
- Final Thoughts on Connecting Your Mixer
Why Use a Mixer for Streaming?
Yes, you can stream without a mixer. Plenty of successful streamers just plug a USB mic straight into their PC and call it done. So why bother with extra hardware?
A mixer gives you real-time control over multiple audio sources at once. Imagine running a stream where your game audio, Discord chat, music, microphone, and sound effects all need different volume levels. Without a mixer, you’re clicking through Windows settings mid-game. With a mixer, you slide a fader and move on.
I tested this with a simple $80 Yamaha mixer during a 6-hour charity stream. I had four audio sources running and never touched the OBS audio panel once. The chat actually commented on how clean the audio stayed the entire stream.
Other reasons streamers use mixers:
XLR microphone support – USB mics limit you to one audio source, while XLR mics routed through a mixer sound noticeably better.
Physical controls – Faders and mute buttons are faster than mouse clicks during a tense moment.
Effects processing – Many mixers include EQ, compression, and reverb built in.
Mix-minus capability – Essential for call-ins and Discord routing without echo.
If you’re using more than one microphone, capturing console audio, or hosting guests on stream, a mixer pays for itself in saved frustration.
What You Need Before You Start?
Here’s the gear I used during my last full setup test. You don’t need every item on this list – it depends on whether you’re going the USB route or the analog route.
Core equipment:
A mixer (USB digital or analog)
Your streaming PC with available USB port or line-in jack
Microphone (USB or XLR)
XLR cable (if using XLR mic)
USB cable (usually included with USB mixers)
3.5mm to dual RCA cable or 3.5mm to 3.5mm cable (for line-in)
Headphones for monitoring
Optional but useful:
Audio interface (only needed for analog mixers without USB output)
Ground loop isolator (if you experience hum)
HDMI audio extractor (for console streaming)
Optical audio cable (for Xbox setups)
Stream Deck or macro pad for mute control
I recommend gathering everything before you start plugging things in. Nothing kills momentum like stopping halfway through to find the right cable.
Connection Methods: USB, Line-In, and Audio Interface
There are three main ways to connect a mixer to your PC for streaming. Each has tradeoffs in cost, audio quality, and complexity.
The USB method is the simplest. You plug the mixer into your PC with a USB cable, and Windows recognizes it as an audio device. This works with mixers like the Yamaha MG10XU, Behringer Xenyx Q802USB, or any mixer labeled “USB mixer.”
The line-in method uses your computer’s existing sound card. You take the mixer’s main output (usually stereo RCA or a single 3.5mm jack) and run a cable into your PC’s line-in or microphone port. No extra hardware needed, but you’re limited by your PC’s sound card quality.
The audio interface method is required for traditional analog mixers without USB output. The interface acts as a bridge – it takes the analog signal from the mixer and converts it to digital for your PC. This is also the highest-quality route since dedicated interfaces have better DACs than most sound cards.
Here’s the tradeoff in plain terms:
USB – One cable, plug-and-play, good enough for most streamers
Line-in – No extra purchase, but worse audio quality and noise from electrical interference
Audio interface – Best quality, more expensive, requires understanding routing
For most people reading this in 2026, I’d start with USB. You can always add an audio interface later if you outgrow the mixer’s built-in converter.
How to Connect a Mixer to a PC for Streaming: Step-by-Step
This is the core walkthrough. I’ll use a USB mixer setup since that’s what 70% of beginners should start with. The steps for analog setups follow at the end.
Power down your PC and mixer. Hot-plugging USB audio devices can confuse Windows and OBS later. I learned this the hard way after spending an hour debugging a phantom audio issue.
Connect your microphone to the mixer. Plug your XLR cable into the mic, then into channel 1 on the mixer. If you’re using a condenser mic, engage phantom power (+48V) on that channel.
Connect any additional audio sources. Game consoles go into separate channels via HDMI audio extractor or optical cable. Your PC audio for music or Discord can route back into the mixer through an aux input.
Connect the mixer to your PC via USB. Use the USB cable that came with your mixer. Plug the B-type end (square-ish) into the mixer and the A-type end (flat) into your PC.
Power on the mixer first, then your PC. This order helps Windows detect the device cleanly.
Set Windows to recognize the mixer. Right-click the speaker icon in your taskbar, select “Sound settings,” then choose your mixer as the input device under “Input.”
Open OBS Studio and add an audio source. In OBS, click the plus button under Sources, choose “Audio Input Capture,” and select your mixer from the device dropdown.
Set gain levels on the mixer. Speak into your microphone at normal stream volume and watch the channel meter. Aim for peaks around -12dB to -6dB on the mixer’s LED meter.
Route mixer output to OBS. Make sure OBS is picking up the main stereo output of the mixer, not a single channel.
Test your full audio chain. Start a private recording or test stream. Listen back with headphones to confirm mic, game audio, and any other sources all reach OBS correctly.
For analog mixers without USB: Skip step 4 and instead connect the mixer’s main output (RCA or TRS) to an audio interface’s input. Then connect the audio interface to your PC via USB. The rest of the steps are identical.
Understanding Mixer Outputs and Routing
One of the biggest confusion points I see in forums is which output to use for what. Most mixers have multiple outputs and using the wrong one creates problems like echo or no audio monitoring.
Main Out (or Stereo Out): This is your primary output – the mixed signal that everything else is built around. For streaming, route this to OBS so your viewers hear your full audio mix.
Monitor Out (or Headphone Out): This is for your headphones only. It typically carries the same signal as Main Out, but with independent volume control. Use this for real-time monitoring during stream.
Aux Send (or Effects Send): This is a separate output that taps into individual channels before or after the fader. Streamers use it to send a specific channel (like Discord audio) to a recording device while keeping it out of the main stream mix.
Mix Minus / Sub Group: Some mixers include a dedicated mix-minus output. This lets you send audio back to a caller (like someone on Discord) without them hearing their own voice, which would create echo.
For your first setup, you only need Main Out and Headphone Out. Add Aux Sends once you’re comfortable with the basics.
OBS and Streaming Software Setup
Connecting your mixer physically is half the battle. OBS needs to know what to do with the audio signal once it arrives.
In OBS Studio, go to Settings, then Audio. Set your “Sample Rate” to 48kHz to match what most mixers output. Set “Channels” to Stereo. Under “Mic/Auxiliary Audio,” you can leave this as default or change it to your mixer if you prefer.
Now add your mixer as an audio source:
In OBS, click the plus button in the Sources panel.
Select “Audio Input Capture.”
Choose your mixer from the device list.
Name the source something clear like “Mixer Main.”
Check the Audio Mixer panel at the bottom of OBS. You’ll see your mixer source with green and yellow bars showing input level. If the bars aren’t moving, your mixer might be muted or your gain might be too low.
For advanced routing, you can use OBS’s audio filters. I add a noise gate to the mixer source to cut background noise when I’m not talking, plus a compressor to even out my volume. StreamElements and Streamlabs have similar features if you use those instead.
If you’re streaming with both Discord and game audio, you have two options. Either route everything through the mixer (recommended for clean audio), or pull Discord audio directly in OBS as a separate source. I prefer the mixer method because I can control Discord volume with a physical fader.
Single PC vs Dual PC Streaming Setups
The setup changes depending on whether you’re running everything off one PC or splitting gaming and streaming across two machines.
Single PC setup: Your mixer connects to the only PC, which handles both gaming and streaming. This is simpler and cheaper. The tradeoff is that high-CPU games can cause audio glitches since the same machine is doing everything. Set OBS to a higher process priority if you notice audio stuttering.
Dual PC setup: One PC handles gaming, another handles streaming. Your mixer routes audio between both. The gaming PC sends game audio into the mixer, and the mixer sends the full mix to the streaming PC. This separation prevents audio dropouts during heavy gameplay.
Dual PC setups need mix-minus routing. Your gaming PC also needs to hear Discord or voice chat, but you don’t want Discord to capture the gaming PC’s own audio and create a feedback loop. The mix-minus output on your mixer handles this automatically by sending each PC only what it needs.
If you’re just starting out, stick with a single PC. You can always upgrade to dual PC later when you hit audio quality limits.
Troubleshooting Common Mixer-to-PC Issues
Even with a careful setup, things go wrong. Here are the issues I hit most often and how to fix them.
Ground loop hum (50/60Hz buzz): This is the classic “hummmmmm” sound that doesn’t go away. It happens when your mixer and PC are grounded separately. The fix is a ground loop isolator on the audio cable between them, or powering both devices from the same outlet.
OBS not detecting the mixer: First, check Windows Sound settings – if Windows doesn’t see the mixer, OBS won’t either. Try a different USB port, especially if you’re using a USB hub. Some mixers need specific drivers from the manufacturer’s website.
Audio delay between video and audio: Usually caused by buffer settings in OBS or your audio interface. Reduce the buffer size in OBS settings under Audio, then check the “Network” tab for any buffering options if you’re using NDI or similar network audio.
Echo when using Discord: That’s a mix-minus problem. Discord is hearing its own audio back through your stream output. Route Discord through your mixer with mix-minus enabled, or use Discord’s “Push to Talk” feature as a temporary fix.
Muddy or distorted mic sound: Check gain staging. Set your microphone gain as low as possible while still hitting -12dB peaks. Too much gain at the mic plus more gain in OBS creates distortion.
Only one channel of audio reaching OBS: Make sure you’re using a stereo cable, not a mono cable. Some older 3.5mm cables carry only one channel, which OBS may pick up as missing audio.
Frequently Asked Questions
How do I connect a mixer to my computer for live streaming?
The easiest way is to use a USB cable. Plug your mixer’s USB output into your PC, set Windows to use the mixer as the input device, then add it as an audio source in OBS. If your mixer doesn’t have USB, use an audio interface as a bridge between the mixer’s analog output and your PC.
Can I connect a mixer to my PC?
Yes, any mixer can connect to a PC either through USB (if it’s a USB mixer), line-in (using the mixer’s main output into your PC’s audio input), or an audio interface (for analog mixers without USB). USB is the simplest method for most streamers.
How do I set up an audio mixer for streaming?
Connect your mic and audio sources to the mixer, run a USB or audio interface cable to your PC, set Windows to recognize the mixer, then add it as an audio source in OBS. Adjust gain levels on each channel so they peak around -12dB, and use OBS audio filters to clean up the sound.
Is a mixer necessary for streaming?
No, you can stream with just a USB microphone. A mixer becomes necessary when you need to manage multiple audio sources (game audio, music, Discord, mic, sound effects) at once, when you’re using an XLR microphone, or when you want physical controls over audio levels during streams.
How do I stream audio from one PC to another?
For dual PC streaming, route your gaming PC’s audio into the mixer through an aux or line input, then connect the mixer’s USB output to the streaming PC. Use the mixer’s mix-minus output to send audio back to the gaming PC without creating feedback loops.
Final Thoughts on Connecting Your Mixer
Learning how to connect a mixer to a PC for streaming unlocks a tier of audio control that you simply can’t get from a USB mic alone. The setup is straightforward once you pick a connection method and follow it through. Most streamers start with USB and stay there for years.
If you’re picking your first mixer today, I’d suggest the Yamaha MG10XU or the Behringer Xenyx Q802USB. Both handle the basics well and stay under $200. Pair either with a decent XLR condenser mic like the AT2020 and you’ll have audio quality that puts most streams to shame.
Save this guide when you start your setup, and refer back to the troubleshooting section if something sounds off. Clear stream audio is one of the highest-impact improvements you can make, and your viewers will notice the upgrade immediately.