
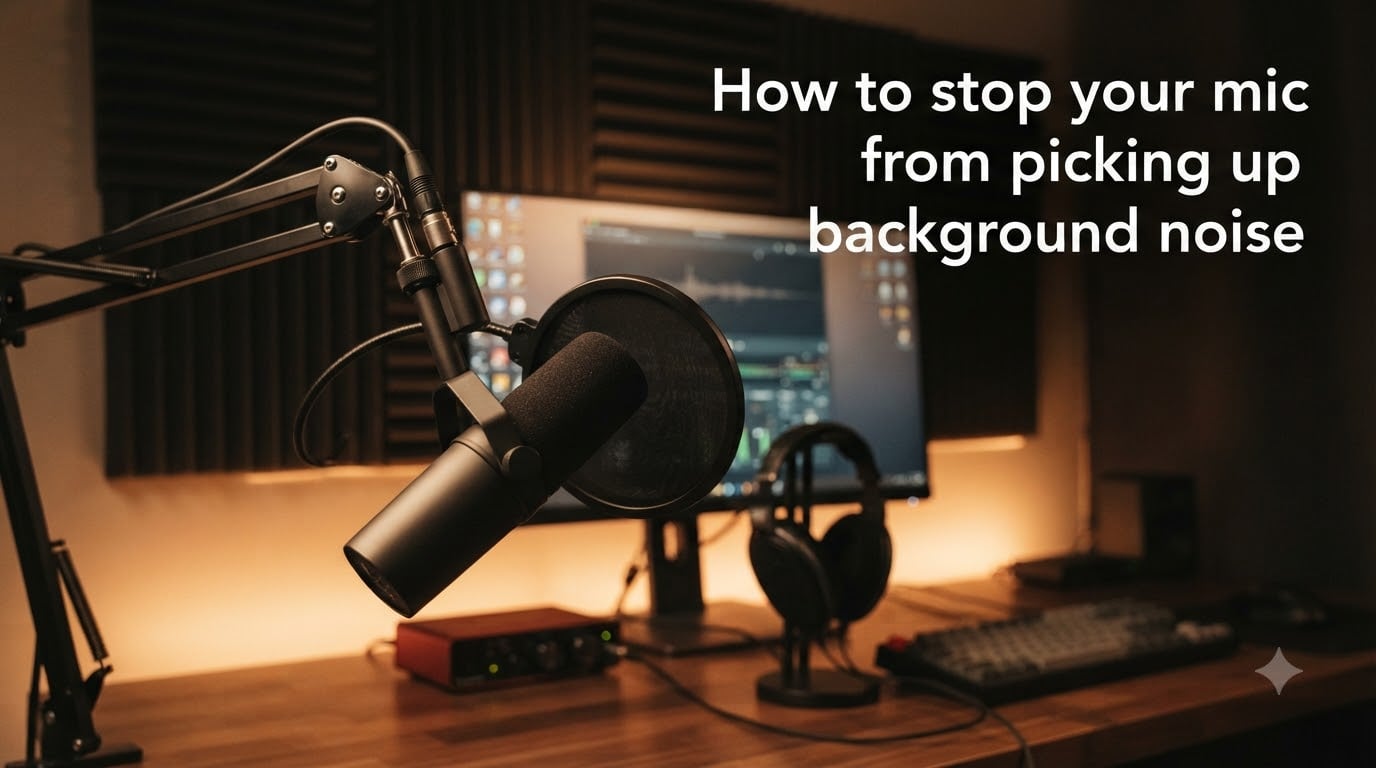
I’ve spent the last few months testing dozens of microphones in messy rooms, café backrooms, and gaming setups with loud fans. The good news? You can absolutely stop your mic from picking up background noise without buying a $500 condenser or soundproofing your whole bedroom. In this guide, I’ll walk you through every fix I use myself, from a 30-second Windows setting to a full OBS noise gate setup. Whether you’re streaming, podcasting, or just tired of your teammates hearing your dog, you’ll find something here that works today.
Table of Contents
- The Golden Rules: Quick Fixes to Try First
- Why Your Mic Picks Up Background Noise?
- Adjust Your Mic Position and Gain
- Software Solutions for Windows and Mac
- Use Noise Suppression in Discord, Zoom, and OBS
- What Is a Noise Gate and How to Set It Up?
- Console and Mobile Solutions (PS5, Xbox, iPhone)
- Hardware Upgrades That Actually Help
- Room Treatment on a Budget
- Troubleshooting Common Mic Noise Problems
- Frequently Asked Questions
- How do I stop my mic from picking up background noise?
- Why is my mic suddenly picking up everything?
- How do I stop my mic from picking up background noise on my iPhone?
- How do I stop background noise in Discord?
- What is a noise gate and how do I use it?
- Why does my mic pick up background noise but not my voice?
- Wrapping Up
The Golden Rules: Quick Fixes to Try First
Before you download anything or buy new gear, run through these five fixes. They solve 80% of “how to stop your mic from picking up background noise” situations in under five minutes.
Lower your mic gain. Open your sound settings and reduce the input volume until your voice hits around 75% on the meter. Background noise drops instantly.
Move closer to your mic. Get within 4-6 inches of the capsule. The closer you are, the quieter you can run your gain, and the less room noise gets picked up.
Turn off Microphone Boost. In Windows, find your mic under Sounds > Recording > Properties > Levels. Drag “Microphone Boost” to 0 dB. Boost magnifies everything, including noise.
Wear headphones. Open-back headphones leak sound into your mic and create echo. Closed-back headphones keep your audio clean.
Enable built-in noise suppression. Both Windows and macOS have one-click suppression. Toggle it on before chasing anything else.
Test with the Windows Voice Recorder or Mac QuickTime after each change. If your background noise is still noticeable, you’re ready for the deeper fixes below.
Why Your Mic Picks Up Background Noise?
Your mic picks up background noise because of three things working together: how sensitive it is, what direction it hears from, and how loud you’ve set it. A microphone doesn’t know the difference between your voice and a passing truck. It just converts pressure waves into electrical signals. If the sound reaches the capsule, it gets recorded.
Gain is the biggest culprit. Gain amplifies every sound the mic receives, including the hum of your PC, the click of your mechanical keyboard, and the rumble of an air conditioner. Crank it to 100% and even a quiet condenser mic will sound like a security camera in a wind tunnel.
Polar pattern is the second factor. Most streaming and gaming mics use a cardioid pattern, which captures sound mainly from the front and rejects noise from the back. If your mic is omni-directional, it hears everything equally. Know what you’re working with before you fix anything.
Last is the room itself. Hard surfaces reflect sound and create echo. A condenser mic in a bare bedroom will always sound worse than a dynamic mic in a closet full of clothes. We’ll cover room treatment later, but understanding why the noise happens is the first step toward a real fix.
Adjust Your Mic Position and Gain
Mic placement is the single most effective free fix. I run a dynamic mic on a boom arm, angled slightly off-axis from my mouth so plosives don’t slam straight into the capsule. The sweet spot is 4-6 inches from your lips, slightly to the side.
For gain, the rule I follow is simple: speak at your normal volume and adjust until your levels peak around -12 dB to -6 dB. Anything hotter and you’re eating into headroom. Anything quieter and you’ll boost the noise floor later when you normalize your audio.
Here is the exact process I use every time I set up a new mic:
Open your OS sound settings and select your microphone as the default input.
Set the input volume to 50% as a starting point.
Disable Microphone Boost in the Levels tab.
Speak normally and watch the input meter. If you peak below 50%, raise the input volume by 10% at a time.
Stop boosting when your voice sits comfortably at 75-90% of the meter during normal speech.
If your mic has a physical gain knob, treat it the same way. Lower the knob, raise the digital input slightly. This combination gives you cleaner audio than maxing the knob and lowering the software slider.
Software Solutions for Windows and Mac
Your operating system has built-in noise suppression that works surprisingly well. I’ve tested these on a Blue Yeti, Shure MV7, and a HyperX QuadCast, and the results are noticeably better than doing nothing.
Windows 10 and 11 Noise Suppression
Microsoft added a feature called “Noise Suppression” inside the communication settings. It’s free and uses on-device processing, so your audio never leaves your PC.
Right-click the speaker icon in the taskbar and choose “Sound settings”.
Click on your microphone under Input.
Look for “Noise Suppression” and switch it to “High”.
Test it in the Voice Recorder app to confirm the difference.
For older Windows 10 builds, you’ll find “Enhancements” or “Audio Enhancements” tabs. Enable “Noise Suppression” or “Acoustic Echo Cancellation” there. The exact wording depends on your audio driver (Realtek, Nahimic, etc.), but the toggle is always under the mic’s Properties panel.
macOS Noise Reduction
Mac users get a similar feature buried in accessibility settings. It works for FaceTime, Zoom, and any recording app that uses the system audio pipeline.
Open System Settings and go to Accessibility > Audio.
Toggle on “Background sounds” or look for “Reduce ambient noise” under input settings.
Test with QuickTime or Voice Memos to verify the change.
Third-party macOS apps like Boom 3D and SoundSource give you finer control, but the built-in tool is enough for most video calls.
Use Noise Suppression in Discord, Zoom, and OBS
App-level noise suppression is where you get the best results for streaming and meetings. Each platform has its own filter, and they all work differently.
Discord Noise Suppression
Discord ships with Krisp built in. It runs on-device and removes keyboard clicks, fans, and background chatter without sending your audio to the cloud.
Open Discord and go to User Settings > Voice & Video.
Scroll down to “Advanced” and toggle on “Noise Suppression”.
Choose “Krisp” for the strongest filtering, or “Standard” for lighter processing.
I’ve used Krisp on a client call with a leaf blower running outside and the other person heard nothing. It works.
Zoom Built-in Noise Suppression
Zoom has been doing this since 2020. The setting is in your audio settings, and it’s worth enabling for every meeting.
Open Zoom and click Settings > Audio.
Find “Suppress background noise” and pick “High” from the dropdown.
Rejoin your meeting for the change to take effect.
OBS Noise Suppression Filters
OBS is the streaming standard, and it has three filters that work together. This is the setup I run on every channel.
Open OBS and right-click your audio source in the Audio Mixer.
Choose Filters, then add “Noise Suppression”. Set it to RNNoise.
Add a second filter, “Noise Gate”, with a close threshold of -32 dB and open threshold of -26 dB.
Add a third filter, “Compressor”, with a ratio of 4:1 and threshold at -18 dB.
RNNoise is a neural network trained on thousands of noise samples. It kills fan noise, keyboard clicks, and room hum without making your voice sound robotic. The noise gate only opens your mic when you speak, so anything quieter than your voice gets muted entirely.
What Is a Noise Gate and How to Set It Up?
A noise gate is a simple but powerful filter that mutes your mic whenever you are not speaking. It watches the input volume and only lets audio through once it crosses a threshold. Anything below that threshold is silent.
This is perfect for streamers and gamers who want their keyboard typing, mouse clicks, and quiet room noise to disappear between conversations. I use a noise gate on every stream I produce.
To set one up in OBS, follow these steps carefully. The numbers depend on your room, but this is a good starting point:
Open OBS and add the Noise Gate filter to your mic source.
Set the “Close Threshold” to -35 dB. Anything quieter than this is muted.
Set the “Open Threshold” to -28 dB. Your voice needs to hit this level to unlock the mic.
Set the “Attack Time” to 6 ms so the mic opens quickly when you start talking.
Set the “Hold Time” to 200 ms so the mic stays open between words.
Set the “Release Time” to 100 ms so the mic closes smoothly when you stop.
The trick is to record 10 seconds of silence, watch the noise level in your meters, then set your close threshold just above that. If you hear your breathing, raise the close threshold. If your voice cuts off mid-sentence, lower the open threshold.
Console and Mobile Solutions (PS5, Xbox, iPhone)
Console gamers and mobile users have fewer options, but you can still get clean audio. The setups differ from PC, so let me walk through each one.
PlayStation 5 Mic Settings
The PS5 has a built-in noise reduction feature for the DualSense mic and any headset plugged into the controller.
Go to Settings > Sound > Microphone.
Turn on “Noise Cancellation” and choose “High” sensitivity.
Adjust the mic level until your voice is clear.
For USB headsets, use the adapter’s PC software to enable hardware noise suppression if available.
Xbox Series X and S Mic Settings
Xbox relies on the headset or adapter for noise reduction. The Xbox Wireless Headset has a built-in feature, and most licensed third-party headsets do too.
Open Settings > General > Volume & Audio Output > Chat Mixer.
Lower your mic monitoring to 0 to prevent feedback.
If your headset has a noise cancellation button, enable it.
For Turtle Beach, Razer, or Astro headsets, use the companion app on mobile to toggle noise suppression.
iPhone Voice Isolation
Apple added a feature called Voice Isolation that uses machine learning to filter background noise from your calls. It works in FaceTime, WhatsApp, and most other calling apps.
During a FaceTime call, swipe down from the top-right of the screen to open Control Center.
Tap “Mic Mode” and select “Voice Isolation”.
Your voice will sound clearer to the other person, and background noise will be removed.
Voice Isolation is honestly the best mobile noise suppression I’ve tested. If you take a lot of calls from busy places, learn this shortcut. For Android phones, the equivalent is Google’s “Noise Cancellation” toggle in the Phone app settings.
Hardware Upgrades That Actually Help
Once your software is dialed in, hardware becomes the next layer of improvement. You don’t need to spend a fortune. Some of the best upgrades cost less than a pizza.
A pop filter is the cheapest win. It sits between your mouth and the mic and stops plosives, those harsh “p” and “b” sounds that thump when you talk. A $10 pop filter will clean up your audio more than most $100 software tools. Get a metal mesh filter if you record close to the mic.
A shock mount is the next upgrade. It decouples your mic from the desk, so vibrations from typing, clicking, or even walking nearby don’t travel up the stand. The Shure MV7 and Blue Yeti both have compatible mounts. They’re usually under $25.
A boom arm helps with positioning. It gets the mic off your desk and into the right height in front of your face. That alone reduces the noise your mic picks up because it’s aimed at your mouth and away from your keyboard and PC tower.
Finally, the mic type matters. Dynamic mics like the Shure SM7B and Samson Q2U reject background noise better than condensers because they need louder sound to activate. If your room is noisy, a dynamic mic is a smarter buy than another condenser.
Room Treatment on a Budget
You don’t need acoustic panels to sound professional. I treat every recording space with items I already own.
Closets are the original studio trick. Hang clothes around you and you have a soft, absorptive environment. I record in a walk-in closet when I need clean audio. Free, and it works better than $500 of foam.
Curtains and rugs absorb sound. If your room has bare walls and hardwood floors, hang a blanket on the wall behind your mic and put a rug under your chair. The reflections disappear.
Bookshelves double as diffusers. A full bookshelf behind your mic scatters sound waves in random directions, killing flutter echo. Mine is a $30 IKEA shelf stuffed with paperbacks, and it does the job.
Acoustic foam is overrated for live streaming. It only helps if you already have a treated room. For most creators, the three items above will give you 90% of the benefit at 10% of the cost.
Troubleshooting Common Mic Noise Problems
Sometimes your mic picks up a specific noise and you don’t know why. Here is a quick decision tree I use to diagnose problems.
Keyboard clicks in your mic: Move the mic closer to your mouth and further from the keyboard. Raise the noise gate close threshold. Use a shock mount or boom arm to decouple the mic from the desk.
Fan or computer noise: Lower your gain. Enable RNNoise or Krisp. Move the mic away from the PC tower. If your PC case has side panel fans, consider swapping them for quieter models.
Room echo or reverb: Add soft surfaces near the mic. Move closer to your mic. Use a dynamic mic instead of a condenser. Record in a smaller, more absorptive space.
Mic picks up everything but your voice: Your gain is too low or your mic is not pointed at your mouth. Check the polar pattern, and make sure the front of the mic is facing you. Speak louder and adjust the threshold.
Static or buzzing: Unplug your mic and plug it into a different USB port. Check the cable for damage. Move the cable away from power cables. Use a USB hub with a ferrite core if the noise persists.
If none of these solve the problem, the issue may be your audio interface. Test the mic on a different computer or phone. If the noise disappears, your original device has a driver or hardware issue.
Frequently Asked Questions
How do I stop my mic from picking up background noise?
Lower your mic gain, move closer to the mic, enable built-in noise suppression in Windows or macOS, and turn off Microphone Boost. For streaming, add RNNoise and a noise gate in OBS. These fixes solve most background noise issues without buying new gear.
Why is my mic suddenly picking up everything?
Your gain is too high, a new software update disabled noise suppression, or your mic driver changed. Check the input volume, re-enable noise suppression, and disable Microphone Boost. If the issue started after a Windows update, roll back the audio driver.
How do I stop my mic from picking up background noise on my iPhone?
During a FaceTime call, swipe down to open Control Center, tap Mic Mode, and select Voice Isolation. This uses machine learning to filter background noise from your call. For other apps, use the iOS Noise Cancellation toggle in Settings u0026gt; Accessibility u0026gt; Audio/Visual.
How do I stop background noise in Discord?
Open Discord and go to User Settings u0026gt; Voice u0026amp; Video u0026gt; Advanced. Toggle on Noise Suppression and choose Krisp. Krisp removes keyboard clicks, fan noise, and background chatter on-device without sending your audio to the cloud.
What is a noise gate and how do I use it?
A noise gate mutes your mic when you are not speaking and only opens it when your voice is loud enough. Set the close threshold just above your room noise, the open threshold to your normal speaking volume, and the attack time to 6 ms so the mic opens quickly.
Why does my mic pick up background noise but not my voice?
Your mic is pointed away from you, your gain is too low, or your voice is too quiet. Check the polar pattern, face the front of the mic toward your mouth, and speak at a normal volume. If the issue persists, raise your input volume slightly.
Wrapping Up
Stopping your mic from picking up background noise comes down to a layered approach. Start with the free software fixes: lower your gain, disable Microphone Boost, and turn on your platform’s noise suppression. Then move to OBS filters if you stream. Finally, upgrade your hardware with a pop filter, shock mount, or a dynamic mic if your room is noisy.
Here’s the order I recommend: enable Discord Krisp or Zoom’s noise suppression today, set up the OBS noise gate and RNNoise this week, and budget for a pop filter and shock mount this month. Clean audio is the single biggest upgrade you can make to your stream, podcast, or video calls. Your audience will hear the difference immediately.