
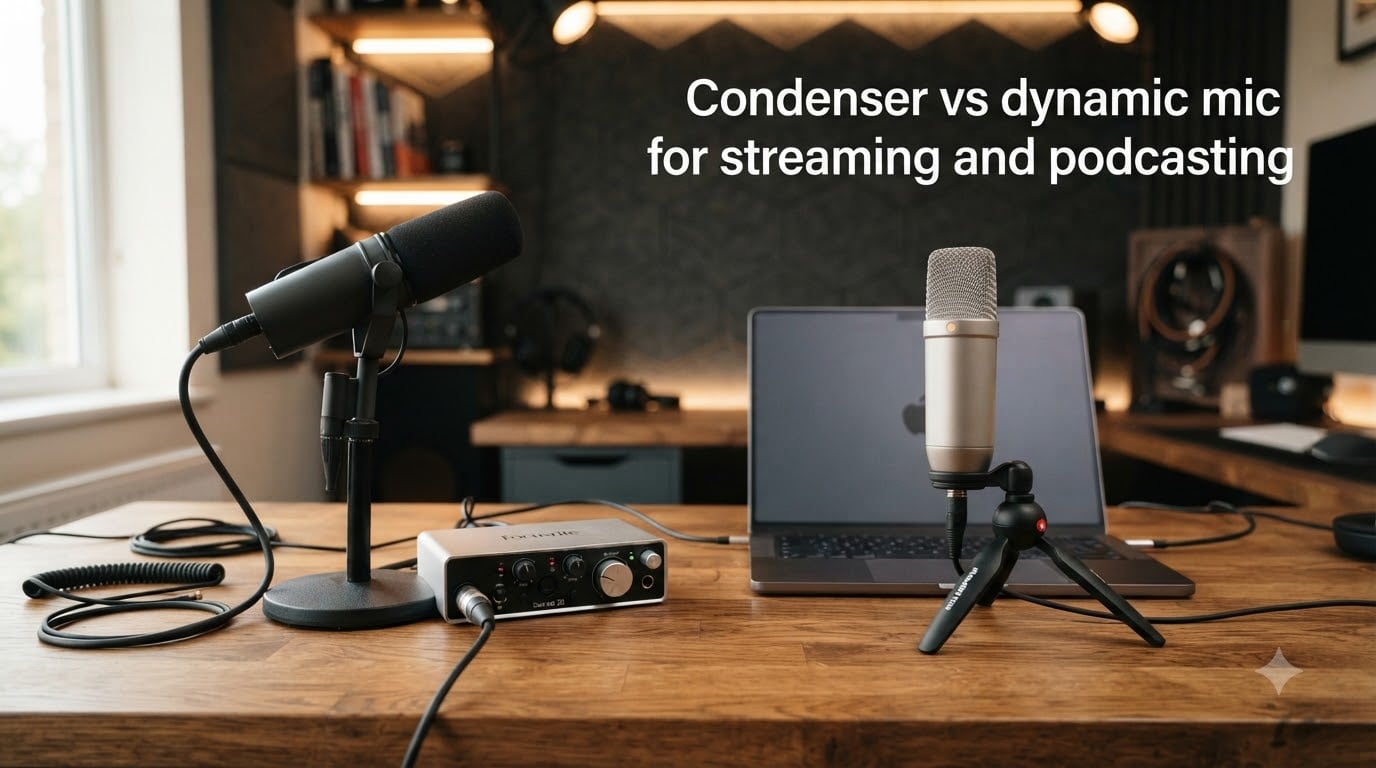
Choosing the right microphone can make or break your content before you even hit record. I have seen creators with incredible personalities lose listeners simply because their audio sounded muddy, distant, or full of room noise. The condenser vs dynamic mic for streaming and podcasting debate is not just gear talk. It directly affects how professional your content sounds.
The wrong microphone type will fight your environment and force you into hours of post-production cleanup. The right one will capture your voice clearly with minimal fuss. After testing both types across home offices, treated studios, and messy gaming setups, I can tell you that environment matters more than budget. A modest dynamic mic in a noisy room will outperform a premium condenser in the same space every single time.
In this guide, I will break down exactly how each microphone type works, compare their strengths and weaknesses head to head, and help you pick the right one for your specific setup. Whether you are podcasting from a spare bedroom or streaming to thousands, you will leave with a clear answer.
Table of Contents
- What Is a Dynamic Microphone?
- What Is a Condenser Microphone?
- Condenser vs Dynamic Mic for Streaming and Podcasting: Key Differences
- Pros and Cons of Dynamic Microphones
- Pros and Cons of Condenser Microphones
- Which Mic Should You Choose Based on Your Environment
- Streaming and Gaming Specific Considerations
- USB vs XLR: Which Connection Do You Need
- The Blue Yeti Mistake: Why New Podcasters Struggle
- Microphone Placement Tips and the 3:1 Rule
- Frequently Asked Questions
- Conclusion
What Is a Dynamic Microphone?
A dynamic microphone captures sound using electromagnetic induction. Inside the mic, a thin diaphragm attaches to a coil of wire suspended in a magnetic field. When sound waves hit the diaphragm, the coil moves through the magnet, generating an electrical signal that becomes your audio.
This design is mechanically simple and incredibly durable. Dynamic mics handle high sound pressure levels without distortion, which is why they are the go-to choice for live concerts and stage vocals. That same ruggedness translates well to home studios and streaming desks.
The key characteristic of dynamic mics is their lower sensitivity compared to condensers. They require more sound energy to produce a strong signal, which means they naturally reject quieter background sounds. Your computer fan, keyboard clicks, and distant traffic will be far less prominent in a dynamic mic recording.
Dynamic mics also tend to produce a warmer, more focused sound. Many podcasters describe them as sounding precompressed, meaning the audio already has a smooth, broadcast-ready character before you apply any processing. This built-in quality control makes dynamic mics forgiving for creators who are not audio engineers.
Most dynamic mics are passive, meaning they do not require external power to operate. You can plug them directly into an audio interface or mixer and start recording immediately. This simplicity is a major advantage for beginners and on-the-go creators.
What Is a Condenser Microphone?
A condenser microphone captures sound using a charged capacitor plate system. The diaphragm itself acts as one plate of a capacitor, positioned extremely close to a fixed backplate. When sound moves the diaphragm, the distance between the plates changes, altering the capacitance and creating an audio signal.
This design is far more sensitive than a dynamic mic. The diaphragm is lighter and more responsive, allowing condenser mics to capture fine details, subtle vocal nuances, and extended high frequencies. This is why condensers are the standard in professional recording studios for lead vocals and acoustic instruments.
That sensitivity comes with a catch. Condenser mics require an external power source to charge their internal electronics. This power, called phantom power, delivers 48 volts through the XLR cable from your audio interface or mixer. Without phantom power, a condenser mic will not function.
Condenser mics generally produce a brighter, more detailed sound with an airy top end. They excel at capturing the full frequency range of a human voice, making vocals sound crisp and present. In a properly treated room, nothing beats a condenser for sheer audio detail.
However, that same sensitivity means condensers pick up everything. Room reflections, air conditioning hum, keyboard noise, and even people talking in the next room can all end up in your recording. If your recording space is not acoustically treated, a condenser mic will faithfully capture every flaw.
Condenser vs Dynamic Mic for Streaming and Podcasting: Key Differences
When comparing condenser vs dynamic mic for streaming and podcasting, the differences come down to five core factors. Understanding each one will help you match the right mic to your situation.
Sensitivity: Condenser mics are significantly more sensitive than dynamic mics. They capture fine vocal details but also grab every background sound. Dynamic mics need you to speak closer and louder, but they ignore ambient noise. For most home setups, lower sensitivity is an advantage.
Background Noise Rejection: This is where dynamic mics dominate. A dynamic mic placed two to three inches from your mouth will focus almost entirely on your voice. A condenser mic in the same position will still pick up room reflections and environmental sounds that muddy your audio.
Sound Character: Condensers sound brighter, more detailed, and airier. Dynamics sound warmer, more focused, and broadcast-ready. Neither is objectively better. The right choice depends on what your content needs and what your recording environment allows.
Power Requirements: Condenser mics require phantom power from an audio interface or mixer. Most dynamic mics are passive and need no external power. This makes dynamic mics simpler to set up and more portable for on-location recording.
Durability and Placement: Dynamic mics are built to take abuse, which makes them ideal for daily streaming and travel. They also perform best when positioned very close to the mouth, which works well with boom arms. Condensers are more delicate and can be sensitive to humidity and temperature changes.
Pros and Cons of Dynamic Microphones
Dynamic microphones are the workhorse of the podcasting and streaming world. Here is where they shine and where they fall short.
Pros of dynamic mics:
- Excellent background noise rejection in untreated rooms
- Durable and built to withstand daily use and travel
- Warm, broadcast-ready sound that needs minimal processing
- No phantom power required for most models
- Handle high volume levels without distortion
Cons of dynamic mics:
- Lower sensitivity means you must speak close to the capsule
- Can sound dull or dark without EQ and processing
- Typically require a boom arm or mic stand for proper positioning
- May need more gain from your audio interface, which can introduce noise on budget interfaces
Pros and Cons of Condenser Microphones
Condenser microphones deliver studio-quality detail when used in the right environment. Here is the honest breakdown.
Pros of condenser mics:
- Capture fine vocal details and high-frequency clarity
- Wide frequency response for natural, airy sound
- Higher sensitivity means they pick up quiet sources easily
- Sound bright and professional in treated recording spaces
- Often available in both USB and XLR variants for easy entry
Cons of condenser mics:
- Pick up background noise, room echo, and reflections aggressively
- Require phantom power from an audio interface or mixer
- Less durable and more sensitive to humidity and temperature
- Mic bleed becomes a serious problem in multi-person setups
- Can make untreated rooms sound worse than they actually are
Which Mic Should You Choose Based on Your Environment
Your recording environment is the single most important factor in the condenser vs dynamic mic decision. I always tell creators to evaluate their space before looking at specifications or reviews.
Untreated home office or bedroom: Choose a dynamic mic. These spaces have hard surfaces, open walls, and ambient noise from computers, neighbors, and household activity. A condenser mic in this environment will capture every reflection and distraction. A dynamic mic will isolate your voice and sound professional even in a challenging room.
Treated studio or soundproofed room: A condenser mic will reward your investment in acoustic treatment with stunning detail and clarity. If you have bass traps, acoustic panels, and a quiet environment, the condenser will capture nuances that a dynamic mic simply cannot reach.
On-location interviews or remote recording: Dynamic mics are the clear choice. They handle unpredictable environments, reject ambient noise, and survive transport without issue. Reporters and field recordists have relied on dynamic mics for decades for exactly these reasons.
Multi-person podcast setups: Dynamic mics prevent bleed between microphones when two or more people record in the same room. Condenser mics in a multi-mic setup will pick up adjacent speakers, creating phase issues and muddy audio. Dynamics keep each voice isolated to its own channel.
Solo streaming or gaming: Dynamic mics are ideal because they reject keyboard clicks, mouse movements, and fan noise. You can place a dynamic mic on a boom arm, position it close to your mouth, and stream without your audience hearing your mechanical keyboard.
Streaming and Gaming Specific Considerations
Streamers face a unique set of audio challenges that differ from traditional podcasting. Your desk likely has a mechanical keyboard, a gaming mouse, one or more computer fans, and possibly a second monitor generating electrical noise. Every one of these sounds will compete with your voice if your microphone is too sensitive.
Condenser mics are notorious among streamers for picking up keyboard clicks and mouse clicks. Even with noise gates and filters, these sounds cut through during intense gaming moments. I have heard countless streams where the condenser mic turned every keyboard press into a loud thock that drowned out the streamer’s commentary.
Dynamic mips solve this problem naturally. Because they reject off-axis and ambient sound, your keyboard and mouse stay quiet in the background. Popular streamers increasingly choose dynamic mics like the Shure SM7B or its budget alternatives for this exact reason.
Bonus tip for streamers: a boom arm is essential for dynamic mic placement. Since dynamics work best when positioned two to three inches from your mouth, a boom arm lets you position the mic perfectly without blocking your monitors or webcam. A desk stand will usually place the mic too far away for a dynamic capsule to perform at its best.
USB vs XLR: Which Connection Do You Need
Both dynamic and condenser mics are available in USB and XLR variants. The connection type you choose affects your setup complexity, sound quality potential, and budget.
USB microphones connect directly to your computer with no additional hardware. They have a built-in audio interface, headphone jack, and often include gain controls on the mic body. USB is perfect for beginners, streamers who want a simple plug-and-play setup, and podcasters who record solo. You can start recording within minutes of unboxing.
XLR microphones require an audio interface or mixer to connect to your computer. This adds cost and complexity, but it also gives you better sound quality, more gain control, and the ability to upgrade individual components over time. XLR is the standard for professional studios and multi-person setups where you need independent control of each microphone.
For most beginners, a USB dynamic mic is the smartest starting point. You get the noise rejection of a dynamic capsule with the simplicity of plug-and-play connectivity. As your content grows, you can graduate to an XLR setup without changing your microphone technique.
One important note: if you choose an XLR condenser mic, your audio interface must provide phantom power. Most interfaces include a 48V phantom power button, but entry-level models may not. Always verify phantom power support before buying a condenser mic with an XLR connection.
The Blue Yeti Mistake: Why New Podcasters Struggle
If there is one microphone that causes more frustration for new podcasters than any other, it is the Blue Yeti. I see this scenario play out constantly. Someone decides to start a podcast, searches for a good microphone, finds the Blue Yeti at the top of every list, buys it, and then cannot figure out why their recordings sound echoey and noisy.
The Blue Yeti is a condenser microphone. It is highly sensitive and designed to capture detail. On a desk in an untreated bedroom or home office, it picks up your voice along with every room reflection, computer fan, and ambient sound in a wide radius. The result is audio that sounds amateur no matter how carefully you position the mic.
This is not a knock on the Blue Yeti itself. In a treated room with proper acoustic panels, it can sound great for the price. The problem is that most beginners buying their first mic do not have a treated room. They are recording in spaces with bare walls, hard floors, and open space that creates exactly the environment a condenser mic struggles with.
The lesson here applies to all condenser mics, not just the Yeti. Before buying a condenser, honestly assess your recording space. If you have not invested in acoustic treatment, choose a dynamic mic instead. You will get dramatically better results with far less frustration.
Microphone Placement Tips and the 3:1 Rule
Proper microphone placement matters as much as the microphone type itself. Even the best mic will sound bad if positioned poorly, and even a budget mic can shine with correct placement.
For dynamic mics: Position the capsule two to three inches from your mouth, slightly off-axis from your nose to reduce plosives. Use a foam windscreen or pop filter for additional protection. A boom arm makes this positioning easy to maintain.
For condenser mics: Position the capsule six to twelve inches from your mouth. This slightly greater distance works because condensers are more sensitive. Always use a pop filter, and aim the mic slightly downward to reduce nasal resonance.
The 3:1 rule is a foundational microphone placement principle for multi-mic recordings. When using two microphones in the same room, the distance between the two mics should be at least three times the distance from each mic to its intended sound source. For example, if each person speaks six inches from their mic, the two mics should be at least eighteen inches apart.
The 3:1 rule minimizes phase cancellation and mic bleed. When mics are too close together, sound from one source hits multiple mics at slightly different times, creating comb filtering that makes audio sound thin and hollow. Following the 3:1 rule keeps each voice isolated and full-bodied.
This rule is especially important with condenser mics in multi-person setups. Because condensers are more sensitive, they are far more prone to bleed. If you must record multiple people with condensers in the same room, the 3:1 rule becomes the bare minimum for acceptable audio quality.
Frequently Asked Questions
Is a dynamic or condenser mic better for podcasts?
For most podcasters, especially those recording at home or in untreated spaces, a dynamic microphone is the better choice. Dynamic mics reject background noise, handle untreated rooms well, and produce a warm broadcast-ready sound. Condenser mics are better only if you have a professionally treated recording space.
What type of mic is best for podcasts?
Dynamic microphones are the most popular choice among podcasters for their noise rejection and ease of use. Top podcasters like Joe Rogan use dynamic mics such as the Shure SM7B. The best mic for you depends on your recording environment, but a dynamic mic is the safest choice for home and office setups.
What is the 3 to 1 rule for microphones?
The 3:1 rule states that when two microphones are used in the same room, the distance between them should be at least three times the distance from each mic to its sound source. This minimizes phase cancellation and bleed, keeping each voice clear and isolated.
What mic does Joe Rogan use for his podcast?
Joe Rogan uses the Shure SM7B, a dynamic microphone, for his podcast. The SM7B is one of the most popular broadcast microphones in the world, known for its warm sound and excellent background noise rejection in untreated environments.
Do condenser mics need phantom power?
Yes, condenser microphones require phantom power, which is 48 volts supplied through the XLR cable by an audio interface or mixer. Without phantom power, a condenser mic will not produce any sound. Most dynamic mics are passive and do not require phantom power.
Conclusion
The condenser vs dynamic mic for streaming and podcasting debate comes down to one simple question: where do you record? If you are in an untreated home office, bedroom, or gaming setup, a dynamic microphone will deliver cleaner, more professional audio with far less hassle. If you have invested in acoustic treatment and want maximum detail, a condenser microphone rewards that investment with stunning clarity.
For the majority of streamers and podcasters starting out, a dynamic mic is the smarter choice. It forgives imperfect rooms, rejects annoying background noise, and produces that warm broadcast sound listeners expect. Start there, treat your room over time, and upgrade when your environment can actually support the added sensitivity of a condenser.