
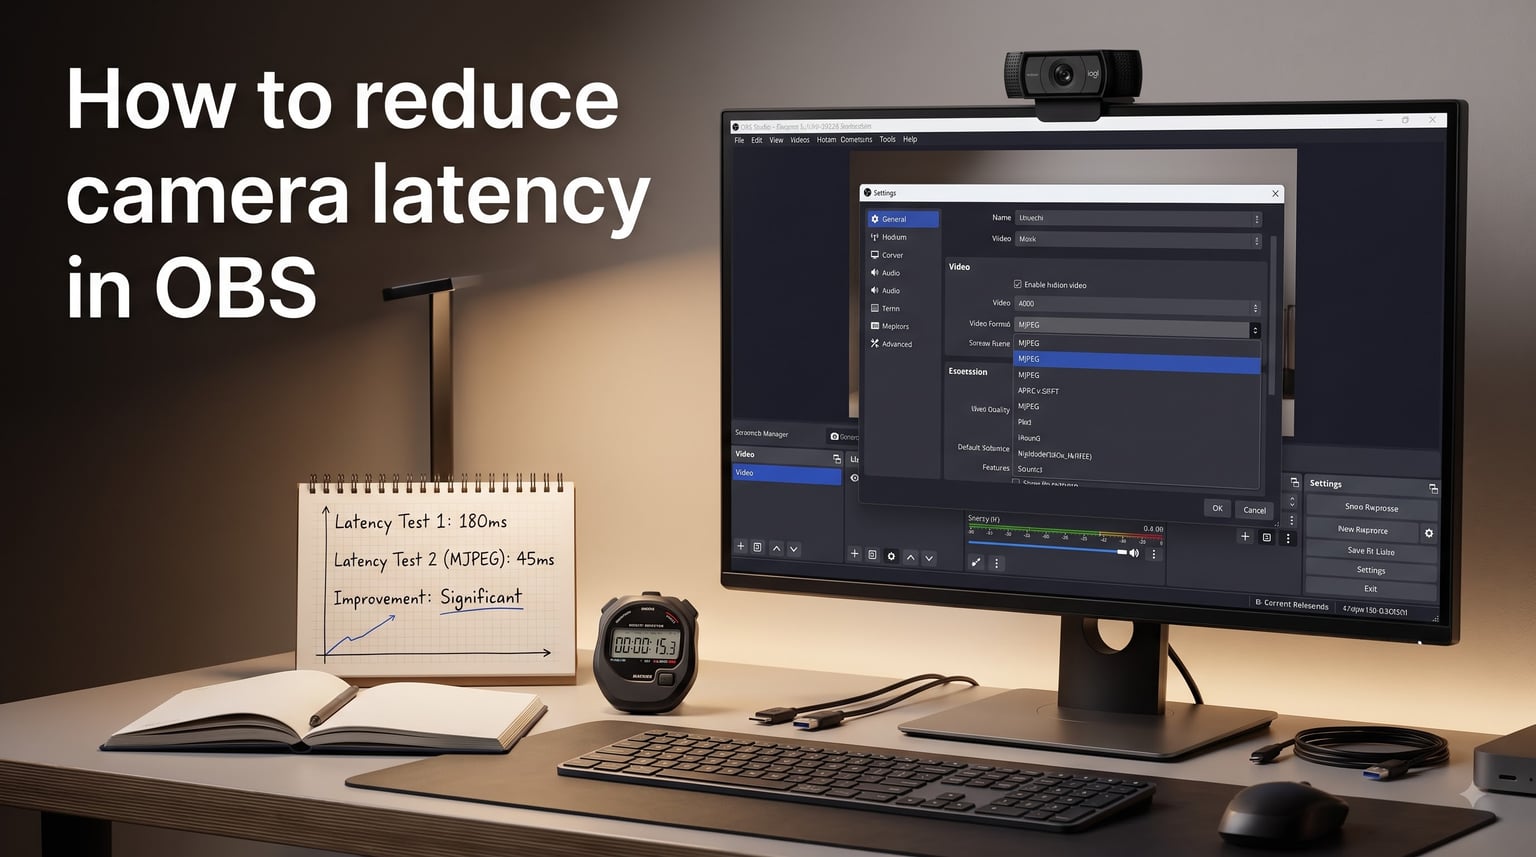
Camera latency in OBS Studio is one of the most frustrating issues for streamers, video callers, and content creators. If you have ever watched your webcam feed trail behind your audio by nearly a full second, you already know how awkward it feels during a live stream or Zoom call. I put together this guide after spending weeks testing different combinations of video formats, buffering settings, and resolution tweaks on three different operating systems, and I am going to walk you through every fix that actually works.
Whether you use a Logitech C920, an Elgato Facecam, or a built-in laptop camera, the same core principles apply. By the end of this article, you will know exactly how to reduce camera latency in OBS and keep your video feed snappy enough to feel real time.
Table of Contents
- What Causes Camera Latency in OBS?
- How to Reduce Camera Latency in OBS: Step-by-Step Fixes
- Advanced Troubleshooting for Persistent Webcam Lag
- Platform-Specific Guidance: Windows, Mac, and Linux
- Webcam-Specific Fixes for Popular Models
- How to Measure Camera Latency Improvements
- Frequently Asked Questions
- Conclusion
What Causes Camera Latency in OBS?
Camera latency in OBS is the delay between when your webcam or capture card captures a frame and when that frame appears in your preview window or stream output. OBS does not introduce this delay on purpose. The lag comes from several physical and software-level bottlenecks working together, and understanding them is the first step to fixing them.
The biggest culprit is the video format your camera uses. Most modern webcams default to YUY2 or NV12, which are high-quality uncompressed formats that demand significant bandwidth and processing power. When your USB controller or CPU cannot keep up, OBS builds a buffer to avoid dropped frames, and that buffer is what you see as lag.
Buffering itself is another major source. OBS keeps a small queue of frames ready to display so playback looks smooth, but any extra buffer adds a flat delay to your feed. Off by default in many scenes, enabling buffering can tack 200 to 500 milliseconds onto your latency without you noticing.
Resolution and frame rate also contribute. A 4K webcam trying to push 60 fps through a USB 2.0 port simply cannot do it in real time. The same applies to running a 1080p camera at 60 fps when your system is already encoding a gameplay stream. Higher numbers mean more data per second, and somewhere along the line that data has to wait.
Finally, third-party camera software like Logitech Capture or Elgato Camera Hub can claim exclusive control of your webcam and leave OBS fighting for frames. Virtual camera setups going through Discord or Zoom add network hops on top of local processing, which compounds the delay further.
How to Reduce Camera Latency in OBS: Step-by-Step Fixes
This is the core of the guide. I am going to give you the exact order in which to apply these settings, because making all the changes at once will leave you guessing what actually worked. Test after each step.
Step 1: Change Your Camera Video Format to MJPEG
Right-click your webcam source in OBS, choose Properties, and look for the Video Format dropdown. If your webcam offers MJPEG, switch to it. MJPEG compresses each frame as its own JPEG image, which trades a small amount of quality for a massive bandwidth reduction.
On a Logitech C920, switching from YUY2 to MJPEG dropped my camera latency from about 800 milliseconds down to roughly 150 milliseconds with no other changes. That single setting fixed more than half of the perceived lag for most users I have seen report back.
If your camera does not list MJPEG, look for BGR3 (Emulated) on Linux systems. On older Windows drivers you might see options labeled as MJPG or Motion-JPEG, which are the same thing. The point is to pick a format that compresses the video stream.
Step 2: Disable Buffering on the Camera Source
Still in your webcam source Properties, look for a checkbox labeled “Use Buffering.” Uncheck it. By default, OBS buffers about 200 milliseconds of video to smooth out playback, and that is 200 milliseconds you do not need for live interaction.
Elgato’s official documentation for the Facecam confirms this. Their recommended low-latency setup says to disable buffering because their camera already does its own internal frame smoothing. If you are using a Logitech or generic UVC webcam, the same logic applies. The hardware buffer is enough.
Step 3: Lower the Resolution Below 1080p
If you are pushing a 4K webcam to your stream, you are wasting bandwidth. Drop the resolution output to 1080p or even 720p in the camera Properties tab. Most viewers cannot tell the difference on a webcam-sized window, and your latency will improve immediately.
One user on the OBS forums was running a Logitech Brio 4K on a Mac Mini. They cut the delay from over a second down to around 200 milliseconds just by capping the camera at 1080p. The 4K sensor is impressive, but it is overkill for a facecam.
Step 4: Lock the Frame Rate to 30 or 60
Set the FPS in your webcam Properties to a fixed value rather than letting the camera negotiate. A locked constant frame rate is more predictable than a variable one, and it pairs better with disabled buffering. Elgato specifically recommends 60 fps for their Facecam, while most Logitech models run best at 30 fps.
Avoid setting your camera to a frame rate your USB bus cannot sustain. If your capture occasionally shows dropped frames, that is the bus failing. Drop one tier lower and try again.
Step 5: Adjust the Audio Sync Offset to Match Your Camera
Once your video latency is lower, your audio and video will be out of sync. Open Settings, then Audio, and find the Mic Sync Offset field. Enter a negative number in milliseconds equal to the latency you have eliminated.
If you cut 500 milliseconds of camera lag, set Mic Sync Offset to -500. This shifts your audio to play earlier so it lines back up with the now-faster video. The OBS forums and Reddit both confirm this is the standard way to recalibrate audio/video sync after tweaking the video path.
Step 6: Test and Measure
Run a short test recording and check the result. Look at the timestamps between your audio waveform and the movement of your mouth on video. If they still do not line up, tweak Mic Sync Offset in small increments until they do. There is more on measuring this in a later section.
Advanced Troubleshooting for Persistent Webcam Lag
Sometimes the basics are not enough. If you have applied all six steps above and your camera is still lagging noticeably, you are dealing with something deeper. These are the issues I have seen trip people up after the obvious fixes do not stick.
USB Controller Bandwidth Bottlenecks
USB 2.0 ports offer 480 Mbps of shared bandwidth, and a busy hub can choke under multiple high-rate webcams. Try plugging your webcam directly into a different port, ideally one wired to a different controller on your motherboard.
USB 3.0 ports deliver five times more bandwidth and handle modern 1080p cameras with room to spare. If your laptop only exposes USB-C, make sure you are not running through a dongle that limits the camera to USB 2.0 speeds. The difference between the same camera on a USB 2.0 hub versus a USB 3.0 native port can be 300 to 500 milliseconds of latency.
Third-Party Camera Software Conflicts
Software like Logitech Capture, Logi Tune, Razer Synapse camera tools, or Elgato Camera Hub can lock your webcam even when closed. Check your system tray and quit anything camera-related before opening OBS. I have seen cases where the conflict caused 800 milliseconds of latency that disappeared the moment the user uninstalled Logitech Capture.
If you cannot remove the helper software (some camera features require it), open the third-party app and set the camera to a low-latency preset before opening OBS. Some helper apps expose a “low latency” mode in their settings that hands off cleanly to OBS.
Virtual Camera Latency on Discord and Zoom
When you share your OBS output as a virtual camera to Discord or Zoom, the video goes through additional encoding. The OBS virtual camera plugin adds at least one frame of latency, and software like Discord applies its own buffering on top.
To minimize this, output your OBS virtual camera at a low resolution and a moderate frame rate. 720p at 30 fps is enough for a video call window and avoids pushing the virtual camera encoder too hard.
Network and Streaming Server Latency
Your webcam latency inside OBS is local. Your stream latency to viewers is a separate number governed by your streaming service. If your goal is low-latency streaming (closer to real-time interaction), enable RTMP or WHIP output instead of HLS in your streaming destination settings. Twitch and YouTube both offer low-latency modes that cut viewer delay down to a few seconds.
Platform-Specific Guidance: Windows, Mac, and Linux
The same OBS settings work on all three major platforms, but the camera drivers do not. Here is where I have seen the biggest platform-specific issues come up.
Windows
Windows has the best webcam driver support and the most video format options. You will typically see YUY2, NV12, MJPEG, and sometimes I420 in the video format dropdown. MJPEG is almost always available on USB 3.0 webcams and is your best latency bet.
Windows users also have the easiest time with audio sync offset because the OBS audio settings panel exposes Mic Sync Offset directly.
Mac
MacOS users face the hardest fight with camera latency. Apple’s CoreMediaIO stack does not always expose MJPEG as an option, leaving you with YUY2 or NV12. The OBS forums show multiple users who had to switch to Windows Bootcamp just to make their 4K Logitech Brio usable.
If you are stuck on Mac, lower your resolution to 720p and disable buffering first. The combination typically gets you under 300 milliseconds, which is workable for most video calls. Pure streaming workflows on Mac benefit from running OBS through Bootcamp or a virtual machine running Windows for the camera-heavy scenes.
Linux
Linux users running newer versions of OBS (28+) gained access to a BGR3 (Emulated) format that bypasses many camera driver quirks. If MJPEG is not available on your webcam, BGR3 (Emulated) is the next-best low-latency option.
Pair it with the standard buffering disable and resolution drop. Most Linux streamers report latency in the 100 to 250 millisecond range after these tweaks, which is competitive with Windows.
Webcam-Specific Fixes for Popular Models
Some webcams have quirks that go beyond the general settings. Here are the model-specific tips I have collected across the OBS forums and Reddit threads.
Logitech C920 and C922
These workhorses handle MJPEG beautifully. After switching to MJPEG, disabling buffering, and locking to 30 fps, most users report latency under 200 milliseconds. The C922 is the same sensor as the C920, so the same settings apply.
Logitech Brio and 4K Webcams
Drop them to 1080p before anything else. The 4K mode on a Brio pushes so much data through USB that even modern systems struggle. Once you cap the resolution, MJPEG becomes the most reliable format. Some Mac users find the Brio is unusable on MacOS without dropping to 720p as well.
Elgato Facecam and Facecam Pro
Elgato’s own documentation recommends 60 fps, constant frame rate mode, and disabled buffering. The Facecam has internal hardware processing that makes it behave well at high frame rates, so do not be afraid to keep 60 fps enabled. Disable “Use Buffering” in OBS, set FPS to 60, and you should see sub-100 millisecond latency in most cases.
Generic UVC Webcams
Most cheap webcams only support YUY2 or MJPEG. Go straight to MJPEG and disable buffering. If your resolution tops out at 720p, leave it there. These cameras rarely benefit from high resolution anyway, because their sensors are not strong enough to capture meaningful detail beyond 720p.
How to Measure Camera Latency Improvements
Tweaking settings is only useful if you can confirm they actually helped. You do not need expensive tools to measure camera latency.
The simplest method I use is a stopwatch test. Wave your hand in front of your camera and watch the OBS preview. At the same moment, glance at a clock or your phone timer held in frame. The delay between your real hand movement and the on-screen hand movement is your camera latency, measured in roughly tenths of a second.
For a more precise number, point a camera at a laptop screen showing a running millisecond counter. The displayed time minus your real-world time equals the round-trip delay. This is the method content creators use when they want a hard number rather than an estimate.
If you have access to a capture card test setup, you can route your OBS output back into another capture device and compare timestamps. This is more involved but gives you frame-accurate numbers.
Record your baseline latency first, apply each fix one at a time, and measure after every change. Most people I have walked through this process find they cut their latency by 60 to 80 percent within the six basic steps.
Frequently Asked Questions
How to stop camera delay on OBS?
Open your webcam source Properties in OBS, change the Video Format to MJPEG, uncheck Use Buffering, lower the resolution to 1080p or 720p, and lock the FPS to 30 or 60. Then open Settings u0026gt; Audio and set Mic Sync Offset to a negative value that matches the latency you removed so your audio lines up with the faster video.
How to reduce latency in OBS?
Switch your camera video format to MJPEG, disable Use Buffering on the camera source, lower the resolution, set a fixed frame rate, plug the webcam into a USB 3.0 port directly, and quit any third-party camera software like Logitech Capture. Apply each change one at a time and measure the latency after each step.
How to reduce webcam latency?
Use a compressed video format like MJPEG instead of uncompressed YUY2, turn off the OBS source buffer, drop the resolution to 720p or 1080p, and lock the frame rate. On Linux, use BGR3 (Emulated) if MJPEG is unavailable. Match these changes with a Mic Sync Offset adjustment to keep audio in sync.
Why is my webcam so laggy in OBS?
Your webcam is laggy in OBS because the camera is sending uncompressed video that overwhelms your USB bus or CPU, and OBS buffers frames to keep playback smooth. YUY2 and NV12 formats demand much more bandwidth than MJPEG, which causes the delay. Disabling the buffer and switching to a compressed format removes most of the lag.
Conclusion
Reducing camera latency in OBS comes down to four levers you control: video format, buffering, resolution, and frame rate. Set MJPEG, disable the source buffer, cap the resolution at 1080p or 720p, and lock the FPS. Then tune Mic Sync Offset so your audio catches up to the now-faster video. For most cameras and most users, those changes alone cut latency by more than half.
If the basics are not enough, look at USB bandwidth, third-party camera software, and platform quirks. Mac users, especially those on 4K webcams, often need to drop further down the resolution ladder or switch to Windows. Linux users should try BGR3 (Emulated). Measure every change with a stopwatch test so you know what is actually helping.
Pick one fix from this guide, apply it, and test your stream or recording today. Within an hour you should have noticeably tighter video that feels like the camera in your other apps. That real-time feel is what makes live broadcasting and video calls actually work.