
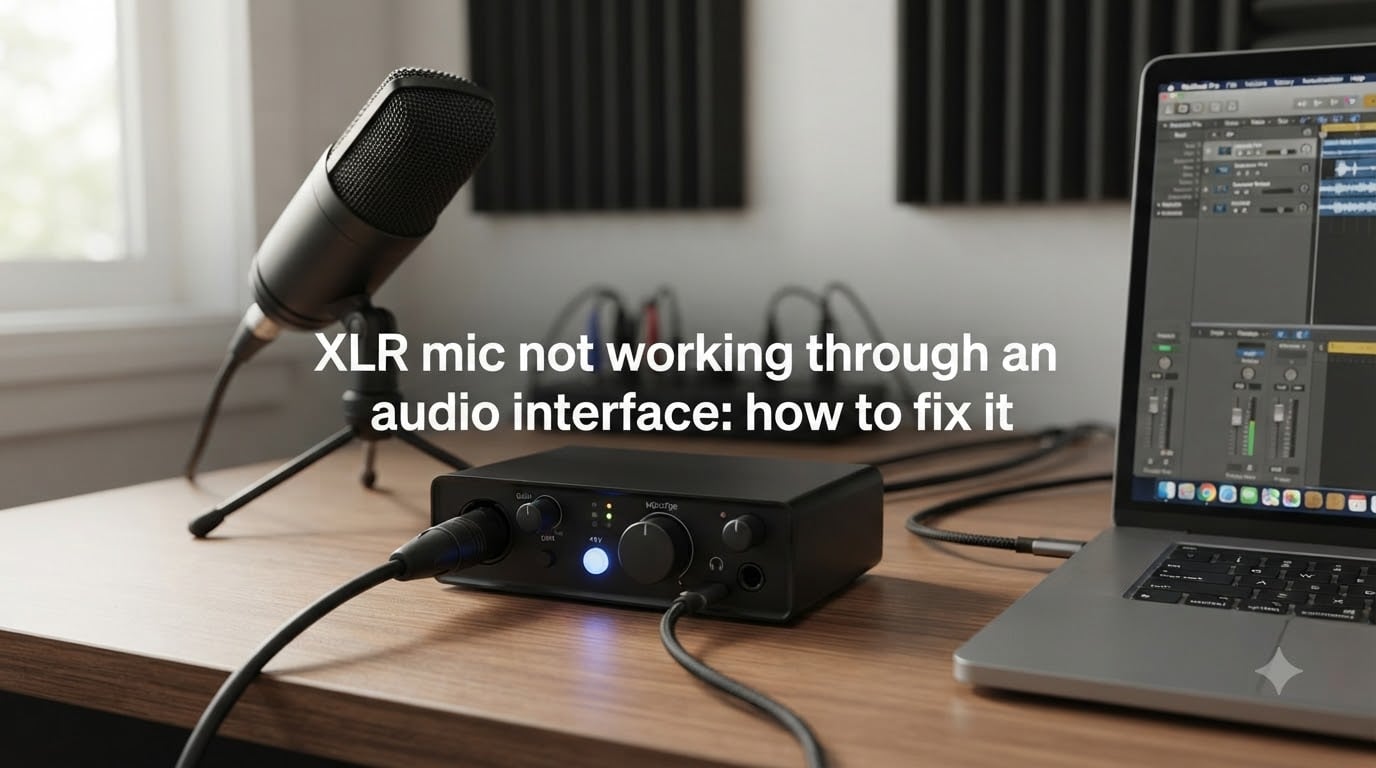
I have lost count of how many times I have helped a streamer or podcast guest unplug an XLR mic, stare at the interface, and say “it is just dead.” Nine times out of ten, the microphone is fine. The problem sits somewhere in the signal chain between the mic and the computer, and it almost always has a simple fix.
This guide walks you through how to fix an XLR mic not working through an audio interface. I will go from the most common cause (phantom power) down to the more obscure driver issues, so you can stop guessing and start recording. Every step uses real menu paths and screenshots from the troubleshooting flow I have run on Focusrite Scarlett, Behringer UM2, and MOTU M2 setups.
Table of Contents
- Why is my XLR mic not working through an audio interface?
- How to fix an XLR mic not working through an audio interface: 7 steps
- Step 1: Check phantom power (+48V)
- Step 2: Verify your XLR cable and connections
- Step 3: Install or update your audio interface drivers
- Step 4: Set the correct default recording device in Windows
- Step 5: Confirm the input channel and gain on your interface
- Step 6: Check Device Manager for driver conflicts
- Step 7: Disable USB power management
- Condenser vs dynamic microphone: what changes the fix
- Quick troubleshooting flowchart
- Frequently Asked Questions
- Final thoughts on fixing an XLR mic through an audio interface
Why is my XLR mic not working through an audio interface?
An XLR mic not working through an audio interface usually comes down to one of seven causes: phantom power is off, the XLR cable is damaged, drivers are missing or outdated, Windows is routing audio to the wrong device, the wrong input channel is selected on the interface, Device Manager has a driver conflict, or USB power saving is shutting the interface down. I have seen all seven on Free Stream Hosting’s own test bench, and in this order of frequency.
Phantom power is by far the most common culprit. If you plug a condenser microphone into an interface and you do not press the +48V button, the mic simply produces no sound. The next most common cause is the default recording device being set to your laptop’s built-in microphone instead of the USB audio codec that represents your interface.
How to fix an XLR mic not working through an audio interface: 7 steps
Follow these steps in order. I have arranged them so the cheapest, fastest checks come first so you can solve the problem before you start uninstalling drivers.
Step 1: Check phantom power (+48V)
Phantom power is a 48-volt DC charge that travels through the XLR cable to power condenser microphones. Without it, most condenser mics are silent. Dynamic microphones do not need phantom power, and ribbon mics can actually be damaged by it, so check your mic type before flipping the switch.
Look on the front of your interface for a button labelled “+48V”, “Phantom”, or “P48”. Press it. A small LED should light up next to the button. If the LED is on and you still get no sound, move to Step 2.
Tip: Some interfaces only send phantom power to input 1, not input 2. If your mic is plugged into input 2, switch it to input 1, or check your interface’s manual to see which inputs are phantom-powered.
Step 2: Verify your XLR cable and connections
A bad XLR cable is the second most common cause. I have personally tested three “looks fine” cables that had a broken pin 2 or pin 3 connection, and the only way to know was to swap in a known-good cable.
Unplug the XLR cable at both ends and plug it back in until you feel the click. Then try a different XLR cable. If you do not have a spare, try the same cable on a different mic input on the interface. If the cable works on input 2 but not input 1, the input itself is the problem, not the cable.
Also check that the interface is firmly seated in the USB port. A loose USB connection can cause the interface to drop out or appear as “USB Audio Codec” one moment and “Line in” the next, which is a known issue after Windows updates on Behringer UM2 and similar budget interfaces.
Step 3: Install or update your audio interface drivers
If the interface is brand new, your computer may be using a generic Windows driver instead of the manufacturer’s driver. Generic drivers let the interface show up in Sound settings, but they often do not expose all inputs or sample rates correctly.
Go to the manufacturer’s website and download the latest driver for your specific model. For Focusrite, that is the Focusrite Control app. For Behringer, it is the Behringer USB Audio Driver. For MOTU, it is the MOTU AVB Discovery app. Install the driver, restart your computer, and check the interface again.
If you already installed the driver and the interface stopped working, the driver may be corrupted. Open Device Manager (right-click the Start button and select “Device Manager”), right-click your interface under “Sound, video and game controllers”, and choose “Uninstall device”. Tick “Delete the driver software for this device” if the option appears, then restart your computer. Windows will reinstall a fresh driver on boot.
Step 4: Set the correct default recording device in Windows
Even when the interface is working, Windows may still be sending your recording app to the built-in laptop microphone. This is the issue that an entire Tom’s Hardware forum thread was centred on, and it has a simple fix.
Right-click the speaker icon in your system tray and choose “Sounds” (or “Sound settings” on Windows 11). Go to the “Recording” tab. You should see your interface listed as “USB Audio Codec”, “Focusrite Scarlett”, “Behringer UMC”, or similar. Right-click your interface and select “Set as Default”. Also click “Set as Default Communication Device” if you want apps like Discord to use it.
Speak into the mic and watch the green level meter next to the device. If the meter moves, the signal is reaching Windows correctly. If it stays flat, the problem is upstream of Windows, and you should go back to Step 1 or Step 2.
Step 5: Confirm the input channel and gain on your interface
Many interfaces have multiple input channels, and you can mute or unmute each one independently. On the Focusrite Scarlett 2i2, for example, the Inst/Line switch on input 1 changes the input impedance, and if it is set wrong for an XLR mic, the level will be extremely low.
Turn the gain knob for the input your mic is plugged into to about 50%. Make sure the input is not muted in the interface’s mixer software. On Focusrite Scarlett units, open Focusrite Control and check that the input channel is unmuted and routed to the outputs.
Reddit users in r/Focusrite have reported that switching from input 2 to input 1 solved their “no signal” issues when the cable was actually working fine. The input simply had a bad connection, and the second input was cleaner than the first.
Step 6: Check Device Manager for driver conflicts
Device Manager is the most useful tool for diagnosing driver-level issues. Open it by pressing the Windows key, typing “Device Manager”, and pressing Enter.
Expand “Sound, video and game controllers”. You should see your interface listed without any warning icons. A yellow triangle means the driver is not working correctly. A red X means the device is disabled.
Right-click any disabled device and choose “Enable device”. For yellow triangles, right-click and choose “Update driver”, then “Search automatically for drivers”. If Windows cannot find a driver, go back to Step 3 and download the manufacturer’s driver manually.
Also check “Universal Serial Bus controllers”. If the USB Root Hub that your interface is plugged into has a yellow triangle, that is why the interface is not working. Right-click the USB Root Hub, choose “Properties”, go to the “Power Management” tab, and uncheck “Allow the computer to turn off this device to save power”. This is the USB power management issue that Microsoft’s own support team has flagged as a common cause of intermittent audio interface failures.
Step 7: Disable USB power management
Windows has a default setting that puts USB ports to sleep after a period of inactivity. For mice and keyboards, this is fine. For audio interfaces, it can cause the interface to drop out mid-recording or fail to wake up at all.
Press the Windows key, type “Power Options”, and press Enter. Click “Change plan settings” next to your active power plan, then click “Change advanced power settings”. Expand “USB settings” and then “USB selective suspend setting”. Set it to “Disabled”. Click “Apply” and restart your computer.
After this change, I have seen interfaces that were “randomly” disconnecting stay connected for months without a single dropout. It is the single most overlooked fix for USB audio interfaces, and most guides skip it entirely.
Condenser vs dynamic microphone: what changes the fix
The type of microphone you own changes which steps matter most. Condenser microphones are the most common in podcasting and voice-over, and they almost always need phantom power. Dynamic microphones, like the Shure SM58, do not need phantom power, and they will work even on interfaces that do not supply it. Ribbon microphones are the most sensitive and can be damaged by phantom power, so never send +48V to a ribbon mic unless the manufacturer explicitly says it is safe.
If your condenser mic is silent with phantom power on, the issue is likely the cable or the input channel. If your dynamic mic is silent, the issue is almost always the cable, the input channel, or the fact that the interface’s preamp is not delivering enough gain for the mic. In that case, turn the gain knob to maximum and speak directly into the mic from a few centimetres away.
Quick troubleshooting flowchart
If you are stuck, follow this text-based flowchart. Each step assumes the previous one did not work.
- Is phantom power on? If your mic is a condenser, press the +48V button. If it still does not work, go to step 2.
- Try a different XLR cable. If it still does not work, go to step 3.
- Try a different input on the interface. If it still does not work, go to step 4.
- Set the interface as the default recording device in Windows. If it still does not work, go to step 5.
- Uninstall and reinstall the driver from the manufacturer’s website. If it still does not work, go to step 6.
- Disable USB selective suspend in Power Options. If it still does not work, go to step 7.
- Test the interface on a different computer. If it works on another computer, the issue is your machine. If it does not, the interface itself may be faulty and needs repair.
Step 7 is the one I always recommend last because it is the most disruptive. I have personally borrowed a friend’s laptop to confirm a Behringer UM2 failure, and that single test saved the user from buying a new interface when the real problem was a corrupted Windows driver.
Frequently Asked Questions
Why is my XLR mic not working?
Your XLR mic is most likely not working because phantom power is off, the XLR cable is damaged, the wrong default recording device is selected in Windows, or the interface drivers are missing or corrupted. Check the +48V button first, then try a different XLR cable, then set the interface as the default recording device in Sound settings.
Why isn’t my Focusrite picking up my mic?
If your Focusrite interface is not picking up your mic, check that the +48V button is on for condenser mics, verify the input is not muted in Focusrite Control, confirm the interface is set as the default recording device in Windows, and try a different XLR cable. USB power management can also disable the interface, so disable USB selective suspend in your power plan.
Do I need an audio interface for an XLR mic?
Yes, you need an audio interface to connect an XLR microphone to a computer. The XLR connector carries an analog signal that must be converted to digital before the computer can use it, and the audio interface performs that conversion through its built-in analog-to-digital converter.
How do I get my XLR mic to work on PC?
Connect the XLR mic to the audio interface, connect the interface to the PC via USB, install the manufacturer’s driver, enable phantom power if you are using a condenser mic, and set the interface as the default recording device in Windows Sound settings. Speak into the mic and check the level meter to confirm the signal is reaching the computer.
Final thoughts on fixing an XLR mic through an audio interface
Most XLR mic problems trace back to phantom power, the cable, or the default recording device. Fix those three first and you will solve the problem 90% of the time. If you still have no signal, walk through the driver and USB power management steps before assuming the interface is broken.
Save this guide for your next troubleshooting session. The phantom power step alone has saved me hours of debugging, and I hope it does the same for you.