
If your stream or recording sounds like it is coming from inside a washing machine, the problem is almost never your microphone. It is your OBS audio filter chain order. I have tested dozens of filter arrangements over the past three years while helping streamers set up their broadcasts, and the wrong sequence will sabotage even an expensive condenser mic.
The good news: once you understand how OBS processes audio signals, dialing in clean, broadcast-quality sound takes about 15 minutes. In this guide, I will walk you through the exact OBS audio filter chain order our team uses, why each filter belongs where it does, and how to tune every setting so your voice sits forward and clear.
Table of Contents
- What Is the OBS Audio Filter Chain Order?
- Why Filter Order Matters in OBS Studio?
- The Optimal OBS Audio Filter Chain Order
- How to Add Audio Filters in OBS Studio?
- Noise Suppression Filter Options: RNNoise vs Speex
- RNNoise vs Speex: Quick Comparison
- Noise Gate Settings: Threshold, Attack, and Release
- Compressor Filter Configuration in OBS
- VST Plugin Alternatives for OBS Audio Filters
- Common Mistakes to Avoid With OBS Audio Filters
- Testing and Tuning Your OBS Audio Filter Chain
- Frequently Asked Questions
- Final Thoughts on OBS Audio Filter Chain Order
What Is the OBS Audio Filter Chain Order?
The OBS audio filter chain order is the sequence in which audio processing filters are applied to your microphone signal inside OBS Studio. Each filter takes the output of the one above it, transforms it, and passes the result down to the next filter in the list.
OBS Studio processes filters from top to bottom, the same way water flows through a series of pipes. The first filter in your chain receives the raw microphone signal. The last filter outputs the final processed audio to your recording or stream. Reorder a single filter and you can change everything from how your voice sounds to whether your keyboard clicks appear in the recording.
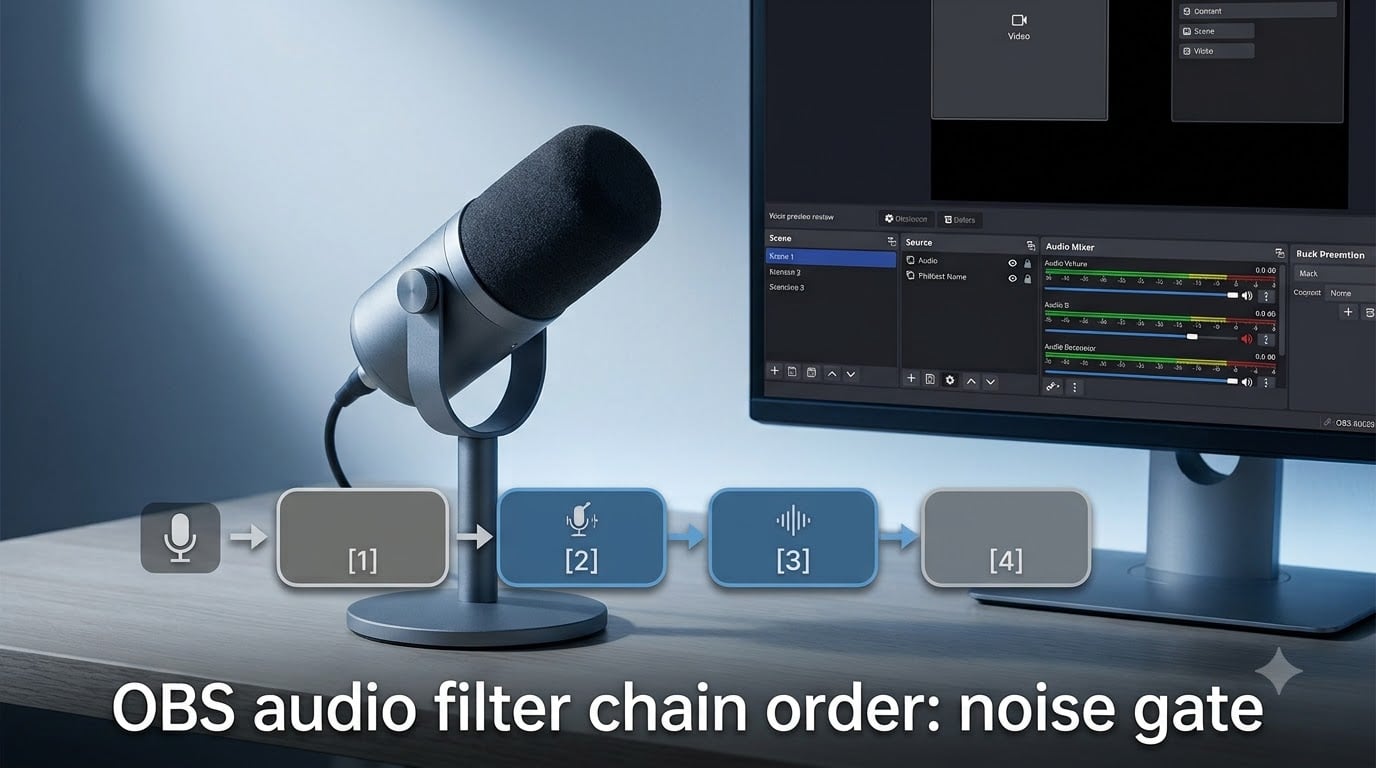
The recommended OBS audio filter chain order in 2026 is: Noise Suppression, Noise Gate, Compressor, Limiter, Gain. This order cleans noise first, mutes dead air, evens out loudness, prevents clipping, and sets final level.
Why Filter Order Matters in OBS Studio?
Filter order matters because each filter in OBS only sees the audio that the previous filter produced. If you place a compressor before noise suppression, the compressor will react to your fan noise and your air conditioner, boosting the very sounds you are trying to eliminate. If you place a noise gate first, it will slam shut during every pause and chop your words in half.
Think of the chain as a series of cleanup stations. The earliest stations handle the messiest work. Removing background hum with noise suppression first gives your noise gate a cleaner signal to detect, which means fewer false triggers and smoother open-and-close behavior. The compressor then sees only your voice plus a small, predictable noise floor, so it can apply even gain reduction without pumping.
Bad order consequences I have personally heard in recordings include:
Compressor before noise suppression, which makes background hum louder during pauses
Noise gate before noise suppression, which chops speech every time the gate slams shut
Gain before compressor, which causes the compressor to react to amplified noise instead of voice
Limiter before compressor, which crushes dynamics before the compressor can even out levels
Getting the order right is the single highest-impact change you can make to your stream audio. I have moved setups from sounding amateur to sounding professional with nothing more than a filter reorder and a threshold tweak.
The Optimal OBS Audio Filter Chain Order
Here is the filter chain order our team uses on every OBS setup, from budget USB mics to XLR condensers. Apply these in this exact sequence, top to bottom, in the OBS audio filters panel:
Noise Suppression – Strip continuous background noise like fans, hum, and air conditioning
Noise Gate – Mute the gaps between phrases once the noise floor is already lowered
Compressor – Even out the volume difference between quiet and loud speech
Limiter – Catch any sudden peaks above 0 dB to prevent clipping
Gain – Set the final output level so your voice sits around -6 dB on the meter
This order works because each filter hands a cleaner, more predictable signal to the next. Noise suppression lowers the noise floor, the gate then has a clear threshold to read, the compressor sees mostly voice, the limiter catches surprises, and gain sets the final loudness.
If you only add three filters, use this short version: Noise Suppression, Noise Gate, Compressor. You can always add a limiter and gain later.
How to Add Audio Filters in OBS Studio?
Adding audio filters in OBS Studio takes about a minute per filter. Follow these steps to build your chain:
Open OBS Studio and click the Settings button in the bottom-right corner
Select the Audio tab and confirm your microphone under Mic/Auxiliary Audio
Close Settings, then in the main OBS window find Audio Mixer at the bottom
Click the three-dot menu (or gear icon) next to your microphone and select Filters
In the Filters window, click the + button in the bottom-left to add a filter
Choose the filter type from the dropdown, name it, and click OK
Add each filter in the recommended order from top to bottom
Drag filters up or down using the handle on the left to reorder them
Click Close when done
You can rename each filter by clicking its name in the list. I label mine by purpose: NS-RNNoise, Gate-Mic, Comp-Voice. It makes troubleshooting faster when a stream sounds off.
Noise Suppression Filter Options: RNNoise vs Speex
OBS Studio ships with two built-in noise suppression options, plus support for third-party plugins. Choosing the right one is the foundation of your chain.
RNNoise is a recurrent neural network trained on thousands of voice samples. It identifies human speech versus noise with high accuracy and removes background sounds like keyboard clicks, fans, and street noise while leaving your voice intact. It uses more CPU than Speex, but on any computer built in the last five years, the cost is negligible.
Speex is an older, lightweight DSP algorithm. It uses far less CPU but produces more artifacts, sometimes muffling your voice or leaving metallic tones. Speex is best for older hardware or for streamers who run extremely CPU-heavy scenes.
Our team uses RNNoise on every setup. The quality difference is large enough that you can hear it in a side-by-side A/B test. If you have an NVIDIA RTX graphics card, you can also try the NVIDIA Broadcast noise removal as a virtual mic, which is even more aggressive for mechanical keyboard and PC fan noise.
RNNoise vs Speex: Quick Comparison
Here is how the two built-in noise suppression options stack up against each other in 2026:
RNNoise – Higher CPU usage, excellent noise removal, preserves voice tone, recommended for most setups
Speex – Lower CPU usage, basic noise removal, can introduce metallic artifacts, best for older hardware
NVIDIA Broadcast – GPU-accelerated, very aggressive noise removal, requires RTX card, runs as virtual mic
Noise Gate Settings: Threshold, Attack, and Release
The noise gate is the filter streamers ask about most. It works like a smart mute: when your voice drops below a set volume, the gate closes and silences the mic. When you speak, the gate opens and lets audio through.
To set the noise gate threshold, watch your mic level meter in OBS while you are NOT talking. The level you see is your noise floor. Set the gate’s Close Threshold just above this number, then set the Open Threshold 3-6 dB above the close threshold. This gap prevents the gate from flickering open during quiet breaths.
For most USB condenser microphones, a close threshold of -35 dB and an open threshold of -30 dB works well. For dynamic mics like the Shure SM7B, you may need to push the close threshold down to -50 dB because dynamic mics produce lower output.
Settings that make the biggest difference on the noise gate:
Close Threshold – The dB level where the gate mutes the mic. Set just above your noise floor
Open Threshold – The dB level where the gate opens. Set 3-6 dB above close threshold
Attack Time – How fast the gate opens. 6 ms is a good starting point for voice
Release Time – How fast the gate closes. 50-100 ms avoids choppy cut-offs without leaving dead air long
If your audio sounds choppy, your release time is too short. If you hear room tone bleeding in between sentences, your close threshold is too low. Make small adjustments and test each one.
Compressor Filter Configuration in OBS
The compressor reduces the volume difference between loud and quiet parts of your speech. Without one, you will whisper and then shout, and your viewers will constantly adjust their volume.
The compressor filter in OBS has five settings. Here is what each does and how to set it for streaming voice:
Ratio – How much the compressor reduces volume above the threshold. 4:1 is a strong starting point for voice
Threshold – The dB level where compression begins. -18 dB works for most voices
Attack – How fast compression engages. 3 ms preserves the start of words without clipping
Release – How fast compression disengages. 100 ms lets the compressor breathe between phrases
Output Gain – Makeup gain to restore lost volume. 3-6 dB is typical
The goal of compression is to make your voice sit consistently around -6 dB on the OBS meter. If your meter jumps between -20 dB and -3 dB, your ratio is too low or your threshold is too high. If your voice sounds squashed and unnatural, your ratio is too high.
For podcasters who want a more controlled sound, VST plugins like ReaComp give you visual feedback and finer control. For streamers, the built-in compressor is more than enough.
VST Plugin Alternatives for OBS Audio Filters
OBS Studio supports VST 2.x plugins, which unlock far more powerful versions of every built-in filter. The ReaPlugs suite from Cockos is free and is what most professional streamers use.
The most popular VST plugins for OBS in 2026:
ReaGate – A more flexible noise gate with sidechain support and visual feedback
ReaComp – A professional compressor with parallel compression and advanced detection modes
ReaEQ – A parametric equalizer for shaping your voice’s tone
ReaFir – An FFT-based noise removal tool for stubborn hum frequencies
To use VST plugins in OBS, download and install them, then add the VST 2.x Plugin filter from the filter list and point it at your plugin’s DLL file. The plugin loads inside OBS and behaves like any built-in filter.
If you only want one VST upgrade, add ReaComp. It gives you much more control over your compressor settings than the built-in version, including a real-time visualization of gain reduction.
Common Mistakes to Avoid With OBS Audio Filters
I have seen the same handful of mistakes ruin otherwise good audio setups. Watch out for these:
Putting the noise gate before noise suppression – The gate chatters because the noise floor is still high
Compressing too hard – A ratio above 6:1 makes voices sound unnatural and fatiguing
Setting the gate threshold too high – Cuts off the soft consonants at the start of words like “p” and “t”
Adding too many filters – Each filter degrades signal quality. Only add what you actually need
Skipping the limiter – A single loud laugh or shout will clip and distort your entire stream
Forgetting to test before going live – Always do a 60-second test recording after changing filters
Copying someone else’s exact settings – Every mic and voice is different. Use recommended settings as a starting point, then adjust
The single biggest mistake is placing the noise gate before noise suppression. If you take only one thing from this guide, make it the correct filter chain order.
Testing and Tuning Your OBS Audio Filter Chain
Always test your filter chain with a real recording before going live. Open OBS, click Start Recording under the Controls panel, and speak normally for 60-90 seconds. Include silence, whispers, loud phrases, and any sounds you want to capture or block.
Then play back the recording and listen for:
Choppy or cut-off words, which mean your gate release time is too short
Background noise bleeding in, which means your noise suppression or gate threshold is wrong
Voice sounding squashed, which means your compressor ratio is too high
Clipping or distortion, which means you need a limiter or your gain is too hot
Make one change at a time and re-test. Tweaking five filters at once makes it impossible to know which one fixed or broke the sound. Most setups need 2-3 rounds of tuning before they sound right.
Once you have a recording you like, save your filter chain as a profile in OBS so you can load it on other scenes or computers. The OBS Profiles system under Settings preserves your entire filter setup.
Frequently Asked Questions
What is the best order to use audio Filters in OBS?
The best order is Noise Suppression, then Noise Gate, then Compressor, then Limiter, then Gain. This sequence cleans background noise first, mutes gaps between phrases, evens out volume, catches peaks above 0 dB, and sets final output level.
What is the best audio filter in OBS for noise suppression?
RNNoise is the best built-in noise suppression filter in OBS Studio for most users. It uses a neural network trained on thousands of voice samples to remove background noise while preserving voice tone. Speex is the alternative if you need lower CPU usage on older hardware.
What should I set my noise gate to in OBS?
Set your noise gate close threshold just above your room’s noise floor (around -35 dB for most setups), with the open threshold 3-6 dB higher. Use 6 ms attack and 50-100 ms release as a starting point, then test and adjust based on how your voice sounds.
Does OBS have noise gates or sound suppression features?
Yes, OBS Studio has both built-in noise suppression (RNNoise and Speex) and a built-in noise gate filter. It also supports VST 2.x plugins like ReaGate, ReaComp, and ReaEQ for more advanced control over your audio processing chain.
Should the noise gate go before or after noise suppression?
The noise gate should go after noise suppression in your OBS filter chain. Noise suppression first lowers your noise floor, then the gate has a clean threshold to read, which prevents choppy cut-offs and false triggers during quiet passages.
Final Thoughts on OBS Audio Filter Chain Order
The OBS audio filter chain order is the single most important factor in getting clean, professional stream audio. Use Noise Suppression first, then Noise Gate, then Compressor, then Limiter, then Gain, and you will eliminate 90% of the audio problems streamers face.
Test every change with a short recording, tune one filter at a time, and do not be afraid to start from the default settings if something sounds wrong. The OBS audio filter chain order is the foundation. Once it is right, your viewers will hear the difference immediately.