
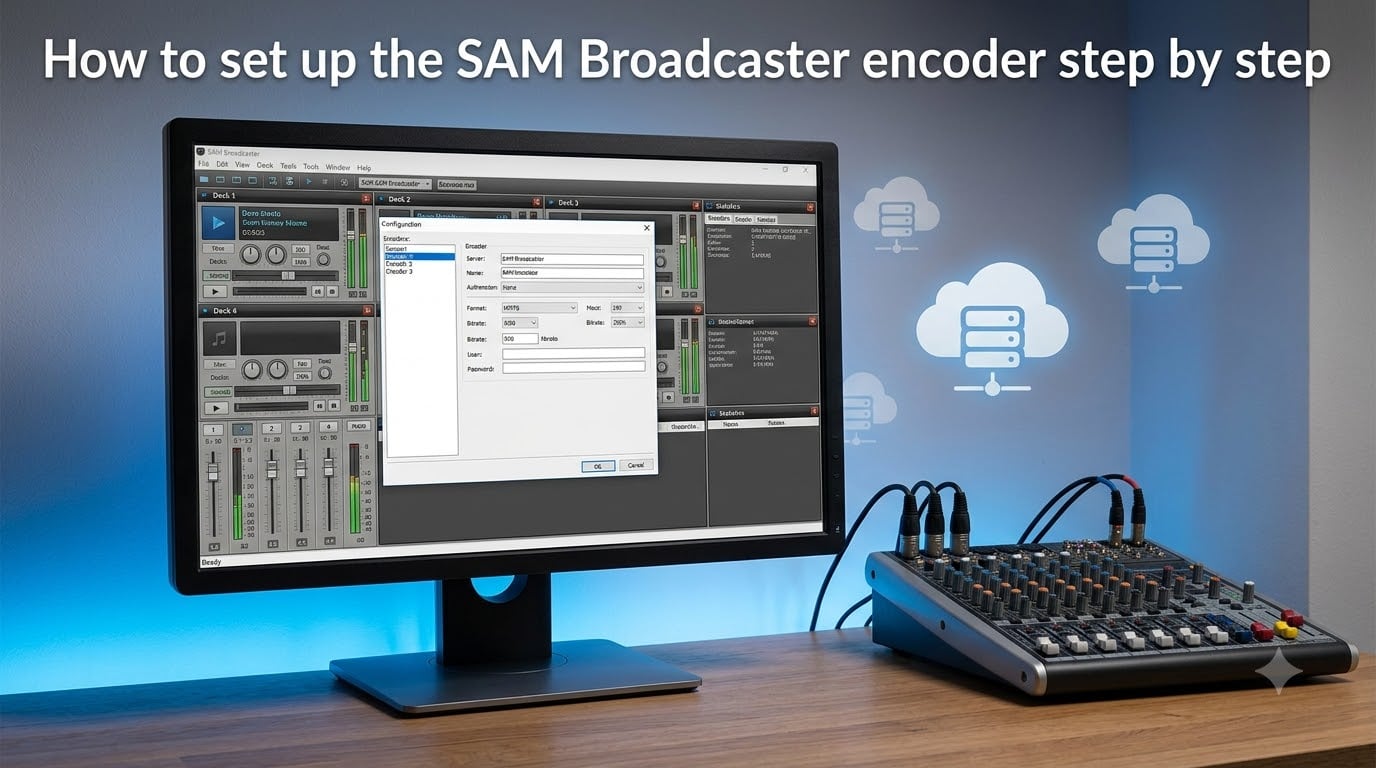
If you are new to internet radio, learning how to set up the SAM Broadcaster encoder step by step can feel overwhelming at first. I have gone through this process on three different stations, and I can tell you the setup is actually straightforward once you know where each setting lives.
SAM Broadcaster is a radio automation program that takes your audio, encodes it into MP3 or AAC, and pushes it to a streaming server like SHOUTcast or Icecast. The encoder is the engine that makes all of that happen. In this guide, I will walk you through every screen, every field, and every checkbox so you can get your station on the air without second-guessing yourself.
Table of Contents
- What Is the SAM Broadcaster Encoder and Why It Matters?
- What You Need Before Setting Up the Encoder?
- How to Set Up the SAM Broadcaster Encoder Step by Step
- SHOUTcast vs Icecast: Which Should You Choose
- Testing Your Encoder and Auto-Reconnect Settings
- Troubleshooting Common SAM Broadcaster Encoder Issues
- Frequently Asked Questions
- Final Thoughts on Setting Up Your SAM Broadcaster Encoder
What Is the SAM Broadcaster Encoder and Why It Matters?
The encoder is the component inside SAM Broadcaster that compresses your live audio into a streaming format and sends it to your hosting server. Without a working encoder, your automation, playlists, and microphone all stay locked on your local machine.
Think of the encoder as a bridge between your machine and your listeners. It takes raw audio, encodes it at the bitrate you choose, and feeds the stream to SHOUTcast, Icecast, or Live365. Everything else in SAM Broadcaster only matters once that bridge is live.
What You Need Before Setting Up the Encoder?
Before you open SAM Broadcaster, gather a few pieces of information. I have seen many users hit walls at this stage because they guessed server details instead of copying them.
SAM Broadcaster installed and licensed (Pro or Home edition)
Active stream hosting account with SHOUTcast v2, Icecast 2, or Live365
Server IP address or hostname from your hosting provider
Server port (usually 8000 for SHOUTcast, 8000 for Icecast)
Source or stream password from your control panel
Mount point if your server uses one (Icecast 2)
SID number if your server uses one (SHOUTcast v2)
Keep this information in a text file. You will copy each value into SAM Broadcaster, and typos are the number one reason for failed connections.
How to Set Up the SAM Broadcaster Encoder Step by Step
Below is the full sequence I follow every time I configure a fresh encoder. The steps are numbered so you can pause anywhere and pick up where you left off.
Opening Desktop B and Adding a New Encoder
Start SAM Broadcaster and look at the top toolbar. You want the view called Desktop B, which is where all encoder controls live.
Click on Desktop B in the top toolbar of SAM Broadcaster.
In the Encoders window, click the green plus sign to add a new encoder.
From the dropdown, select MP3 (LAME_ENC) for the broadest compatibility. Choose AAC if your server and listeners prefer it.
Click OK to create the new encoder profile.
You will now see a new window with tabs: General, Converter, Server Details, Station Details, and Stream Archive. Each tab controls a different part of your broadcast, and we will go through them in order.
Configuring the Converter Tab (Bitrate, Sample Rate, Mode)
The Converter tab decides how your audio is compressed. Pick values that match your server plan and your audience’s bandwidth.
For a typical 128 kbps internet radio station, set the bitrate to 128 kbps, the sample rate to 44.1 kHz, and the mode to Stereo. If your plan is 64 kbps, drop the bitrate to 64 kbps but keep the sample rate at 44.1 kHz so audio quality stays clean.
Three settings deserve attention here:
Bitrate: 128 kbps for music stations, 64 kbps for talk stations, 192 kbps for premium plans
Sample rate: 44.1 kHz matches CD audio and is the safe default
Mode: Stereo for music, Mono for talk, Joint Stereo as a balanced middle option
I always tick Auto Start so the encoder kicks in the moment SAM Broadcaster loads. I also enable Auto Reconnect so the stream survives brief network blips without me babysitting it.
Configuring SHOUTcast v2 Server Details
Switch to the Server Details tab and select SHOUTcast v2 from the Server Type dropdown. The fields that appear next are specific to SHOUTcast v2 servers.
Enter the Server IP or hostname your hosting provider gave you.
Type the Server Port (commonly 8000).
Enter the Source Password exactly as shown in your control panel.
Add your SID number in the SID field (usually 1 for the first stream).
Tick Public Server if you want your station listed in the SHOUTcast directory.
Click Apply to save your server settings.
One detail SHOUTcast users often miss: the SID number is not the same as a stream ID. SHOUTcast v2 uses SIDs to separate multiple streams on one server, so set it to match what your host assigned.
Configuring Icecast 2 Server Details
For Icecast 2, the Server Details tab shows a different set of fields. The flow is similar, but the names and required entries change.
Select Icecast 2 from the Server Type dropdown.
Enter the Server IP or hostname.
Set the Server Port (8000 unless your host uses something custom).
Enter the Source Password.
Type your Mount Point, for example /stream or /live.
Leave the Administrator Username and Password blank unless your host requires them.
Click Apply to save.
Mount points are case-sensitive. If your host says /stream, type /stream, not /Stream. That single uppercase letter has cost me at least an hour of debugging across the years.
Setting Up Station Details and Statistics Relay
The Station Details tab is where listeners discover your station. Fill in the metadata accurately so your stream shows up correctly in player apps and directories.
Add your station name, genre, website URL, and a short description. Tick the option to stream song titles so listeners see what is playing in real time. This is how information flows from SAM Broadcaster to the Icecast or SHOUTcast metadata block.
Statistics relay is a useful but often overlooked feature. When you enable it, SAM Broadcaster sends listener data back to your server so you can monitor real-time audience counts. Enable it on the Server Details tab by checking the relevant box and saving your changes.
SHOUTcast vs Icecast: Which Should You Choose
Both servers handle MP3 and AAC streams well, but they differ in a few practical ways. I have run stations on both, and here is the honest comparison.
SHOUTcast v2 is the more traditional choice. It supports a directory listing, uses SID numbers, and is widely supported by radio directories. If your priority is listener discoverability, SHOUTcast v2 is a solid default.
Icecast 2 is more flexible. It supports AAC, Ogg Vorbis, and Opus, uses mount points, and is open source. If you want fine control over multiple streams, custom metadata, or non-MP3 formats, Icecast 2 fits better.
For most new broadcasters, the choice comes down to what your hosting provider offers. If both are available, SHOUTcast v2 is the easier starting point, and Icecast 2 is the upgrade path once you need more flexibility.
Testing Your Encoder and Auto-Reconnect Settings
You have filled in every tab. Now it is time to test the connection before going live. SAM Broadcaster makes this easy with a single button.
Click the encoder start button on Desktop B. The status indicator should move from grey to green within a few seconds. If it goes green, your encoder is broadcasting to your server.
Open your stream URL in a browser or media player like VLC or Winamp to confirm audio is playing. I always test with two different players because some players cache old streams. If both play your audio, you are officially on the air.
Auto-reconnect is your safety net for outages. With it enabled, SAM Broadcaster will retry the connection every few seconds if the server drops. Without it, you would need to manually restart the encoder every time your network blinked.
Troubleshooting Common SAM Broadcaster Encoder Issues
Even a perfect setup can hit snags. Here are the four problems I have run into most often, and the fixes that actually work.
If the encoder connects but no one hears audio, check the Public Server setting and your mount point. A wrong mount point sends the stream to a URL nobody is listening to. Verify it matches what your host assigned.
If you see “Unable to send data fast enough” errors, your bitrate is too high for your upload speed or your server plan. Drop the bitrate by 32 kbps and test again. This error is almost always a bandwidth ceiling, not a software bug.
If SAM Broadcaster freezes during encoding, check your audio input levels. Excessively hot signals can choke the encoder. Keep your master output around -3 dB and your peaks under 0 dB.
If the encoder refuses to connect after an outage, restart SAM Broadcaster entirely. The reconnection logic has known bugs in some versions, and a fresh restart clears them. Updating to the latest patch usually fixes this for good.
Frequently Asked Questions
How do I set up an encoder in SAM Broadcaster?
Open Desktop B from the toolbar, click the plus sign in the Encoders window, choose MP3 (LAME_ENC) or AAC, then fill in the Converter, Server Details, and Station Details tabs before clicking the encoder start button.
What bitrate should I use for SAM Broadcaster?
Use 128 kbps for music stations, 64 kbps for talk radio, and 192 kbps for premium plans. Always pair the bitrate with a 44.1 kHz sample rate and Stereo mode for the best quality at your bandwidth limit.
How do I connect SAM Broadcaster to Shoutcast?
On the Server Details tab, choose SHOUTcast v2 as the Server Type, enter your server IP, port 8000, the source password, and your SID number. Click Apply, then start the encoder and verify audio in a media player.
How do I configure Icecast settings in SAM Broadcaster?
Select Icecast 2 as the Server Type, enter the server IP, port, source password, and your mount point such as /stream. Leave admin credentials blank unless your host requires them, then save and start the encoder.
How do I start the encoder in SAM Broadcaster?
Go to Desktop B, highlight the encoder profile you configured, and click the start button. The status light turns green when the connection succeeds, and your stream becomes live within seconds.
Final Thoughts on Setting Up Your SAM Broadcaster Encoder
You now have a complete walkthrough of how to set up the SAM Broadcaster encoder step by step. The process is the same for every station: open Desktop B, add an encoder, configure the converter, fill in server details, and test the connection.
Save your settings, enable auto-reconnect, and keep your host’s details in a text file for quick reference. Within minutes, your station will be broadcasting to listeners around the world, and you will have a setup that survives the next network blip without a hitch.