
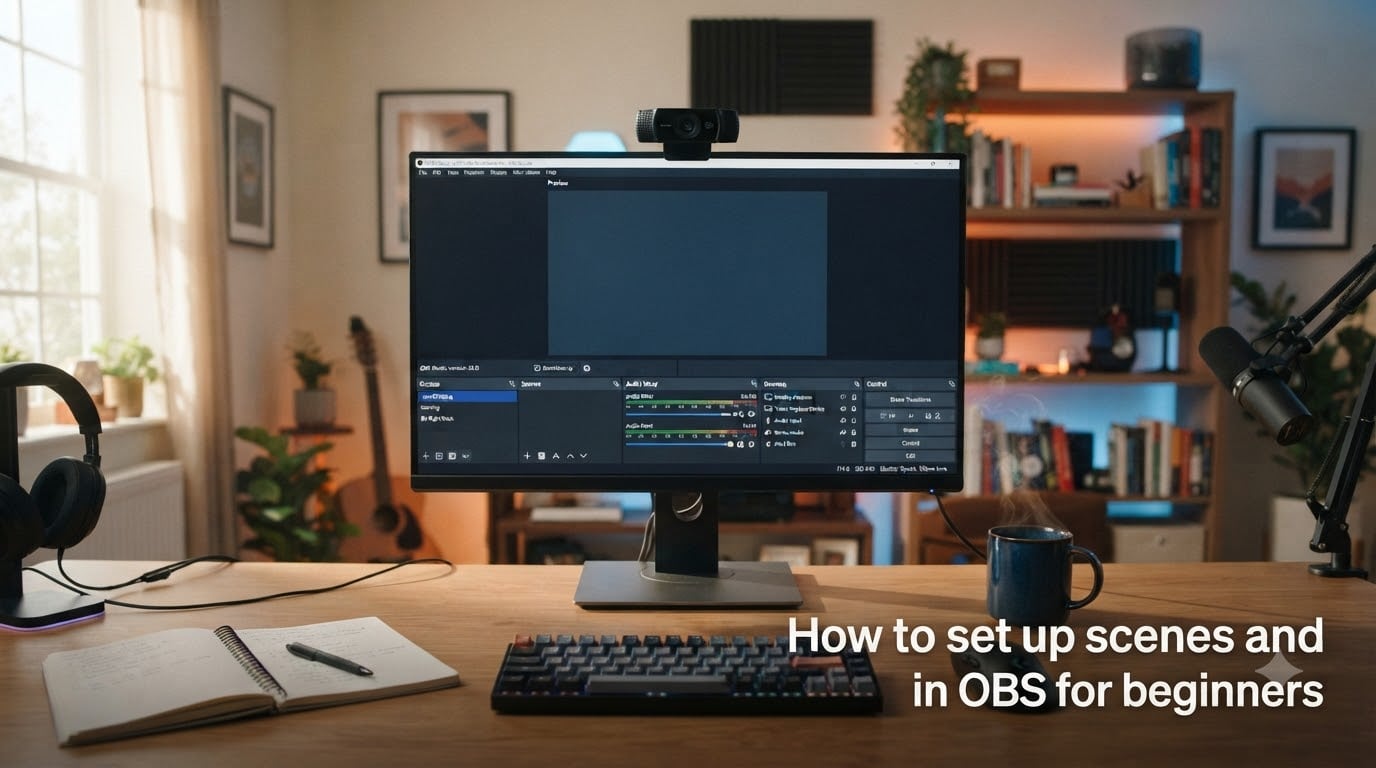
Learning how to set up scenes and sources in OBS for beginners is the single most useful skill when you start streaming or recording with OBS Studio. Scenes decide what your viewers see, and sources are the building blocks inside each scene.
I have helped dozens of new creators set up their first scene, and the ones who grasp this foundation early always grow faster on Twitch, YouTube, or wherever they publish. In this guide I will walk you through the same workflow I use myself, with screenshots-style steps, real examples, and the mistakes I wish someone had warned me about.
By the end, you will know exactly what scenes and sources are, how to build a clean layout, how to switch scenes on the fly with hotkeys, and how to fix the most common beginner headaches.
Table of Contents
- What Are Scenes and Sources in OBS Studio?
- How to Set Up OBS as a Beginner in 5 Quick Steps
- How to Create Your First Scene in OBS Studio
- Understanding OBS Source Types and When to Use Each
- How to Add and Configure Sources in Your Scene
- Mastering Source Layering and Z-Order in OBS
- Setting Up Audio Sources for Streaming
- Setting Up Hotkeys for Scene Switching
- Scene Collection Best Practices and Common Mistakes to Avoid
- Frequently Asked Questions
- Final Thoughts on Setting Up OBS Scenes and Sources
What Are Scenes and Sources in OBS Studio?
A scene in OBS Studio is a saved layout of the video and audio you want to show at a specific moment. A source is each individual element that lives inside a scene, like your webcam, microphone, game window, or a “Starting Soon” graphic.
I like to use a stage analogy. The scene is the stage, and every source is a prop placed on it. Change the scene, and you instantly rearrange the props for the next moment in your stream. OBS renders the sources top to bottom in the Sources dock, so whatever sits highest in the list appears on top of everything below it.
You will also see two related terms as you explore OBS. A scene collection is a saved group of scenes that travel together, like an entire preset for one stream type. A profile, on the other hand, stores your settings such as bitrate, encoder, and output format. Most beginners only need one profile but several scenes inside one collection.
Understanding this trio (scene, source, scene collection) is the foundation of everything else you will do in OBS. Once it clicks, the rest of the software feels far less intimidating.
How to Set Up OBS as a Beginner in 5 Quick Steps
Before we go deep, here is the fastest path from zero to a working stream. These are the same five steps the official OBS Quick Start Guide recommends, and they take most beginners about 20 minutes.
- Download and install OBS Studio from the official site (obsproject.com) and launch it.
- Run the Auto-Configuration Wizard from Tools > Auto-Configuration Wizard. It will test your internet and hardware, then set your resolution, bitrate, and encoder.
- Create your first scene using the plus button in the Scenes dock (we cover this in detail below).
- Add sources to that scene, starting with your webcam, microphone, and game or display capture.
- Click “Start Recording” or set up streaming credentials, then run a 60-second test before going live.
If those steps feel vague, do not worry. The rest of this guide expands each one so you understand what is happening behind the buttons.
How to Create Your First Scene in OBS Studio
Creating a scene in OBS is a five-second task once you know where to look. The Scenes dock lives in the bottom-left of the OBS window, just under the preview.
- Look at the Scenes dock at the bottom-left of OBS.
- Click the small plus sign (+) at the bottom of the dock.
- Type a clear name for your scene, such as “Starting Soon,” “Gameplay,” or “Just Chatting.”
- Press OK. Your new scene appears in the list and becomes the active scene.
- Repeat whenever you need a new layout. You can rename a scene by right-clicking it and choosing Rename.
Use specific names from day one. I have seen creators end up with scenes called “Scene 2” and “New Scene 3,” and within a month they cannot remember what any of them contain.
To reorder scenes, simply drag them up or down inside the Scenes dock. The order you see here is the order they appear when you switch with hotkeys, so put your most-used scenes near the top.
Understanding OBS Source Types and When to Use Each
Sources are where OBS shines. Each source type solves a different problem, and choosing the right one saves hours of frustration. Here is the comparison I wish I had when I started.
| Source Type | What It Captures | Best For |
|---|---|---|
| Display Capture | Your entire monitor | Full desktop tutorials, software demos, presentations |
| Game Capture | A specific running game | Streaming games with the lowest performance cost |
| Window Capture | A single app window | Showing one program like a browser, chat, or video editor |
| Video Capture Device | Webcam or capture card | Face cam overlays, DSLR or camlink feeds |
| Audio Input Capture | Microphone or line-in | Voice chat, narration, podcasting |
| Audio Output Capture | System sound | Game audio, music, alerts |
| Image | Static PNG or JPG | Overlays, alerts, branding |
| Media Source | Video or audio file | Looping background videos, sound bites |
| Text | Dynamic or static text | Lower thirds, schedule, donation ticker |
| Color Source | A solid color rectangle | Background filler, clean BRB screens |
| Browser Source | A live web page | Stream alerts, recent events widgets, donation goals |
For your first scene, you almost always need at minimum a Video Capture Device (your webcam) and either Game Capture or Display Capture, plus an Audio Input Capture for your microphone. Add overlays and widgets later once the basics are working.
How to Add and Configure Sources in Your Scene
Once you have created a scene, adding sources follows the same pattern every time. OBS walks you through a small dialog for each one.
- Make sure the scene you want is selected in the Scenes dock.
- Click the plus sign (+) at the bottom of the Sources dock.
- Pick the source type that matches what you want to add.
- Give the source a descriptive name. OBS will remember your settings under that name, so naming it “Logitech C920 Facecam” is much easier to debug later than “Video Capture Device.”
- Adjust the settings that appear (device, resolution, whether to crop, and so on) and click OK.
- Drag the source in the preview window to reposition it. Use the red handles around the edge to resize.
- Hold Alt while dragging to crop a source from a specific edge. This is perfect for cropping a Display Capture to one monitor.
Once your layout looks right, right-click any source and choose “Lock” so you do not accidentally move it. Locked sources show a small padlock icon next to their name.
If a source needs the same exact configuration across multiple scenes, right-click it and choose “Add to all scene-specific sources as reference” or set it as a Global Source. Global Sources live in the top menu under Tools and let you reuse the same webcam in every scene without duplicating settings.
Mastering Source Layering and Z-Order in OBS
Source layering, also called z-order, is the single most confusing thing for new OBS users. The rule is simple: items at the top of the Sources dock appear in front, and items at the bottom appear behind.
Picture a stack of transparencies on a light table. The transparency on top of the pile is the one you see last, so it covers everything below it. That is exactly how OBS orders sources.
For a typical gaming stream, layer your sources like this, top to bottom in the Sources dock:
- Webcam (Video Capture Device)
- Browser alerts and recent-events widgets
- Image overlays (frames, logos)
- Color or image background
- Game Capture
- Display Capture (only if used as a backup)
To reorder, click and drag a source up or down in the Sources dock. If your webcam disappears behind your game, that almost always means the game capture source is sitting higher in the list than the webcam. Drag the webcam up to fix it.
Two tips I give every beginner: first, hide sources you do not need right now by clicking the eye icon instead of deleting them. Second, group related items using nested scenes. Right-click inside a scene and choose Add > Scene to nest one scene inside another, which is a powerful way to organize complex layouts.
Setting Up Audio Sources for Streaming
Audio makes or breaks a stream. OBS handles audio in the same way as video: each input or output is a source. Adding them is quick.
- In the Sources dock, click plus and choose Audio Input Capture. Select your microphone.
- Click plus again and choose Audio Output Capture. Pick your system sound device for game audio.
- Open the Audio Mixer panel, which sits next to the Sources dock.
- Watch the green and yellow bars while you speak and play sound. They should peak around -12 dB to -6 dB.
- Right-click your mic source and add a Noise Suppression filter (RNNoise is the modern built-in option) and a Noise Gate for cleaner speech.
If your viewers say they hear an echo, the culprit is almost always your microphone picking up the audio playing through your speakers. Either wear headphones, or right-click your mic source and add the Noise Suppression filter I mentioned above. RNNoise does a remarkable job even on cheap mics.
To balance your game audio and voice, drag the sliders in the Audio Mixer. Most creators keep the microphone in the -6 dB to -3 dB range and game audio around -10 dB to -6 dB so voice always sits clearly above everything else.
Setting Up Hotkeys for Scene Switching
Clicking scenes with your mouse while you are mid-game is a recipe for disaster. OBS hotkeys fix this in seconds.
- Open Settings from the Controls dock and switch to the Hotkeys tab.
- Scroll down to “Switch to scene” for each scene in your collection.
- Click inside the hotkey field and press a unique key combo. I suggest Ctrl+1, Ctrl+2, Ctrl+3, and so on for your main scenes.
- Click Apply, then test each shortcut while OBS is focused.
You can also assign hotkeys for specific actions like Start Recording, Stop Streaming, or mute a single source. I keep Ctrl+Shift+M mapped to mute my mic for surprise coughing fits.
If you own an Elgato Stream Deck or similar macro pad, OBS can integrate with it through plugins like Stream Deck OBS or Touch Portal. That lets you switch scenes, mute audio, and trigger media sources with a single button tap.
Scene Collection Best Practices and Common Mistakes to Avoid
After helping new creators set up OBS, I have seen the same handful of issues pop up again and again. Use these scene collection best practices and you will skip most of them.
Build your scene collection around stream moments. A solid starter set looks like this:
- Starting Soon – a holding screen with timer and music
- Gameplay – the main scene with webcam overlay
- Just Chatting – a larger webcam view, minimal overlays
- BRB / Be Right Back – a clean screen with audio-only alert
- Ending – credits, social links, goodbye message
Common mistakes to avoid:
- Adding too many sources before testing. Start with two or three, then add more.
- Forgetting to lock sources after positioning them. One accidental drag ruins an overlay.
- Using Display Capture when Game Capture will work. Display Capture is heavier and can capture private notifications.
- Skipping a test recording. Always record 60 seconds locally and watch it back before going live.
- Mixing up scenes and scene collections. A collection holds scenes; do not delete a collection unless you want to lose every scene inside.
Finally, back up your scene collection. Use Scene Collection > Export in the top menu. If OBS crashes or you reinstall, you can import it in seconds instead of rebuilding from scratch.
Frequently Asked Questions
How to set up scenes in OBS?
Open OBS Studio, look at the Scenes dock in the bottom-left, click the plus (+) button, name your scene, and press OK. Your new scene becomes active immediately and is ready for sources to be added.
How to set up sources on OBS?
With your scene selected, click the plus (+) at the bottom of the Sources dock, choose a source type (Display Capture, Game Capture, Video Capture Device, Audio Input Capture, and so on), name the source, configure its settings, and click OK. You can then drag and resize it in the preview.
How do I set up OBS as a beginner?
Install OBS Studio, run Tools u0026gt; Auto-Configuration Wizard to set your resolution and bitrate, create one scene, add a webcam and microphone source, add a Game Capture or Display Capture source, then test by recording a short clip locally before streaming.
Is OBS Studio good for beginners?
Yes. OBS Studio is free, open-source, and the most widely used streaming software in the world. Beginners get a friendly Auto-Configuration Wizard, helpful community forums, and enough features to grow into for years.
Why are my sources not showing up in OBS?
The most common reasons are: the source is hidden behind another source (drag it up in the Sources dock), the source is locked or its eye icon is off, the wrong device is selected in the source properties, or the game is running in exclusive fullscreen instead of borderless or windowed mode.
Final Thoughts on Setting Up OBS Scenes and Sources
Learning how to set up scenes and sources in OBS for beginners is less about memorizing menus and more about understanding the relationship between scenes, sources, and scene collections. Once that mental model clicks, every feature in OBS starts to make sense.
Start small today. Create one scene, add your webcam and microphone, run the Auto-Configuration Wizard, and record a 60-second test clip. That single test will teach you more than any tutorial, and it is the foundation every bigger layout is built on. When you are ready, grow into overlays, alerts, hotkeys, and Stream Deck integration, and remember to back up your scene collection regularly.