
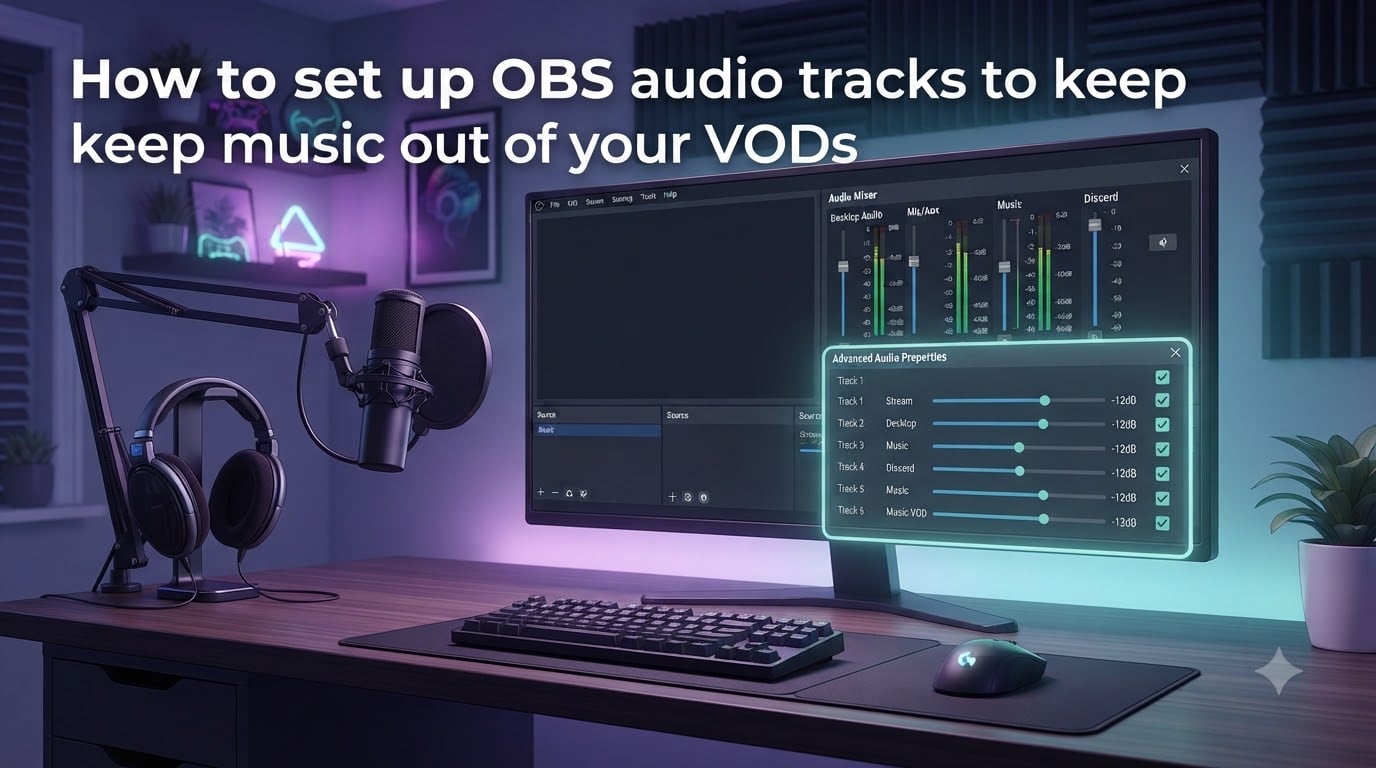
If you have ever queued up a Spotify playlist, hopped into a stream, and later found an entire hour of your VOD muted because of a copyrighted track, you already know why this guide exists. The fix is built right into OBS Studio, and it does not require any third-party software on Twitch. You just have to know where to flip the switch and how to assign audio sources to the right OBS audio tracks for VOD separation.
I have run into this problem on multiple occasions across a few channels, and I have helped streamers who lost their entire VOD history to music strikes. In this guide, I will walk you through exactly how to set up OBS audio tracks so music stays on your live stream but never lands on your VOD. By the end, your viewers will hear the music live, but Twitch will only ever record the clean audio track.
This approach is the same one the OBS Project recommends in their official Twitch VOD Track guide, and it is the configuration I fall back on any time I run a music-heavy stream. Let us start with the basics so the rest of the steps make sense.
Table of Contents
- What Is the OBS VOD Track and Why Streamers Need It?
- Understanding OBS Audio Tracks 1-6
- How to Enable the Twitch VOD Track in OBS Settings
- How to Assign Audio Sources to the Right Tracks
- How to Test Your OBS VOD Track Setup?
- YouTube Multistreaming: Limitations and Workarounds
- Troubleshooting Common OBS VOD Track Issues
- Frequently Asked Questions
- Final Thoughts on Keeping Music Off Your VODs
What Is the OBS VOD Track and Why Streamers Need It?
The OBS VOD track (sometimes called the Twitch VOD track) is a separate audio channel that Twitch uses to generate your VOD audio, independent from the live audio your viewers hear in real time. When you send music to a different track than your voice and game audio, Twitch keeps that music off your permanent recording while still playing it live to anyone watching.
This is not just a convenience feature. Twitch actively scans VOD audio for copyrighted music, and a single strike can lead to VOD muting, channel restrictions, or even account suspension. Most DMCA problems streamers face come from music playing during the broadcast that nobody thought twice about until the VOD went up. Setting up OBS audio tracks for VOD separation is the simplest way to keep your channel in good standing while still enjoying music on stream.
The core idea in one sentence
Track 1 carries what your viewers hear live; Track 2 carries what Twitch keeps on your VOD. Music belongs on Track 2 only when the live stream should not include it, or the other way around depending on your goal.
Understanding OBS Audio Tracks 1-6
OBS Studio lets you route every audio source to up to six independent tracks. Each track is its own audio channel that gets bundled into your recording and stream output. In practice, you will only touch Tracks 1 and 2 for the VOD setup, but it helps to know what each option does.
| Track | Best Used For | Notes |
|---|---|---|
| Track 1 | Live stream audio (what viewers hear) | This is the default and always-on track for streaming. |
| Track 2 | Twitch VOD audio | This is the dedicated feed Twitch uses for VODs. |
| Track 3 | Backup voice recording | Handy for editors who want a clean vocal take later. |
| Track 4 | Backup music recording | Useful for separating music for post-stream video edits. |
| Track 5 | Sound effects / alerts only | Keeps alert sounds removable in post-production. |
| Track 6 | Custom or niche use | Free for advanced routing or monitoring setups. |
For most streamers, Track 1 is the live mix and Track 2 is the VOD mix. Anything you want on stream but off your VOD (typically music) goes only to Track 2. Anything you want in both (your mic, game audio, alerts) goes to both Track 1 and Track 2.
How to Enable the Twitch VOD Track in OBS Settings
This is the part most people miss. OBS hides the Twitch VOD Track option behind a setting that is off by default. Without enabling it, your Track 2 audio will not reach Twitch at all. The steps below take about 30 seconds once you know where to look.
Step 1. Open OBS Studio and click Settings in the bottom-right corner of the main window.
Step 2. In the left sidebar, choose the Output tab.
Step 3. Switch the output mode from Simple to Advanced at the top of the Output tab. This unlocks the Recording and streaming sub-tabs.
Step 4. Click on the Recording sub-tab (not Streaming). Under the Audio Track section, you will see checkboxes labeled Track 1 through Track 6.
Step 5. Tick the boxes for Track 1 and Track 2. These are the two tracks OBS will record.
Step 6. Scroll down to find the Enable Twitch VOD Track checkbox. Toggle it on and set the dropdown next to it to Track 2.
Step 7. Click Apply, then OK to save the settings.
That is the global side of the setup. Now you need to tell OBS which audio sources should land on Track 1, which should land on Track 2, and which should land on both.
How to Assign Audio Sources to the Right Tracks
After enabling the VOD track, the next step is assigning audio sources. This is where the actual separation happens, and it is the step that confused me the most the first time I tried it. The settings live in a window called Advanced Audio Properties.
Step 1. In the main OBS window, look for the Audio Mixer panel near the bottom of the screen. You will see vertical sliders for every audio source in your scene.
Step 2. Click the small gear icon or the three-dot menu next to any audio source in the mixer, then choose Advanced Audio Properties. You can also open it from the Edit menu at the top of OBS.
Step 3. A new window opens with every audio source as a row. Each row has six checkboxes labeled 1 through 6, representing the six OBS audio tracks.
Step 4. For your microphone, check both Track 1 and Track 2. You want your voice on the live stream and on the VOD.
Step 5. For your desktop audio (game, Discord, alerts), check both Track 1 and Track 2 as well. Viewers expect to hear your gameplay in the VOD.
Step 6. For your music source (Spotify, a browser source for YouTube music, an audio source for SoundCloud), check Track 2 only and uncheck Track 1.
There is one nuance here. If you want music on stream but off your VOD, that is exactly the layout above. If you want the opposite, music on your VOD but muted on stream (rare), you would flip the assignment.
Tip: Watch the mute and monitor columns
While you are in Advanced Audio Properties, do not confuse the Audio Tracks columns with the Monitor dropdown or the mute icon at the far right. Muting a source silences it in OBS entirely, while unchecking a track only removes it from one output feed. This is a small detail, but it explains why some streamers think their setup is broken when they actually just muted a source by accident.
Extra tip: Separating alerts from music
If you want to be extra clean, send alert sounds (sub notifications, channel point redeems) to both Track 1 and Track 2, and send music only to Track 2. That way the energy of the stream stays intact while music stays isolated for cleanup.
How to Test Your OBS VOD Track Setup?
Never assume the configuration works. I learned this the hard way when I ran a three-hour stream with a “perfect” setup and discovered Twitch had muted a 45-minute stretch because Track 2 was still picking up my desktop audio. Spend five minutes testing before going live.
Step 1. Start a recording in OBS (not a stream, just a local recording) using the same output settings you will use for the live broadcast.
Step 2. Talk into your mic, play a song, launch your game, then stop the recording after about 60 seconds.
Step 3. Open the recording in VLC, a media player that supports multi-track audio. Right-click the file, choose Audio, then Audio Track. You should see at least Track 1 and Track 2 listed.
Step 4. Listen to Track 1. You should hear your mic, game audio, and alerts. Music should be silent or near-silent.
Step 5. Listen to Track 2. You should hear everything including music, since that is the feed Twitch uses to generate your VOD.
Step 6. Run a short test stream (five minutes is enough), then wait for the VOD to appear. Confirm the music is gone.
If music still shows up on Track 1, go back to Advanced Audio Properties and confirm the music source has Track 1 unchecked. If it shows up on Track 2 only when it should be everywhere, you have the wrong assignment.
YouTube Multistreaming: Limitations and Workarounds
Here is the part that frustrates most multistreamers. YouTube does not support a separate VOD audio track the way Twitch does. Any audio you send to your YouTube stream will end up on the YouTube VOD as well. That means if you are multistreaming to Twitch and YouTube simultaneously, you cannot rely on the Twitch VOD track alone to keep music off both platforms.
Twitch reads Track 2 and ignores Track 1 for VODs. YouTube treats every track as one combined stream. So if music is on your live mix for YouTube viewers, it will be on the YouTube VOD too. This is exactly the limitation OBS forum users run into when they try to keep music off a YouTube stream VOD while streaming to both destinations.
Workaround 1: Route music through VB-Cable or Voicemeeter
VB-Cable and Voicemeeter Banana are virtual audio devices that let you route audio between applications without going through your physical speakers. The basic idea:
Install VB-Cable and set it as your default audio output. Route your music player (Spotify, browser) to VB-Cable only. Open OBS and add VB-Cable as a separate audio source. Now your music plays into OBS separately from desktop audio, and you can mute that source entirely on your YouTube stream.
This is the most reliable workaround for multistreamers who play music but want a clean YouTube VOD. It takes about 15 minutes to configure the first time, but once set up, it works for every stream.
Workaround 2: Use the Multiple RTMP plugin
The Multiple RTMP plugin lets you send two separate streams from OBS, each with its own audio configuration. One stream goes to Twitch with music on Track 2. A second stream goes to YouTube with music muted entirely. The plugin essentially gives you the same isolation Twitch gets natively, across any platform that accepts RTMP.
This is heavier than the VB-Cable approach, but it works even when other audio routing tools fight you. If you already multistream often, the setup time pays for itself.
Troubleshooting Common OBS VOD Track Issues
Even with the right settings, things can go sideways. These are the most common problems streamers hit, with fast fixes for each.
Problem: The Twitch VOD Track option is not showing up.
The Output mode is set to Simple. Switch to Advanced under Settings > Output and the option will appear under the Recording sub-tab.
Problem: Music still appears in my VOD.
Confirm the music source in Advanced Audio Properties has Track 1 unchecked. Also confirm your streaming service is set to use Track 2 for VOD. Twitch sometimes takes a stream start or two to fully respect the new track routing.
Problem: My VOD track stopped working after an OBS update.
OBS has reset settings during major updates in the past. Open Settings > Output and re-check the Enable Twitch VOD Track checkbox. Then re-open Advanced Audio Properties and verify each source has the right tracks ticked.
Problem: Twitch mutes large sections of my VOD even though music stopped playing.
Twitch’s audio fingerprinting sometimes mutes extra seconds or even minutes around detected music. The fix is more aggressive: cut your music off well before you wrap the stream, or upload a manually edited VOD that does not contain the flagged segment.
Problem: I do not see six audio track options in Advanced Audio Properties.
Your recording format may be set to a single-track codec. Switch to MKV or MP4 with multiple audio tracks enabled, then reopen the window.
If you are still stuck after running through this list, capture a screenshot of your OBS settings and post it on the OBS Project forums. The community there responds quickly to OBS audio track questions, and the moderators will often spot a misconfiguration in minutes.
Frequently Asked Questions
How to separate audio tracks in OBS for VODs?
Open Settings u0026gt; Output, set Output Mode to Advanced, and tick Enable Twitch VOD Track on Track 2. Then open the Edit menu and choose Advanced Audio Properties. Check Track 1 for your mic and game audio, and check Track 2 only for music. This sends clean audio to Twitch live and a separate feed to your VOD.
How to make OBS not pick up music?
Add your music player as its own audio source in OBS, then open Advanced Audio Properties and uncheck Track 1 for that source. Only check Track 2 if you want music on Twitch but not on your VOD, or uncheck both tracks entirely if you want music off both your stream and your VOD.
Why isn’t OBS separating audio tracks?
The most common causes are wrong Output Mode (must be Advanced), Twitch VOD Track disabled, or assignment mistakes in Advanced Audio Properties. Confirm the Enable Twitch VOD Track checkbox is on under Settings u0026gt; Output u0026gt; Recording, and confirm each audio source has the right Track 1 and Track 2 boxes ticked.
How to have music on stream but not in VOD OBS?
In Advanced Audio Properties, set your music source to Track 2 only, and leave Track 2 set as your Twitch VOD Track in Settings u0026gt; Output. Your live viewers hear the music through Track 1 and your other audio sources, while Twitch only stores Track 2 on the VOD.
What does each audio track do in OBS?
OBS supports up to six audio tracks per recording and stream. Track 1 is the default live audio, Track 2 is reserved for the Twitch VOD feed, and Tracks 3 through 6 are free for custom routing, backup vocal recordings, sound effect separation, or post-production use.
Does OBS record audio tracks separately?
Yes. When you record in MKV or MP4 with multiple audio tracks enabled under Settings u0026gt; Output u0026gt; Recording, OBS saves each enabled track as a separate channel in the file. You can pick a track in any media player that supports multi-track audio, such as VLC.
Final Thoughts on Keeping Music Off Your VODs
Setting up OBS audio tracks to keep music out of your VODs is one of the highest-leverage fixes you can make to a streaming setup. Five minutes of configuration protects every future VOD from copyright strikes and audio muting, and the trade-off is basically nothing. Your live viewers still hear the music, your VODs stay clean, and you keep your channel safe.
If you only remember three things from this guide, let them be these. First, enable the Twitch VOD Track in Settings > Output before doing anything else, because nothing else matters without it. Second, use Advanced Audio Properties to send your music source to Track 2 only, so the audio separation actually works. Third, run a quick test recording and listen back in VLC to confirm Track 1 is clean and Track 2 holds the music, so you never find out the hard way after a four-hour stream.
Once you have the setup dialed in, you can stream with full confidence that your music is not going to come back to bite you on your VOD. If you do run into trouble, the OBS Project forums and our team are both good places to ask for help. Happy streaming.