
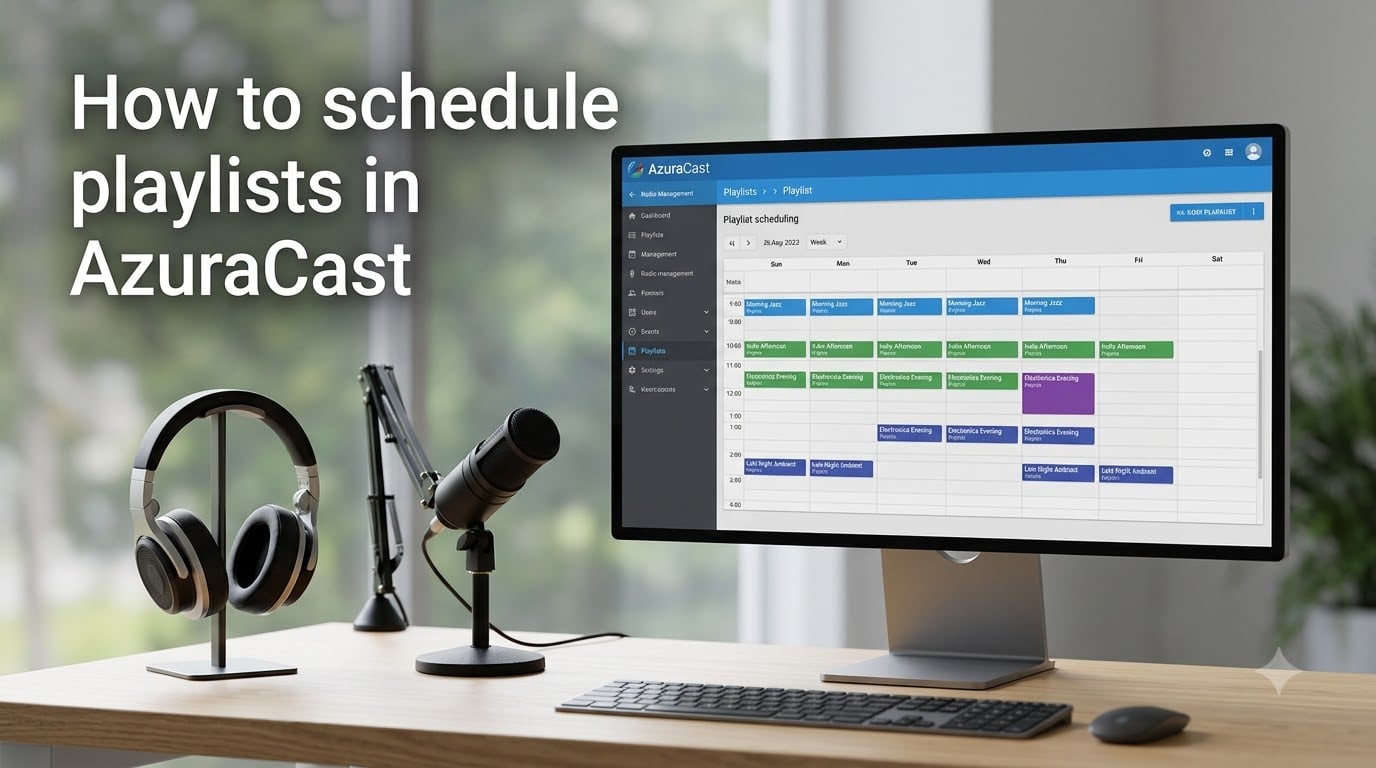
Learning how to schedule playlists in AzuraCast is the single most important skill for running a hands-off internet radio station. Once your schedules are set, the AutoDJ handles everything from music rotation to jingles and ads without you touching a button.
I have worked with AzuraCast across multiple radio setups, and the scheduling system is powerful once you understand how playlist types, time blocks, and priorities fit together. This guide walks you through every step from creating your first playlist to troubleshooting when things go wrong.
Whether you run a 24/7 music station or schedule specific shows at set times, by the end of this article you will know exactly how to configure AzuraCast to keep your broadcast running on autopilot.
Table of Contents
- What Is AzuraCast Playlist Scheduling?
- Accessing the AzuraCast Dashboard
- How to Create a New Playlist in AzuraCast?
- How to Schedule Playlists in AzuraCast?
- AzuraCast Playlist Types Explained
- Understanding Playlist Priorities
- Reviewing and Sharing Your Schedule
- Troubleshooting Common Scheduling Issues
- Frequently Asked Questions
- Wrapping Up
What Is AzuraCast Playlist Scheduling?
AzuraCast playlist scheduling is a built-in feature that lets you define specific time blocks, date ranges, and days of the week when a playlist should play on your radio station. Instead of manually starting content, the AutoDJ reads your schedule and queues the right media at the right moment.
The AutoDJ is the engine behind all of this. It uses Liquidsoap to manage your stream, pulling from the playlists you create and following the rules you set for each one. Scheduling works on top of the AutoDJ, giving you precise control over what airs and when.
Think of it this way: your playlists are the content, the AutoDJ is the player, and the schedule is the calendar that tells the player what to do.
Accessing the AzuraCast Dashboard
Before you can schedule anything, you need to reach the AzuraCast dashboard. Open your browser and navigate to your station URL, then log in with your administrator credentials. If you are using a managed hosting provider, look for a one-click login option from your control panel.
Once logged in, select your station from the left sidebar if you manage multiple stations. Click on the “Playlists” link under your station management section. This is where every playlist creation, editing, and scheduling action happens.
Take a moment to familiarize yourself with this page. You will see any existing playlists listed here along with their type, weight, and current status.
How to Create a New Playlist in AzuraCast?
Creating a playlist is the first step before scheduling. From the Playlists page, click the “New Playlist” button to open the creation form.
Fill in the following fields:
Name: Give your playlist a clear, descriptive name like “Morning Jazz” or “Top of Hour Jingles.” You will thank yourself later when managing a dozen playlists.
Source: Choose where the media comes from. You can upload individual files directly, select a folder from your media library, or import from a remote URL.
Playback Order: AzuraCast offers three options here. “Shuffle” randomizes track order on each cycle. “Sequential” plays files in alphabetical order. “Random” picks tracks with no repeating pattern. Shuffle is the most popular choice for music rotation.
After configuring these settings, click “Save” or “Create.” Your playlist now exists but will not play on any schedule yet. That comes next.
Upload or assign your media files to the playlist before moving on to scheduling. A playlist with no files will not produce any audio even if the schedule is perfectly configured.
How to Schedule Playlists in AzuraCast?
This is the core of what you came here for. Scheduling a playlist tells AzuraCast exactly when it should be active. Here is the step-by-step process.
From the Playlists page, locate the playlist you want to schedule and click the “Edit” button next to it. Navigate to the “Schedule” tab within the playlist editor. Click “Add Schedule” or the plus button to create a new schedule entry.
You will see several configuration options:
Start and End Time: Set the time block for when this playlist should be active. Use 24-hour format. For example, set 06:00 to 10:00 for a morning show block.
Days of the Week: Select which days this schedule applies to. You can choose all seven days for continuous rotation, weekdays only, or specific days for specialty programming.
Date Range: Optionally set a start and end date. This is useful for limited-time promotions, seasonal content, or special event broadcasts. Leave blank for an ongoing schedule with no expiration.
Loop Playlist: Enable this if you want the playlist to repeat continuously during its scheduled time block. Disable it if you want the playlist to play through once and then stop until the next scheduled slot.
Click “Save” to apply the schedule. You can add multiple schedule entries to a single playlist, which is perfect for a jingle that plays at the top of every hour or a show that airs at different times on weekdays versus weekends.
One important detail: schedule entries are inclusive, not exclusive. If you create overlapping schedules for different playlists at the same time, the priority system determines which one wins. We cover that in the priorities section below.
AzuraCast Playlist Types Explained
Choosing the right playlist type is just as important as setting the schedule. Each type changes how the AutoDJ selects and inserts tracks into your broadcast queue. Here are the five playlist types available in AzuraCast.
General Rotation: The default type. Tracks from this playlist rotate into the broadcast alongside other general rotation playlists. The weight field controls how frequently this playlist appears relative to others. Higher weight means more frequent playback.
Once per X Songs: AzuraCast inserts one track from this playlist after every X songs played. This is ideal for jingles or station IDs that should appear at regular intervals within the music flow.
Once per X Minutes: Similar to the songs option but time-based. A track from this playlist plays every X minutes. Use this for advertisements or reminders that need to air on a clock schedule.
Once per Hour: Exactly what it sounds like. One track from this playlist plays each hour. This is commonly used for top-of-hour news updates or legal station identifications required in some countries.
Advanced Playlist: This type uses custom Liquidsoap configuration to handle complex scenarios that the other types cannot manage. Advanced playlists allow side-by-side playback, crossfading between sources, and specialized switching logic. This option is for power users comfortable with Liquidsoap syntax.
For most stations, General Rotation handles the bulk of the music while Once per X Songs or Once per Hour handles jingles and ads. You can mix and match types freely across your playlists.
Understanding Playlist Priorities
AzuraCast introduced a priority system that changed how conflicting schedules resolve. Before this feature, overlapping playlists could cause unpredictable behavior. Now every playlist has a priority value that determines its importance when multiple playlists are eligible at the same time.
Each playlist type comes with a default priority. General Rotation playlists get a lower priority by default, while interrupting playlists like Once per Hour get a higher priority. This means jingles and scheduled content will always override regular music rotation.
You can manually adjust the priority value for any playlist. Higher numbers mean higher priority. If you have a special broadcast that must air at a specific time no matter what, set its priority above your other playlists.
Community feedback on GitHub and Reddit shows this system works well once you understand it. The main confusion comes from users who do not realize that scheduled time blocks also factor into priority. A playlist with a schedule entry active at the current time always takes precedence over one with no schedule.
If you are running side-by-side playlists or complex programming, the official AzuraCast documentation includes a detailed case study worth reading.
Reviewing and Sharing Your Schedule
Once your playlists are scheduled, AzuraCast provides tools to review and share your programming. From the Playlists page, each playlist shows its schedule details in a summary view. Click any playlist to see the full schedule breakdown.
AzuraCast also generates a public schedule URL for your station. This page displays your upcoming programming to listeners in a clean, web-friendly format. Share this link on your station website or social media so your audience knows what is coming up.
The on-demand player is another sharing feature. When enabled on a playlist, listeners can play tracks from that playlist directly through your station web portal at any time, outside of the live broadcast schedule.
Troubleshooting Common Scheduling Issues
Scheduled playlists not playing at the right time is the most common complaint in the AzuraCast community. Here are the fixes for the issues users report most often on GitHub and Reddit.
Playlist plays at the wrong time: Check your server timezone. AzuraCast uses the timezone set in your station settings, not your local browser time. If your server runs in UTC and you are in EST, your 6 AM schedule fires at 1 AM your time. Fix this by setting the correct timezone under Station Settings.
Queue builder ignores the schedule: This was a known bug reported in GitHub issue threads. Make sure you are running the latest AzuraCast version, as the queue builder received significant fixes. If the problem persists, try restarting the station from the administration panel to force a fresh queue build.
Overlapping playlists compete unpredictably: Review your priority settings. Two playlists with the same priority and overlapping schedules create ambiguity. Give the more important playlist a higher priority number.
Stream issues behind Cloudflare: If you run Cloudflare in front of your AzuraCast installation, proxy settings can cause buffering and connection drops. Set your stream DNS record to “DNS Only” mode rather than “Proxied” to avoid this.
No audio at all from a scheduled playlist: Verify the playlist actually contains media files. Empty playlists are a surprisingly common cause of silent time blocks. Also confirm the AutoDJ is enabled in your station settings.
Frequently Asked Questions
How do I schedule a playlist in AzuraCast?
Open the Playlists page in your AzuraCast dashboard, click Edit next to the playlist, go to the Schedule tab, and click Add Schedule. Set your start and end time, choose the days of the week, optionally set a date range, then click Save. The AutoDJ will now play that playlist only during the scheduled time blocks.
What are the different playlist types in AzuraCast?
AzuraCast offers five playlist types: General Rotation (default music playback with weight-based frequency), Once per X Songs (inserts a track after a set number of songs), Once per X Minutes (plays on a time interval), Once per Hour (one track per hour), and Advanced Playlist (custom Liquidsoap configuration for complex scenarios like side-by-side playback).
Why is my scheduled playlist not playing at the right time?
The most common cause is a timezone mismatch between your server and your local time. Check the timezone setting under Station Settings. Other causes include running an outdated AzuraCast version with queue builder bugs, overlapping schedules with conflicting priorities, or an empty playlist with no media files assigned.
How does AzuraCast playlist priority work?
Every playlist has a priority value. When multiple playlists are eligible at the same time, the one with the higher priority plays first. Scheduled playlists take precedence over unscheduled ones, and interrupting types like Once per Hour have higher default priorities than General Rotation. You can manually adjust priority per playlist.
Can I add multiple schedule entries to one playlist?
Yes. AzuraCast lets you create as many schedule entries as you need for a single playlist. This is useful for jingles that air at different times on weekdays versus weekends, or shows with complex weekly programming.
Wrapping Up
Knowing how to schedule playlists in AzuraCast gives you full control over your internet radio station’s programming without manual intervention. The process comes down to four core steps: create your playlist, assign media files, configure the schedule with time blocks and days, and set priorities for overlapping content.
Start simple with one General Rotation playlist and a scheduled jingle. Once that is running smoothly, layer in Once per Hour content and more complex time blocks. Test each addition before moving to the next, and always check your timezone settings if playback seems off.
If you run into trouble, revisit the troubleshooting section above. The AzuraCast community on GitHub and Reddit is also a strong resource for edge cases. With your schedules configured, your station will keep broadcasting the right content at the right times around the clock.