
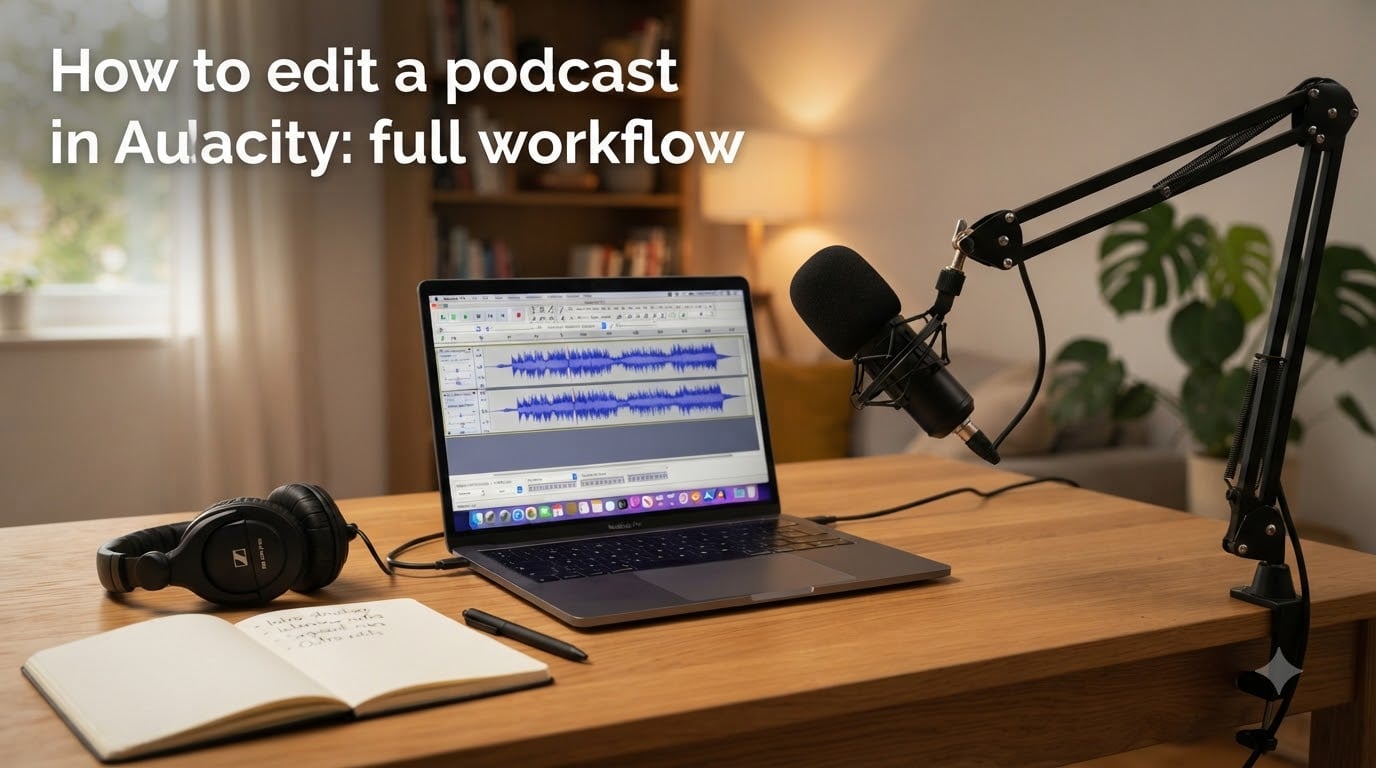
I spent my first three podcast episodes fighting Audacity instead of editing with it. Once I learned the right workflow, my edit time dropped from 6 hours to about 90 minutes for a 30-minute episode.
If you want to learn how to edit a podcast in Audacity the way most top creators actually do it, this guide walks through every stage. We cover setup, recording, essential tools, noise reduction, audio enhancement, music mixing, and exporting. By the end you’ll have a repeatable workflow you can run on every episode.
Audacity is free, open-source, and runs on Windows, macOS, and Linux. It handles everything most podcasters need without monthly fees. Mike Russell’s 7-minute Audacity podcast tutorial is a great video companion to this guide if you prefer watching along.
Table of Contents
- Getting Started: Install and Configure Audacity for Podcasting
- How to Record Your Podcast in Audacity (Single and Multi-Track)
- Essential Editing Tools: Cut, Trim, and Arrange Your Audio
- How to Remove Background Noise in Audacity
- Audio Enhancement: EQ, Compression, and Normalization
- Adding Intro/Outro Music and Sound Effects with Auto Duck
- How to Export Your Finished Podcast from Audacity?
- Complete Audacity Podcast Workflow Checklist
- Frequently Asked Questions
- Conclusion: Your Complete Audacity Podcast Workflow
Getting Started: Install and Configure Audacity for Podcasting
Step 1: Download Audacity from audacityteam.org and install it. Skip any third-party “download” sites – they bundle extra software you don’t need.
Step 2: On first launch, open Edit > Preferences > Audio Settings. Set Project Sample Rate to 44100 Hz, which is the standard for podcast distribution and matches what most streaming platforms expect.
Step 3: Set the Default Sample Format to 32-bit float. This gives you extra headroom during recording so loud moments don’t clip. You’ll export to a smaller bit depth later.
Step 4: Open the Device Toolbar and select your USB microphone or audio interface as the Recording Device. Set Recording Channels to 1 (Mono) for solo recordings. Use 2 (Stereo) only if you have a stereo mic or are capturing a two-person in-person conversation.
Step 5: Click the microphone dropdown and pick your input. Speak into the mic and watch the recording meter. Aim for peaks around -12 dB to -6 dB. If the meter hits 0 dB or turns red, lower the input slider or move the mic farther from your mouth.
Time estimate: 5-10 minutes for first setup, then 1-2 minutes for future sessions once you save your preferences.
How to Record Your Podcast in Audacity (Single and Multi-Track)
Step 1: Press the red Record button or hit R on your keyboard. Audacity captures directly into a new audio track.
Step 2: Talk at a normal, conversational pace. Pause briefly between thoughts – those gaps are gold during editing. They give you clean spots to cut mistakes and trim breaths.
Step 3: Hit Stop (or press the spacebar) when finished. You’ll see your waveform appear as a blue track.
For interviews or remote co-hosts, you have two solid options:
Multi-track recording in Audacity: Record each host on a separate track by using audio routing software like VoiceMeeter (Windows) or Loopback (macOS). This gives you independent volume control per speaker.
Record locally, import later: Have each guest record their side using QuickTime or a phone app, then import both files as separate tracks. Zoom and Riverside.fm users usually pick this route.
After recording, File > Save Project As and save with the name Episode-XX-RAW.aup3. Saving immediately protects you from crashes – Audacity does not autosave.
If you recorded stereo but want to edit each side independently, click on the track name and choose Split Stereo to Mono. Now you have two separate mono tracks.
Time estimate: 5-10 minutes for setup checks. The recording itself is as long as your episode plus 30 seconds of buffer.
Essential Editing Tools: Cut, Trim, and Arrange Your Audio
Before you touch any effects, learn these five tools. They handle 80% of podcast editing work.
Selection Tool (F1)
Click and drag across the waveform to highlight a region. Anything you select can be cut, copied, deleted, or processed with an effect.
For precision, hold Ctrl while clicking to set the selection start, then Ctrl+click again to set the end. This avoids the drag wobble when working with thin sections.
Zoom Tool (F2)
Click to zoom in, hold Ctrl and click to zoom out. I spend more time zooming than any other action. Zoom in close enough to see individual breaths and mouth clicks – usually around 5-15 seconds of audio fills your screen.
Tip: Use Ctrl+1 to fit the project to window, Ctrl+E to zoom to selection, and Ctrl+3 to zoom to start.
Time Shift Tool (F3)
Click and drag a track left or right to move it. Use this to align a guest’s audio with your local recording, or to nudge intro music to the right moment.
Envelope Tool (F2 second click)
The envelope tool lets you draw volume changes directly on the waveform. Click on the track to add drag points, then drag them up or down to adjust volume in that exact spot.
This is the fastest way to silence a cough, quiet a laugh, or boost a soft-spoken sentence without re-applying effects to the whole track.
Multi-Tool Mode (F10 or Tools toolbar)
Toggle this on and Audacity auto-switches tools based on cursor position. The Selection tool is active over the upper half of a track, the Envelope tool over the lower half. It saves you from constant toolbar clicking.
Keyboard Shortcuts That Save Time
Space: Play/Pause
Delete: Delete selection
Ctrl+Z: Undo (works many times)
Ctrl+K: Split clip at selection
Ctrl+Shift+K: Silence audio in selection
Ctrl+1: Fit project in window
Ctrl+E: Zoom to selection
Ctrl+A: Select all
Time estimate: Plan 30-45 minutes per 30 minutes of raw audio for the rough cut (removing mistakes, tightening pacing).
How to Remove Background Noise in Audacity
Background hiss, fan noise, and computer hum are the most common quality killers in home podcasts. Audacity’s Noise Reduction effect handles them well when you use it correctly.
Step 1: Find a 2-3 second section where no one is talking but the background noise is clearly audible. A pause between sentences or the gap before you started speaking works perfectly.
Step 2: Select that section with the Selection Tool. Go to Effect > Noise Reduction and click “Get Noise Profile.” Audacity samples the noise characteristics and remembers them.
Step 3: Press Ctrl+A to select the entire track. Open Effect > Noise Reduction again. Set these parameters:
Noise Reduction (dB): 12 (start here, raise to 18 if needed)
Sensitivity: 6
Frequency Smoothing: 3
Step 4: Click Preview to test. If voices sound watery or metallic, lower the Noise Reduction to 9-10 dB. If background noise still leaks through, raise it to 15 dB.
Step 5: Click OK to apply. Listen to the full result – if voices sound unnatural, Ctrl+Z and try a lower dB value.
For a more aggressive clean, do two passes at 9 dB rather than one pass at 18 dB. Two gentle passes sound better than one heavy pass.
After noise reduction, run Effect > Truncate Silence to shorten long pauses between sentences. Set duration to 1.0 seconds and threshold to -40 dB. This tightens pacing without cutting natural breathing room.
Time estimate: 5-10 minutes per episode.
Audio Enhancement: EQ, Compression, and Normalization
Noise reduction cleans the track. Enhancement makes voices sound polished and consistent. Apply effects in this order to avoid fighting your own settings.
Step 1: Equalization (EQ)
Open Effect > Filter Curve EQ. A good starting preset for voices:
Below 80 Hz: Cut (high-pass filter) – removes rumble
200-300 Hz: Slight cut (-2 dB) – reduces muddiness
2-5 kHz: Slight boost (+2 dB) – adds presence and clarity
Above 12 kHz: Gentle boost (+1-2 dB) – adds air
If you recorded through a USB mic like the Blue Yeti or Audio-Technica ATR2100x, EQ fixes most of the problems their default character creates. Pat Flynn’s 21-minute recording walkthrough demonstrates this exact filter setup.
Step 2: Compressor
Open Effect > Compressor. Settings for spoken voice:
Threshold: -18 dB
Noise Floor: -50 dB
Ratio: 3:1
Attack Time: 0.2 seconds
Release Time: 1.0 seconds
Check “Make-up gain for 0 dB after compressing”
Compression evens out the loud and soft parts of speech. It makes quiet sentences easier to hear without loud ones hurting ears.
Step 3: Normalize
Open Effect > Normalize. Set “Peak amplitude to” -1.0 dB. This prevents clipping on playback and standardizes loudness across episodes.
For a louder result that matches streaming platforms (Spotify, Apple Podcasts target around -16 LUFS integrated), use Effect > Loudness Normalization. Set “Integrated Loudness” to -16 LUFS and “True Peak” to -1.0 dB.
Step 4: De-essing (Optional)
If “s” sounds hiss sharply, add Effect > Graphic EQ. Create a narrow cut (about 4 dB) between 4 kHz and 7 kHz. That range is where sibilance lives. Apply only if it bothers you – some voices sound fine without it.
Effect chain order matters: Always run EQ first, then compression, then normalize. Reversing this order produces muddy, inconsistent results.
Time estimate: 10-15 minutes per episode after you’ve done it a few times.
Adding Intro/Outro Music and Sound Effects with Auto Duck
Music gives your podcast a recognizable identity. Audacity’s Auto Duck feature makes mixing music under voice surprisingly easy.
Step 1: File > Import > Audio and select your intro music file. It appears as a new track above or below your voice track.
Step 2: Use the Time Shift tool to align the music so it starts a half-second before your voice comes in. That tiny gap lets the music establish itself.
Step 3: Click the Mute or Solo buttons to focus on one track at a time while you mix. The yellow line on the track’s left controls overall volume.
Step 4: Select the music track. Go to Effect > Auto Duck. Set:
Duck amount: -12 dB
Maximum pause: 1.0 second
Outer fade time: 0.5 seconds
Auto Duck lowers the music volume automatically whenever you speak. When you pause, the music swells back up. It saves you from drawing envelope points by hand.
Step 5: For the intro, fade the music in from silence over 2 seconds (use Effect > Fade In on a selection). For the outro, fade out the music over 3-5 seconds while your closing words play.
Step 6: Add sound effects with File > Import. Common placements: a transition stinger between segments, a subtle “ding” at the midpoint, or a whoosh before ad reads.
For licensing music, check the podcast music libraries at YouTube Audio Library, Epidemic Sound, or the free options at incompetech.com. Never use copyrighted music without permission – it will get your episode pulled.
Time estimate: 15-20 minutes for your first attempt, 5 minutes once you have a template.
How to Export Your Finished Podcast from Audacity?
Exporting is the final step. Choose the right format and your episode plays cleanly on every platform.
Step 1: File > Export > Export as MP3. (If MP3 is grayed out, install the LAME encoder – Audacity walks you through the download.)
Step 2: In the export dialog, set Mode to Joint Stereo and Quality to 192 kbps for a good balance of file size and audio clarity. If storage space is no concern, use 256 kbps.
Step 3: Fill in the metadata tags:
Artist: Your name or show name
Track Title: Episode title
Album Title: Your show name
Track Number: Episode number
Year: 2026
Genre: Podcast
These tags appear in podcast apps and make your episode easier to find.
Step 4: Choose a clear file name: Episode-042-Topic-Slug.mp3. Consistent naming saves headaches later.
Step 5: Click Save. Audacity renders the file – this takes about 1 minute per 30 minutes of stereo audio on a modern laptop.
WAV export (File > Export > Export as WAV) is worth using as your master backup. WAV files are uncompressed and preserve full quality. Store these on an external drive in case you ever need to re-edit.
For external mastering polish, upload your WAV to Auphonic after export. It handles loudness normalization to broadcast standards across multiple episodes. Many podcasters skip this step and still sound great – it’s a nice-to-have, not essential.
Time estimate: 5 minutes including metadata entry and rendering.
Complete Audacity Podcast Workflow Checklist
Use this checklist before each episode to stay consistent. Most creators who finish faster than their peers follow the same order every time.
Open project, set sample rate to 44100 Hz, bit format to 32-bit float
Confirm recording device and input levels (peaks around -12 dB)
Record episode, save as
Episode-XX-RAW.aup3Listen once through, marking rough cut sections
Delete false starts, filler words, and long pauses
Tighten gaps using Truncate Silence (1 second threshold, -40 dB)
Get noise profile from a clean pause, then apply Noise Reduction at 12 dB
Apply Filter Curve EQ using voice preset
Apply Compressor with -18 dB threshold, 3:1 ratio
Apply Normalize to -1 dB peak (or Loudness Normalize to -16 LUFS)
Import intro/outro music, align with Time Shift tool
Apply Auto Duck to music track (-12 dB)
Add fade in (2 seconds) and fade out (3-5 seconds)
Export as MP3, 192 kbps, fill in metadata
Save WAV master to external drive
Upload to hosting platform, submit to directories
Frequently Asked Questions
How can I edit my podcast in Audacity?
Open your recorded track in Audacity, then follow this order: trim silences and mistakes with the Selection tool, apply Noise Reduction using a noise profile from a quiet section, run EQ and Compression to polish voice tone, Normalize to -1 dB, then add intro/outro music using Auto Duck. Export as MP3 at 192 kbps when finished.
What is the best way to edit a podcast?
The most efficient workflow is: rough cut first (remove mistakes and tighten pacing), then audio enhancement (noise reduction, EQ, compression, normalization), then music and effects, then export. Doing audio cleanup before adding music prevents you from processing the music with voice effects.
How long should it take to edit a 30 minute podcast?
A beginner typically needs 3-4 hours to edit a 30-minute episode. After 10 episodes of practice, that drops to 90-120 minutes. Speed comes from muscle memory on keyboard shortcuts, knowing which effects to apply in which order, and skipping over-perfecting segments that listeners will never notice.
Is Audacity good for podcasting?
Yes. Audacity handles everything most podcasters need: recording, multi-track editing, noise reduction, EQ, compression, music mixing, and MP3 export. It is free, runs on Windows, macOS, and Linux, and is used by both beginners and professionals. For multi-host remote interviews, dedicated tools like Riverside or SquadCast offer higher video quality, but Audacity remains the most popular pure-audio editor.
How do I edit a podcast in Audacity for beginners?
Start with just three steps: import your audio, apply Noise Reduction, then Normalize to -1 dB. Export as MP3. Once that feels comfortable, add EQ and Compression. Beginners should avoid Auto Duck and complex effect chains until they understand how each effect changes the sound on its own.
What is the easiest way to edit a podcast?
The easiest effective method is the three-step workflow: trim long pauses and obvious mistakes, apply Noise Reduction once with a noise profile from a quiet section, then Normalize to -1 dB. This takes 20-30 minutes per episode and produces noticeably better audio than raw recording.
How to make podcast sound better in Audacity?
Apply four effects in order: (1) Noise Reduction at 12 dB using a noise profile from a silent section, (2) Filter Curve EQ with high-pass below 80 Hz and slight boost at 2-5 kHz for clarity, (3) Compressor at -18 dB threshold with 3:1 ratio, (4) Normalize to -1 dB or Loudness Normalize to -16 LUFS for streaming standards. Run effects in this order – reversing them produces muddy results.
Conclusion: Your Complete Audacity Podcast Workflow
That covers the full workflow for how to edit a podcast in Audacity – from installing the software to exporting your final MP3. Setup, recording, editing, noise reduction, enhancement, music, and export each have their place.
Practice the workflow on your next three episodes and the steps become automatic. The checklist above gives you a repeatable process so you never wonder what comes next. Once you have it down, you can focus on what matters: making great content.