
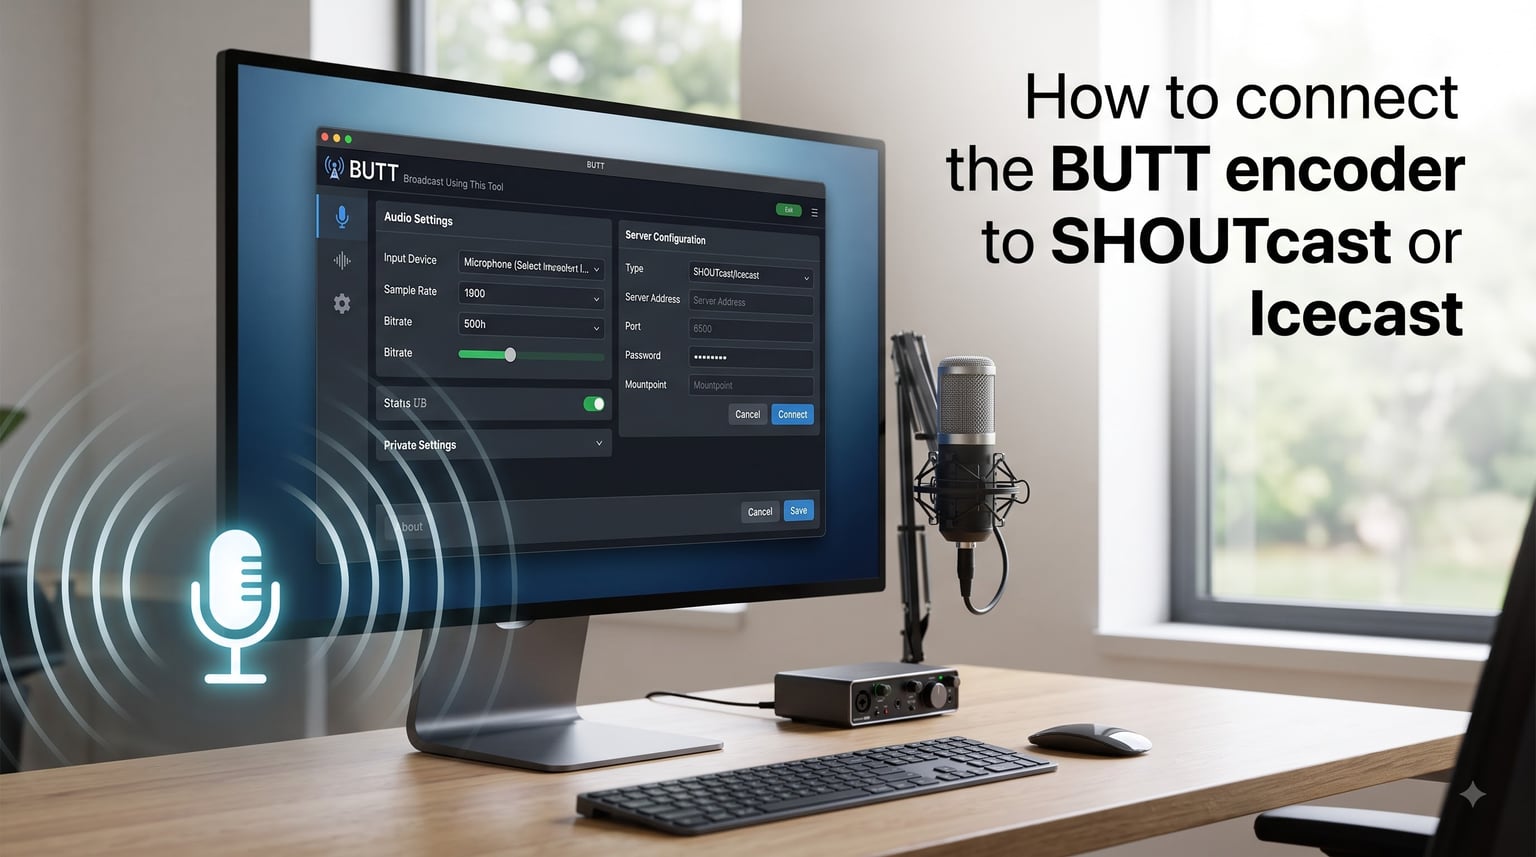
Connecting the BUTT encoder to SHOUTcast or Icecast takes about 10 minutes once you have your server details ready. You download and install BUTT, open Settings, add a server, enter your server address and port, type your source password, pick your audio device and streaming quality, then hit the play button to go live.
In this guide, I walk you through every step in detail. I cover both SHOUTcast v1 and v2 configuration, Icecast mountpoint setup, stream metadata, audio quality settings, and the connection errors that trip most people up. Whether you are setting up BUTT encoder SHOUTcast Icecast connections for the first time or fixing a stream that will not connect, this guide covers everything you need.
Table of Contents
- What Is the BUTT Encoder?
- How to Download and Install BUTT Encoder on Windows, Mac, and Linux
- How to Get Your Server Details From the Hosting Panel
- How to Add a New Server in BUTT Settings?
- How to Configure SHOUTcast v1 and v2 in BUTT
- How to Configure Icecast in BUTT?
- How to Set Stream Information and Metadata?
- How to Configure Audio Device and Quality Settings
- How to Connect, Go Live, and Test Your Stream
- How to Record Your Broadcast With BUTT
- How to Connect the BUTT Encoder to SHOUTcast or Icecast: Troubleshooting Common Errors
- Beyond the Basics: Multi-Server Streaming and WebRTC
- Frequently Asked Questions
- Conclusion
What Is the BUTT Encoder?
BUTT stands for Broadcast Using This Tool. It is a free, open-source live audio encoder that sends audio from your computer to an internet radio server using the SHOUTcast, Icecast, or WebRTC protocol.
It runs on Windows, macOS, and Linux with the same interface on every platform. You download one installer and start broadcasting.
BUTT captures audio from your sound card input. That means it picks up whatever comes through your microphone, line-in, or USB audio interface. If you need to stream audio from DJ software or other desktop applications, you route it through a virtual audio cable like Voicemeeter first, then BUTT picks up that virtual input device.
I recommend BUTT because it is lightweight, reliable, and works with virtually every internet radio host. It has been a trusted tool in the broadcasting community since 2012. Unlike paid encoders, BUTT does not lock features behind a paywall. You get recording, metadata, multi-server support, and VU meter monitoring at no cost.
How to Download and Install BUTT Encoder on Windows, Mac, and Linux
Installing BUTT is straightforward on all three operating systems. Here is how to do it on each platform.
Step 1 – Download: Go to the official BUTT website at butt.sourceforge.net and download the version for your operating system. Windows users get an .exe installer, Mac users get a .dmg file, and Linux users can grab the source code or a pre-built package.
Step 2 – Install on Windows: Double-click the .exe file and follow the installation wizard. Accept the default location unless you have a reason to change it. The installer adds BUTT to your Start menu automatically.
Step 3 – Install on Mac: Open the .dmg file, drag the BUTT icon into your Applications folder, then right-click and select Open the first time you launch it. macOS flags BUTT as from an unidentified developer because it is open source and not signed with an Apple certificate. Right-clicking and selecting Open bypasses this warning safely.
Step 4 – Install on Linux: Follow the build instructions on the BUTT website, or check if your distribution offers a package. Some community-maintained repositories include BUTT builds for popular distributions.
Step 5 – Launch: When BUTT opens, you see a compact window with a large play button at the top, a VU meter below it, and a connection log at the bottom. That main window is your broadcast control center. Everything else lives behind the Settings button.
How to Get Your Server Details From the Hosting Panel
Before configuring BUTT, you need four or five pieces of information from your radio hosting provider. Log into your hosting control panel and look for your server settings or connection details page.
Here is what you need and what each field means:
Server address: The hostname or IP address of your streaming server. This typically looks like stream.yourhost.com or a numeric IP like 192.168.1.100.
Port: A number between 8000 and 9999 in most cases. Icecast commonly uses 8000, while SHOUTcast often uses ports like 8000, 8050, or 9990.
Source password: The password BUTT uses to authenticate with your server. Your hosting panel may call this the source password, broadcast password, or encoder password. It is different from your hosting account login password.
Stream ID (SHOUTcast v2 only): A number that identifies which stream on a multi-stream server you want to broadcast to. Usually 1, 2, or 3. SHOUTcast v1 does not use a stream ID.
Mountpoint (Icecast only): A short path appended to the server URL, like /stream or /live. SHOUTcast servers do not use mountpoints.
If your hosting panel shows a username for Icecast connections, it is usually source. BUTT fills this in automatically when you select Icecast as the server type, so you do not need to worry about it.
Write these details down or keep the panel open in a browser tab. You will need them in the next steps.
How to Add a New Server in BUTT Settings?
Now you are ready to configure your BUTT encoder SHOUTcast Icecast connection. Open BUTT and click the Settings button to open the main configuration window.
Follow these steps to add your server:
Step 1: In the Settings window, make sure you are on the Main tab. Look for the Server section on the left side of the window.
Step 2: Click the Add button below the server dropdown. A new dialog opens where you enter all your server connection details.
Step 3: In the Type dropdown, select either SHOUTcast or Icecast. This tells BUTT which connection protocol to use when sending audio to your server.
Step 4: Fill in the Address, Port, and Password fields with the details from your hosting panel. Type them exactly as shown, without extra spaces.
Step 5: Enter an Icecast mountpoint or SHOUTcast stream ID depending on your server type. I cover the specifics for each in the next two sections.
Step 6: Click the Add button at the bottom of the dialog to save. Your server now appears in the server dropdown on the Main tab.
If you want BUTT to connect automatically every time you launch it, check the Connect at startup box. I find this useful for unattended broadcast setups where the computer restarts and needs to reconnect without manual intervention.
How to Configure SHOUTcast v1 and v2 in BUTT
Configuring BUTT for SHOUTcast requires understanding the difference between v1 and v2. The settings differ in one important way, and getting it wrong causes connection failures.
SHOUTcast v1 is the older protocol. It does not use a stream ID. When you select SHOUTcast as the server type and your server runs v1, you simply enter the address, port, and password. BUTT connects to the single stream on that server.
SHOUTcast v2 introduced multi-stream support. A single server can host multiple streams, for example a high-quality stream and a mobile-quality stream on the same port. Each stream gets identified by a number called the Stream ID or SID.
When configuring SHOUTcast v2 in BUTT, enter the Stream ID in the Add Server dialog. Your hosting panel tells you which stream ID to use. If you only have one stream on the server, the ID is almost always 1.
Here is the key difference at a glance:
SHOUTcast v1: Address + Port + Password (no stream ID field needed)
SHOUTcast v2: Address + Port + Password + Stream ID (usually 1)
If you enter a stream ID on a v1 server, BUTT may fail to connect. If you leave the stream ID blank on a v2 server, BUTT may connect but send audio to the wrong stream or fail silently. Check your hosting panel to confirm which version your server runs.
One more SHOUTcast setting worth knowing: BUTT lets you choose whether to list your station in public directories like the SHOUTcast Yellow Pages. Check the Make server public box if you want your station discoverable by listeners browsing directories. Leave it unchecked for a private broadcast.
How to Configure Icecast in BUTT?
Icecast configuration in BUTT is similar to SHOUTcast but uses a mountpoint instead of a stream ID. Select Icecast as the server type in the Add Server dialog.
The mountpoint is a short path that identifies your stream on the Icecast server. It starts with a forward slash, like /stream, /live, or /radio. Your hosting panel provides this value exactly as you need to type it.
For the username field, BUTT automatically uses source when you select Icecast as the server type. You do not need to enter it manually. Just type the source password from your hosting panel into the password field.
Common mountpoint examples I see across hosting providers:
/stream – the most common default across hosts
/live – used when distinguishing live broadcasts from AutoDJ content
/radio – some hosts use descriptive mountpoint names
One thing to watch: if you forget the leading slash in the mountpoint, the connection fails. Always include it. Your hosting panel typically shows the slash already, but double-check before saving.
Icecast also supports listing in public directories like dir.xiph.org. Check Make server public in BUTT if you want listeners to discover your station through directory listings.
How to Set Stream Information and Metadata?
Stream metadata is what listeners see in their media player, radio directory, or tuner app. It includes your station name, description, genre, and website URL. Setting it up takes about a minute.
In the Settings window, click the Stream Infos tab. You will see fields for:
Name: Your station name, displayed as the now-playing title
Description: A short description of your broadcast content
Genre: Your music genre or content type
URL: Your station website or social media link
ICRN (Icecast): IRC channel info, usually optional
AIM, ICQ: Legacy contact fields, safe to ignore
Fill in at least the Name, Description, and Genre fields. These appear on radio directory listings and in media players when listeners tune in.
One important note: if you are streaming to SHOUTcast v2, you can set stream info per stream ID. Make sure you select the correct stream in the dropdown before entering your metadata.
Click Save when you are done. BUTT sends this metadata to the server each time you connect.
How to Configure Audio Device and Quality Settings
Your audio settings determine what sound reaches your listeners and how good it sounds. Getting these wrong means your stream is either silent or low quality.
Click the Audio tab in the Settings window. Here is what each setting controls and what I recommend:
Audio Device: This is the input source BUTT captures. Select your microphone, USB audio interface, or virtual audio cable (like Voicemeeter Output). BUTT only captures input devices, not your desktop audio directly. To stream DJ software output, route it through Voicemeeter on Windows or BlackHole on Mac first, then select that virtual output as your audio device in BUTT.
Codec: BUTT supports MP3 and AAC. MP3 is the most compatible choice across all players and directories. AAC sounds slightly better at lower bitrates, but some older players may not support it. I recommend MP3 unless you have a specific reason to use AAC.
Bitrate: This controls audio quality and bandwidth usage. Here are the common settings:
128 kbps: Good quality, widely used, modest bandwidth
192 kbps: Better quality, suitable for most music stations
256-320 kbps: High quality, near-CD sound, uses more bandwidth
For most internet radio stations, 128 to 192 kbps hits the sweet spot between quality and cost. Higher bitrates use more server bandwidth and may increase your hosting costs.
Sample Rate: Set this to 44100 Hz. This is the standard for streaming audio and matches CD quality. Most servers expect 44100 Hz, and mismatching sample rates can cause playback issues.
Channels: Choose Stereo for music or Mono for talk radio. Mono uses half the bandwidth, which helps for speech-focused content or low-bandwidth connections.
Click Save when finished. BUTT remembers these settings between sessions.
How to Connect, Go Live, and Test Your Stream
You have configured your server and audio settings. Now it is time to go live.
Close the Settings window if it is still open. You should see the main BUTT window with the large play button at the top.
Before clicking play, check the VU meter. Speak into your microphone or play audio through your selected input device. The green and yellow bars should move in response. If the meter stays flat, your audio device is not receiving signal. Go back to Settings and verify the correct input is selected.
Click the play button. BUTT attempts to connect to your server. Watch the connection log at the bottom of the window for status messages.
A successful connection shows Connecting… followed by Connected. The button changes from play to stop. You are now broadcasting live.
To test, open your web browser and go to your stream URL from your hosting panel. It usually looks like http://stream.yourhost.com:8000/stream for Icecast or http://stream.yourhost.com:8000 for SHOUTcast. Listen for a few seconds to confirm audio is coming through clearly.
How to Record Your Broadcast With BUTT
BUTT includes a built-in recording feature. This is useful for archiving shows or creating podcast episodes from your live broadcasts.
Go to Settings and click the Recording tab. Check Record when connected to start recording automatically every time you go live.
Choose your recording folder, then select the format. BUTT records in the same codec and bitrate as your stream. Pick a filename pattern that includes timestamps so each recording gets a unique name.
Click Save. Now every broadcast gets saved to your chosen folder automatically.
How to Connect the BUTT Encoder to SHOUTcast or Icecast: Troubleshooting Common Errors
Even with correct settings, things go wrong. Here are the most common BUTT encoder connection errors and how to fix each one.
Error: Connection refused
This means BUTT reached the server but the server rejected the connection. Check that you entered the correct port number. A typo in the port is the most common cause. Also verify your hosting plan includes live source connections, since some budget plans only allow AutoDJ and block live broadcasting.
Error: Wrong password or Invalid password
You are using the wrong password. Double-check the source password from your hosting panel. The source password is different from your hosting account login password. If you recently changed passwords in the control panel, restart BUTT so it uses the updated credentials.
Error: Icecast mountpoint not working
If BUTT connects but listeners cannot hear the stream, the mountpoint may be wrong. Verify the mountpoint exactly matches what your hosting panel shows, including the leading slash. For example, /stream is correct. stream without the slash fails.
Error: SHOUTcast v2 stream ID mismatch
If you connect to a SHOUTcast v2 server but hear the wrong content or nothing, check your stream ID. Using stream ID 1 when your station lives on ID 2 sends audio to the wrong stream. Confirm the correct ID from your hosting panel.
Error: No audio in the stream
If BUTT connects successfully but listeners hear silence, the audio device is not receiving signal. Check the VU meter in the BUTT main window. If it shows no movement, your input device is wrong or the audio source is not playing. For desktop audio routing, verify Voicemeeter is sending audio to the virtual output that BUTT captures.
Error: Firewall blocking the connection
Some firewalls block outbound connections on non-standard ports. If BUTT cannot reach the server at all, check your firewall or antivirus settings. Add BUTT to the allowed applications list. Corporate and campus networks often block streaming ports entirely.
Error: Buffer underruns and dropped audio
If your stream stutters or drops, increase the buffer size in BUTT’s advanced settings. A larger buffer adds slight latency but smooths out audio on unstable connections. Also check your upload bandwidth. Streaming at 192 kbps requires at least 200 kbps of stable upload speed.
Error: BUTT crashes or freezes on startup
This usually happens when the selected audio device is unavailable. Disconnect any USB audio interfaces, launch BUTT, select a different audio device in Settings, then reconnect your interface. On Mac, granting microphone permissions in System Settings may resolve this.
Beyond the Basics: Multi-Server Streaming and WebRTC
BUTT supports streaming to multiple servers simultaneously. This is useful if you want to broadcast to two hosting providers for redundancy or reach different audiences on separate platforms.
In the Main tab, add multiple servers to the list. BUTT connects to all of them when you press play. Your upload bandwidth needs to handle sending audio to each server, so factor that into your streaming bitrate.
Newer versions of BUTT also support WebRTC, a browser-based streaming protocol. WebRTC allows direct playback in modern browsers without requiring plugins. If your hosting provider supports WebRTC, select it as the server type in the Add Server dialog and follow the same configuration pattern as Icecast.
These features make BUTT suitable beyond basic single-server setups. For most beginners, though, one server connection is all you need to start broadcasting.
Frequently Asked Questions
Which is better, Icecast or SHOUTcast?
Both work well with BUTT. Icecast is open source, supports mountpoints, and offers more flexibility for running multiple streams on one server. SHOUTcast is more widely listed in radio directories and may attract more casual listeners through directory browsing. For most broadcasters, the choice depends on what your hosting provider supports. Both deliver identical audio quality at the same bitrate and codec settings.
How do I set up a SHOUTcast server?
Setting up a SHOUTcast server involves installing the SHOUTcast DNAS software on a server or signing up with a radio hosting provider that offers pre-configured servers. Most broadcasters use a hosting service. Once you have the server address, port, and source password from your host, you connect BUTT using the steps in this guide.
Why is BUTT not connecting to my server?
The most common causes are a wrong port number, incorrect source password, or a firewall blocking the connection. Check that every field in your BUTT server settings matches your hosting panel exactly. If the error says connection refused, verify the port. If it says invalid password, double-check the source password. For firewall issues, add BUTT to your allowed applications list.
Can BUTT stream desktop audio or only microphone input?
BUTT only captures audio from input devices like microphones and audio interfaces. It does not directly capture desktop audio. To stream audio from DJ software or your computer speakers, route the audio through a virtual audio cable like Voicemeeter on Windows or BlackHole on Mac, then select that virtual device as the audio input in BUTT.
What is a mountpoint in Icecast?
A mountpoint is a path that identifies your specific stream on an Icecast server. It looks like /stream, /live, or /radio and is appended to your server URL. Each stream on an Icecast server has its own mountpoint. Your hosting panel provides the exact mountpoint you need to enter in BUTT. Always include the leading forward slash.
What is a stream ID in SHOUTcast v2?
A stream ID (SID) is a number that identifies which stream you want to broadcast to on a SHOUTcast v2 server that hosts multiple streams. SHOUTcast v2 supports several streams on one server, each with a unique ID. If your server has only one stream, the ID is usually 1. Your hosting panel tells you the correct stream ID for your station.
Conclusion
Connecting the BUTT encoder to SHOUTcast or Icecast comes down to five steps: installing BUTT, gathering your server details from the hosting panel, adding the server in BUTT settings, configuring your audio device and quality, and pressing play to go live.
The details matter. Getting the port number, source password, mountpoint, or stream ID right determines whether your connection succeeds on the first try. Take a moment to match every field against your hosting panel before you connect.
If something breaks, the troubleshooting section above covers the errors I see most often. Connection refused, wrong password, and silent streams are almost always configuration issues, not software bugs.
For streaming desktop audio from DJ software, remember that BUTT only captures input devices. Pair it with Voicemeeter on Windows or BlackHole on Mac, and you can broadcast anything your computer plays.
BUTT is free, reliable, and works across Windows, Mac, and Linux. Once your setup is done, going live takes a single click. That is why it remains a favorite among internet radio broadcasters in 2026 and beyond.
Ready to start broadcasting? Grab your server details, download BUTT, and follow the steps above. Your first live stream is closer than you think.