
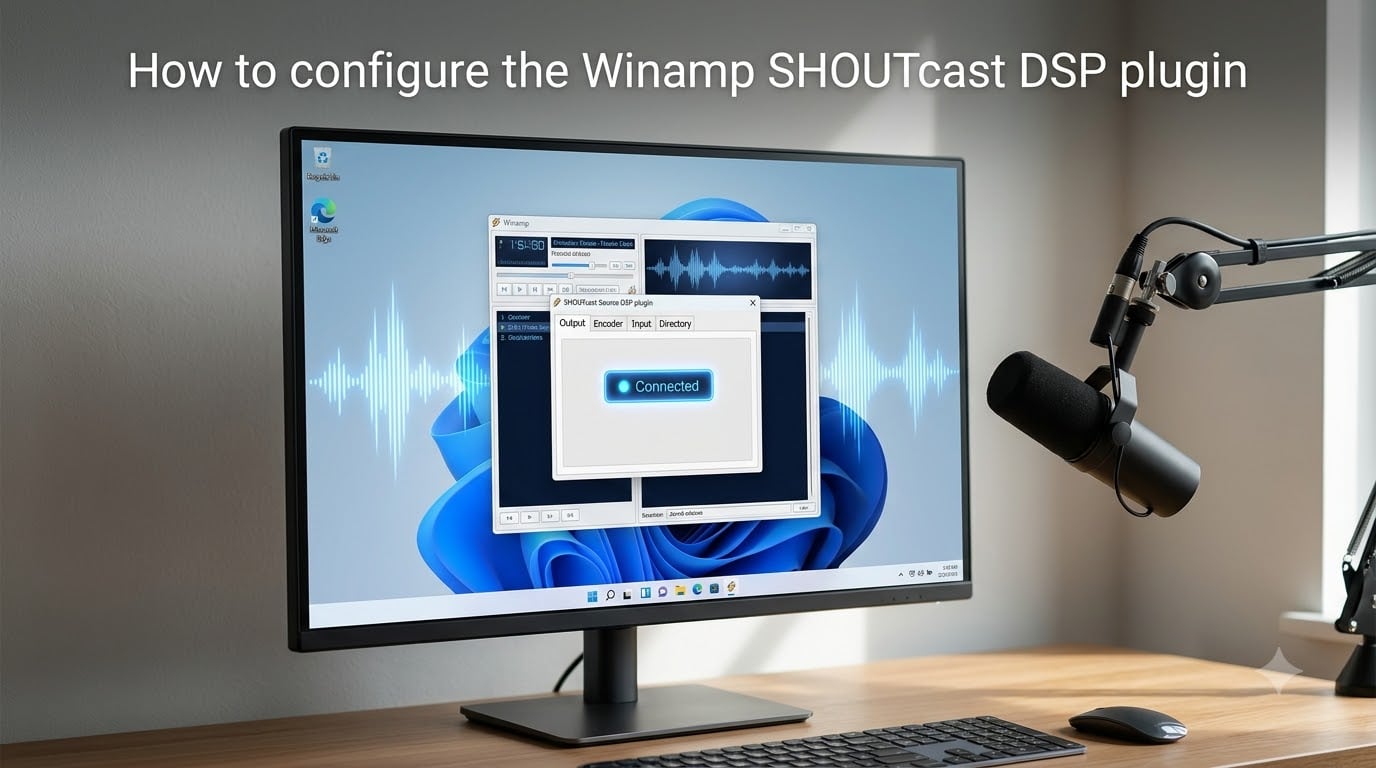
Setting up your own internet radio station used to feel like rocket science. I remember my first attempt at configuring the Winamp SHOUTcast DSP plugin back in 2019, and I spent three hours staring at a “Not Connected” status before something finally clicked.
This guide walks you through how to configure the Winamp SHOUTcast DSP plugin from scratch. By the end, you’ll have a working live audio stream running from your Windows PC, with troubleshooting tips to handle the most common hiccups.
Table of Contents
- What You Need Before You Start?
- How to Configure the Winamp SHOUTcast DSP Plugin: Step-by-Step
- Step 1: Install the Winamp Media Player
- Step 2: Install the SHOUTcast Source DSP Plugin
- Step 3: Open the SHOUTcast Source DSP Plugin in Winamp
- Step 4: Configure the Output Settings
- Step 5: Set Up the Encoder
- Step 6: Configure Your Station Details
- Step 7: Choose Your Audio Input Source
- Step 8: Connect and Start Streaming
- Troubleshooting Common Connection Issues
- Frequently Asked Questions
- Final Tips for a Smooth Broadcast
What You Need Before You Start?
Before you touch any configuration screen, gather these essentials:
A Windows PC (Windows 7, 10, or 11 works fine)
Winamp media player (free download from winamp.com)
The SHOUTcast Source DSP plugin v2.3.5 (also free)
SHOUTcast server credentials from your streaming host — hostname, port, and password
A stable broadband connection (upload speed matters most)
Music files or a microphone for audio input
If your hosting provider uses a control panel like Centova, log in first and copy those credentials somewhere visible. You will paste them into the DSP plugin shortly.
How to Configure the Winamp SHOUTcast DSP Plugin: Step-by-Step
The whole process breaks down into eight steps. Each step covers a single tab or window inside the SHOUTcast DSP plugin, so you won’t feel overwhelmed.
Plan on spending about 20 minutes for the first run. After that, future sessions only need a click to reconnect.
Step 1: Install the Winamp Media Player
Download Winamp from the official site and run the installer. The default installation options are fine for streaming purposes.
Launch Winamp once after installing so it creates the necessary configuration folders. You can close it immediately afterward.
Step 2: Install the SHOUTcast Source DSP Plugin
Download the SHOUTcast Source DSP plugin from a trusted source like the Winamp forums or the SHOUTcast directory. The file comes as a self-extracting installer around 2 MB in size.
Run the installer and accept the default install path. It typically places the plugin inside the Winamp Plugins folder automatically.
Step 3: Open the SHOUTcast Source DSP Plugin in Winamp
Open Winamp and press Ctrl+P to open the Preferences window. Look under the “DSP/Effect” category in the left sidebar.
You will see “SHOUTcast Source DSP v2.3.5” listed there. Double-click it to launch the DSP control panel. This small window is where all your configuration lives.
Step 4: Configure the Output Settings
Click the “Output” tab in the DSP window. This tab tells the plugin where to send your audio stream.
Address: Enter the hostname from your streaming provider (something like stream.yourhost.com or a numeric IP)
Port: Usually 8000, but confirm with your provider
Password: The DJ or source password from your control panel
I recommend changing the “Connect using” dropdown from “Automatic” to “SHOUTcast v2 mode” if you run into connection trouble later. Many forum users found this fix resolves the dreaded “Not Connected” issue.
Step 5: Set Up the Encoder
The “Encoder” tab controls audio quality and file format. For most internet radio stations, MP3 Encoder is the right choice.
Set these encoder settings based on your plan:
Encoder Type: MP3 Encoder
Bitrate: Match what your hosting plan allows (128 kbps is standard for music; 64-96 kbps works for talk shows)
Sample Rate: 44100 Hz
Channels: Stereo for music, Mono for spoken word
If your bitrate is higher than what your server plan supports, the connection will fail silently. Always check your plan limits first.
Step 6: Configure Your Station Details
Switch to the “Directory” tab (sometimes labeled “Yellowpages” on older versions). This is the metadata your listeners see in their media player.
Fill in your station name, genre, and a short description. Check “Make this server public” if you want your station listed in the SHOUTcast directory so new listeners can discover you.
Enable “Automatic title updates” if you want your currently playing track name to appear live in players like VLC or Winamp.
Step 7: Choose Your Audio Input Source
The “Input” tab decides what audio gets streamed. You have two practical choices:
Winamp Input: Streams whatever plays in Winamp — perfect for automated music broadcasting
Soundcard Input: Captures everything your computer plays, including microphone audio and system sounds
For a DJ setup where you want to talk over music, Soundcard Input with your microphone enabled works best. To broadcast just your curated playlist, Winamp Input is cleaner.
Step 8: Connect and Start Streaming
Return to the “Output” tab and click the “Connect” button. Watch the status line at the bottom of the DSP window.
If it changes from “Not Connected” to “Connected” and the bytes counter starts climbing, you’re live. Open your stream URL in a browser or media player to verify the audio plays.
Congratulations — you just learned how to configure the Winamp SHOUTcast DSP plugin for live broadcasting.
Troubleshooting Common Connection Issues
Even with perfect setup, things sometimes break. Here are the issues I see most often in the Winamp forums and Reddit threads, plus the fixes that actually work.
“DSP plugin cannot connect” or stuck on Not Connected: Triple-check your hostname, port, and password. A single typo blocks the connection silently. Try changing “Connect using” from Automatic to v2 mode.
Connection works locally but fails from another network: Your firewall or router may be blocking the port. Open port 8000 in Windows Firewall and forward port 8000 on your router to your PC’s local IP.
Bytes counter shows 0 even when connected: This usually means bitrate mismatch. Lower the encoder bitrate to match your hosting plan’s limit.
Audio cuts out mid-stream: Enable “Auto Reconnect” on the Output tab and set “Reconnection Timeout” to around 30 seconds. This keeps your broadcast running through brief network blips.
Microphone won’t broadcast: In Soundcard Input mode, click “Open Mixer” and make sure your microphone is selected and unmuted in the Windows recording mixer.
Frequently Asked Questions
How do I set up a SHOUTcast server?
First, sign up with a SHOUTcast streaming host or install the SHOUTcast server software on your own machine. Then install Winamp and the SHOUTcast Source DSP plugin, enter your server credentials into the Output tab, configure your encoder settings, and click Connect. Your stream goes live once the status shows Connected.
Which is better, Icecast or SHOUTcast?
Both work well for internet radio. SHOUTcast has a larger listener directory and is slightly easier to configure for beginners. Icecast supports more audio formats natively (including Ogg Vorbis and Opus) and handles metadata slightly better. For most Windows users running Winamp, SHOUTcast is the smoother choice.
How does SHOUTcast actually work?
The SHOUTcast DSP plugin captures audio from Winamp or your soundcard, encodes it into MP3 using the bitrate you set, and transmits that compressed stream over your internet connection to the SHOUTcast server. The server then redistributes the audio to any listener who opens your stream URL.
How do I add songs to Winamp?
Open Winamp, drag and drop your MP3 files into the playlist window, or use File u0026gt; Add Media to browse your music library. The SHOUTcast DSP plugin reads directly from the Winamp playlist when you select Winamp Input on the Input tab.
Why is my SHOUTcast DSP not connecting?
The most common causes are wrong hostname, port, or password. Verify all three against your hosting control panel. Also confirm your firewall allows port 8000 outbound and your router forwards port 8000 to your PC if you stream from behind NAT.
Final Tips for a Smooth Broadcast
Now that you know how to configure the Winamp SHOUTcast DSP plugin, a few habits will keep your station running cleanly. Enable Auto Reconnect so brief network hiccups don’t kill your broadcast.
Save your DSP configuration once it works — the plugin remembers settings between sessions, but a backup screenshot saves time if you ever reinstall Winamp. Test your stream from a different device before your first live show.
Whether you’re running an internet radio station, a DJ mix show, or a live event broadcast, the Winamp SHOUTcast DSP plugin remains one of the simplest ways to stream audio in 2026. Start with the steps above, and you’ll be on air in under half an hour.