
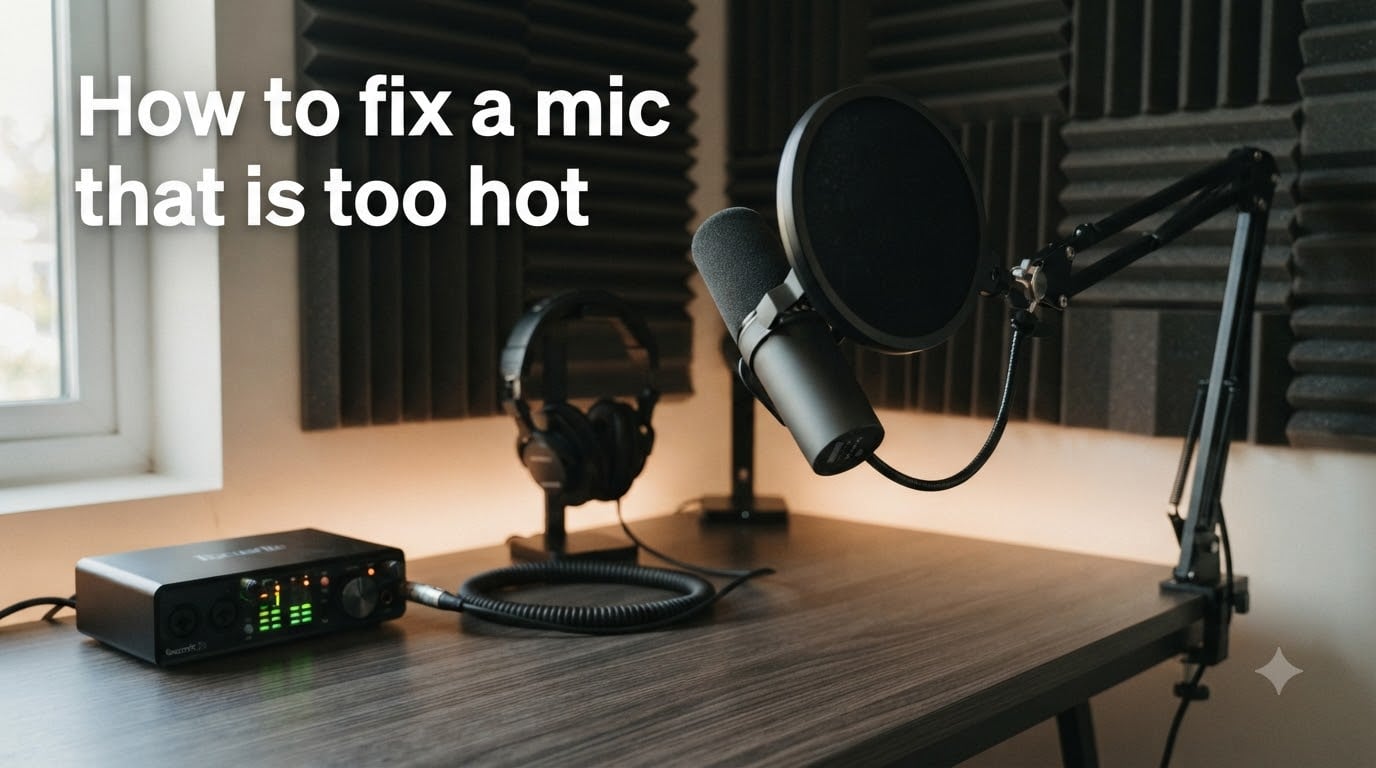
If your microphone recordings sound distorted, crackly, or just plain painful to listen to, you are likely dealing with a signal that is too hot. I have spent years troubleshooting audio for podcasts and live streams, and a hot mic is one of the most common issues creators run into.
This guide breaks down exactly how to fix a mic that is too hot, from quick software tweaks to hardware solutions like pads and attenuators. By the end, you will know how to diagnose the problem, stop clipping in its tracks, and keep your recordings clean going forward.
Table of Contents
- What Does It Mean If a Mic Is Too Hot?
- Why Does My Mic Sound Distorted? Common Causes
- How to Fix a Mic That Is Too Hot: Step-by-Step
- Fixing Mic Levels on Windows and Mac
- Hardware Solutions: Pads and Attenuators
- Mic Type Matters: Dynamic, Condenser, and Ribbon
- Can a Hot Signal Damage Your Microphone?
- How to Prevent Hot Mic Issues Before They Happen?
- Frequently Asked Questions
- Wrapping Up
What Does It Mean If a Mic Is Too Hot?
A “hot” mic produces an audio signal that is too loud for your preamp, interface, or computer input to handle cleanly. When the signal level exceeds the maximum capacity of the next device in the chain, the top of the waveform gets chopped off, a phenomenon called clipping.
Clipping creates the harsh, crackling distortion you hear in over-driven recordings. It is not just an aesthetic issue. Once audio is clipped, those waveform peaks are gone for good. No amount of EQ, compression, or volume reduction in post-production can fully restore them.
Hot mic signals typically show up on a level meter as readings that consistently hit or exceed 0 dBFS (decibels full scale). Ideally, you want your loudest peaks to land somewhere between -12 dB and -6 dB to leave yourself a safe margin called headroom.
Why Does My Mic Sound Distorted? Common Causes
Several factors can push your microphone signal into the danger zone, and they often stack on top of each other.
Gain set too high. The gain knob on your audio interface or preamp controls how much the microphone signal is amplified before it reaches your recording software. Crank it up too far and the signal overloads the converter.
Microphone Boost enabled. Windows includes a “Microphone Boost” setting in older driver panels that adds +20 dB or +30 dB of gain on top of whatever your interface already provides. This is the single biggest culprit behind distorted headset recordings.
Wrong mic for the source. A sensitive condenser microphone placed in front of a loud guitar amp or snare drum will clip long before a dynamic mic would. Sensitivity ratings exist for a reason.
Phantom power mismatch. While phantom power itself rarely causes distortion, a misconfigured mic that expects phantom power running without it can produce weak, noisy signals that people then over-correct by boosting gain.
Preamp overload. Even with the mic gain turned down, an extremely loud source can push the preamp past its maximum SPL rating, especially with budget audio interfaces.
How to Fix a Mic That Is Too Hot: Step-by-Step
Walk through these steps in order, and you should hear clean audio before you reach the bottom of the list.
Step 1: Check your levels first. Open your recording software or audio interface control panel and watch the input meter while you speak or sing at your normal volume. If the meter is hitting the top and turning red, you have clipping.
Step 2: Turn down the preamp gain. Rotate the gain knob on your audio interface counter-clockwise, or slide the input level in your DAW down by 6 to 10 dB. Re-test your levels.
Step 3: Disable Microphone Boost on Windows. Right-click the speaker icon, open Sound Settings, then go to the Input section. Choose your microphone, click Device Properties, then the Levels tab. Set Microphone Boost to 0 dB.
Step 4: Move the mic further from the source. Doubling the distance between the mic and your mouth reduces the signal by roughly 6 dB. Even a small repositioning helps.
Step 5: Engage the pad switch if your mic has one. Many professional condenser and large-diaphragm microphones include a built-in -10 dB or -20 dB pad. Flip it on for loud sources.
Step 6: Add an in-line attenuator. If turning down gain makes your signal too quiet, you need a hardware pad instead. This brings us to the dedicated hardware section below.
Step 7: Verify with a test recording. Record 30 seconds at your new settings. Play it back and listen for any crackle or harshness on loud consonants like “P” and “T”. If those plosives clip, you still need more attenuation.
Fixing Mic Levels on Windows and Mac
Operating system settings quietly add gain on top of your hardware gain, and they are often the root cause of distortion.
On Windows 10 or 11: Open Settings, then System, then Sound. Scroll to Input and select your microphone. Click Device Properties, then the Levels tab. Set the input slider to 50 or lower, and make sure Microphone Boost reads +0.0 dB. If you have multiple devices listed, repeat this for your actual recording mic, not your laptop’s built-in array.
For more advanced control, search for “Control Panel” in the Start menu, open Sound, and use the Recording tab to access the full driver panel where you can disable all enhancements and boosts.
On macOS: Open System Settings, then Sound, then the Input tab. Select your microphone from the list and drag the Input Volume slider down until the input level meter sits in the middle range. macOS does not have the same Microphone Boost feature as Windows, so the slider alone usually does the job.
If you use an audio interface, the system slider should be at 100% and all gain should be controlled by the interface’s physical knob. Reducing the system slider below 100% on a quality interface just adds unnecessary digital attenuation.
Hardware Solutions: Pads and Attenuators
Sometimes software fixes are not enough, especially with loud sources like drum kits, guitar amps, or enthusiastic podcast guests. That is when hardware attenuation comes in.
An in-line XLR attenuator sits between your microphone and your interface or preamp and reduces the signal by a fixed amount, commonly -10 dB, -20 dB, or -30 dB. Brands like Shure, Klark Teknik, and Sescom make reliable units that cost between $20 and $60.
A pre-attenuator switch is built into many professional condenser microphones. Check the body of your mic for a small switch labeled “Pad” or “-10/-20 dB”. Engaging it drops the mic’s output before it ever reaches the preamp, which is the cleanest place to reduce level.
An impedance converter or transformer-based mic can also help with ribbon microphones, which are especially vulnerable to phantom power and preamp overload. Transformers naturally tame hot signals and protect the delicate ribbon element.
When in doubt, use the cheapest option that gets the job done. A $20 in-line pad is more effective than a $200 software plugin for genuine signal overload, because the problem happens before any software ever sees the audio.
Mic Type Matters: Dynamic, Condenser, and Ribbon
Different microphone designs handle hot signals very differently, and what works for one may damage another.
Dynamic microphones (like the Shure SM58 or Sennheiser e835) are the most forgiving of hot signals. Their moving-coil design naturally limits output, and they handle high SPL well. Distortion in a dynamic mic almost always means the preamp is overloaded, not the mic itself.
Condenser microphones (like the Rode NT1 or Audio-Technica AT2020) are more sensitive and produce a hotter output. They need more careful gain staging and benefit greatly from a built-in pad for loud sources. Most condensers can handle normal vocal levels without clipping, but loud instruments will push them past their limits.
Ribbon microphones are the most fragile. A ribbon element is a thin metal strip suspended in a magnetic field, and sending phantom power to a passive ribbon mic, or hitting a ribbon with a massive SPL spike, can stretch or snap the ribbon permanently. Always check the manufacturer’s specs, and never connect phantom power unless the ribbon mic is explicitly designed for it.
If you are miking drums, brass, or loud guitar cabinets, dynamic mics are usually the safest choice. For quiet vocals and acoustic instruments in a controlled space, condensers shine. Reserve ribbons for studio work where you can carefully control the signal chain.
Can a Hot Signal Damage Your Microphone?
In most cases, no. A hot signal that clips your preamp or interface is generally just clipping the next device, not damaging the microphone itself. The microphone can handle far more SPL than your preamp can, with most professional models rated for 130 dB SPL or higher.
The exception is ribbon microphones. Ribbon elements can be physically damaged by very loud transient spikes, by phantom power (if the mic is not designed for it), or by long exposure to sustained high SPL. If you own a ribbon mic, treat its signal path with extra care and never assume it can take what a dynamic mic can.
If you are unsure whether a hot signal has damaged your mic, do a simple test recording in a quiet room. A healthy mic will pick up your voice cleanly with low self-noise. A damaged ribbon will sound thin, weak, or have lost its high-frequency response.
How to Prevent Hot Mic Issues Before They Happen?
Prevention is always better than recovery when it comes to clipped audio.
Start with gain at zero. Bring up your gain slowly while watching the meter, rather than starting loud and trying to tame it later.
Leave yourself 6 to 12 dB of headroom. Your loudest peaks should sit between -12 dB and -6 dB, never above 0 dBFS. This gives you safety margin for unexpected loud moments.
Use proper mic technique. Maintain a consistent distance from the mic, use a pop filter for plosives, and avoid bumping or handling the mic during recording.
Check your environment. Wind noise, air conditioning, and room reflections can all push levels higher than expected. A quieter source means lower gain and cleaner recordings.
Test before every session. Spend 60 seconds doing a level check at the start of any recording. It is much easier to fix a hot signal before you hit record than to discover clipping after a 90-minute interview.
Frequently Asked Questions
What does it mean if a mic is hot?
A hot mic produces an audio signal that is louder than your preamp or interface can handle cleanly. The signal exceeds the maximum input level, causing the waveform to clip, which creates the harsh distortion you hear in recordings.
Can a mic overheat?
Standard dynamic and condenser microphones do not overheat under normal use. Ribbon microphones can be physically damaged by very loud SPL spikes or by phantom power if the mic is not designed for it, so treat their signal path carefully.
Why does my mic still clip even with the gain turned down?
If turning down the gain does not stop clipping, the source itself is too loud for the mic, the preamp is overloaded, or software settings like Microphone Boost are adding extra gain on top. Try adding a hardware pad, repositioning the mic, or disabling boost in your OS settings.
How do I remove moisture from a mic?
If your microphone gets damp, remove the grille and let the capsule air dry in a warm room for 24 to 48 hours. Never use a hairdryer or oven, since heat can damage the diaphragm and electronics. Silica gel packets in your mic case help prevent moisture buildup.
How can I recover clipped audio after recording?
True clipping cannot be fully reversed because the waveform data is permanently lost. You can soften the harshness slightly with a declipper plugin like those from iZotope or Accusonus, but the cleanest fix is always to re-record with proper gain staging.
Wrapping Up
Knowing how to fix a mic that is too hot comes down to three habits: watch your meters, leave yourself headroom, and know when to reach for hardware instead of software. Most hot mic issues come down to gain staging, Microphone Boost, or a mic-to-source mismatch, and all three are easy to fix once you spot them.
Next time you sit down to record, take 60 seconds to check your levels at the start of the session. Your future self, and your editor, will thank you.