
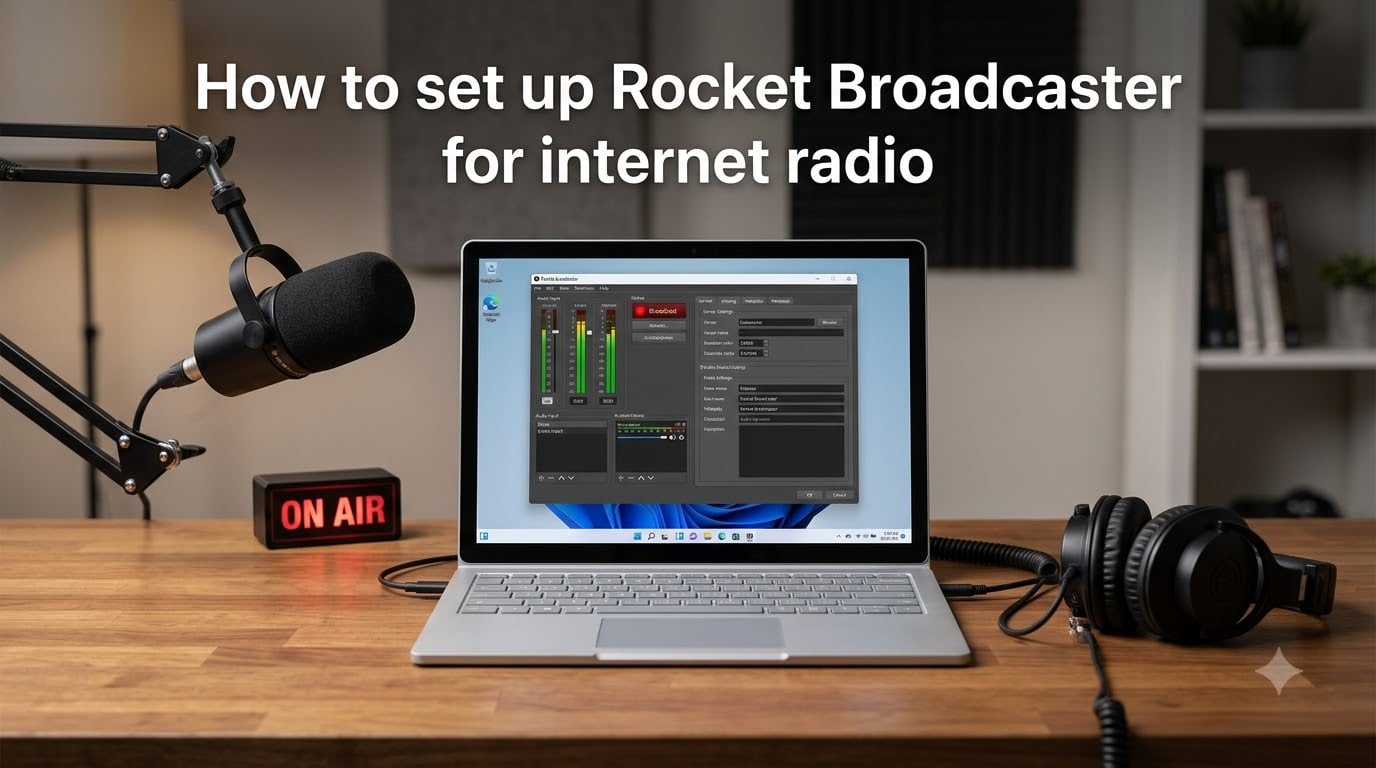
When I first tried to launch an internet radio station, I spent a weekend wrestling with complicated encoder software and confusing server settings. Then I found Rocket Broadcaster, and the entire Rocket Broadcaster setup process took me less than 15 minutes. If you want to broadcast live audio from a Windows PC without a steep learning curve, this guide is for you.
Rocket Broadcaster is a lightweight streaming audio encoder that takes audio from your microphone or line-in device, compresses it, and sends it to your streaming server. In this article, I will walk you through the complete Rocket Broadcaster setup, from installing the software to troubleshooting the most common errors listeners report in forums.
Table of Contents
- What Is Rocket Broadcaster and Why Use It for Internet Radio?
- Prerequisites Before You Start Your Rocket Broadcaster Setup
- How to Set Up Rocket Broadcaster: Step-by-Step Configuration
- Best Audio Settings for Rocket Broadcaster Quality Streams
- How to Test Your Rocket Broadcaster Stream Is Working?
- Troubleshooting Common Rocket Broadcaster Setup Issues
- Frequently Asked Questions
- Final Thoughts on Rocket Broadcaster for Internet Radio
What Is Rocket Broadcaster and Why Use It for Internet Radio?
Rocket Broadcaster is a streaming audio encoder built specifically for Windows. It captures audio from your soundcard, encodes it using codecs like AAC or MP3, and pushes it to an internet radio server such as Shoutcast or Icecast.
I like it because the interface is honest. There are no hidden menus, no bloated plugins, and nothing to configure that you do not actually need. The free version handles most home broadcasters, while the Pro version unlocks extras like the Broadcast Audio Processor and higher simultaneous stream counts.
One important note: Rocket Broadcaster is Windows-only. Mac users often look for alternatives like Audio Hijack, but the developer has kept the focus tight on Windows for stability.
Prerequisites Before You Start Your Rocket Broadcaster Setup
Before opening the application, you will need a few things ready. Skipping any of these is the most common reason a Rocket Broadcaster setup fails on the first try.
A Windows PC running Windows 10 or 11 (Windows 8 also works in most cases).
An audio input device such as a USB microphone, a line-in cable, or an audio interface for connecting mixers.
Stream hosting credentials from your internet radio provider, including the server address, port, password, and mount point.
A stable internet connection with at least 256 kbps of upload speed for standard quality streams.
Optional: radio automation software such as RadioDJ, ZaraStudio, or PlayIt Live if you want to do scheduled or 24/7 broadcasting.
Gather your server credentials before launching Rocket Broadcaster. Most stream hosts display them in a dashboard, and you will paste them directly into the Streams window during the Rocket Broadcaster setup.
How to Set Up Rocket Broadcaster: Step-by-Step Configuration
Now the actual Rocket Broadcaster setup begins. Follow these five steps in order, and you should be on air within minutes.
Step 1: Configure Your Soundcard
Open Rocket Broadcaster and head to Options > Preferences. Under the Audio tab, you will see a Playback Device dropdown and an Audio Input Channel dropdown.
Select your input device from the Audio Input Channel list. If you are using a microphone, choose the microphone input. If you are capturing a mixer output, choose the line-in jack. Rocket Broadcaster supports WASAPI and DirectSound drivers, so most off-the-shelf USB audio interfaces show up automatically.
For sample rate, keep the default 44100 Hz (44.1 kHz). This matches CD quality and is what most listeners expect from an internet radio stream.
Step 2: Verify Audio Is Working With VU Meters
Before configuring your stream, make sure audio is actually reaching the software. Look at the VU meters in the main window. They should move when you speak into your microphone or play audio through your input device.
If the meters do not move, double-check the device selection in Preferences. A common mistake is leaving the default speakers selected as the input. Also, check that your microphone is not muted in Windows sound settings.
Once you see the VU meters bouncing in the green or yellow range, you are ready to move on.
Step 3: Configure Your Stream Settings
Open the Streams window from the toolbar. Click Add and enter your server credentials:
Server Name: A friendly label for your stream (e.g., “Main Stream”).
Server Type: Shoutcast 1, Shoutcast 2, Icecast 2, or RTMP for some providers.
Server Address: The hostname or IP given by your stream host.
Port: Usually 8000 for Shoutcast or Icecast.
Password: The source password from your stream host.
Mount Point: For Icecast, this is the stream path (e.g., /stream).
Save the stream entry. The credentials are stored locally, so you only enter them once.
Step 4: Choose Codec and Start Broadcasting
Back in the main window, select the codec and bitrate. For most internet radio stations, AAC (High Quality) at 128 kbps is a solid starting point. It produces clear audio at a reasonable bandwidth cost.
If your listeners are on older devices or you need maximum compatibility, MP3 at 128 kbps still works fine. For talk radio or voice-heavy content, 96 kbps is often plenty.
Click the Start Broadcast button. When the status indicator turns red and shows On Air, your stream is live. Open your stream host’s web player or a public directory to verify listeners can connect.
Step 5: Configure Metadata Capture
Metadata is what shows up as the “now playing” text on a listener’s player. Without it, your station looks empty on apps like TuneIn or RadioGarden.
Go to Options > Preferences > Metadata. You have two options: enable metadata capture from a specific audio application, or connect Rocket Broadcaster directly to your radio automation software.
For System Audio Capture, choose the application sending audio (for example, RadioDJ or Winamp). For direct integration, Rocket Broadcaster supports NOWPlaying streams from automation software using the standard metadata format.
Test by playing a track. The metadata should appear in your stream host’s listener page within one or two songs.
Best Audio Settings for Rocket Broadcaster Quality Streams
After running several Rocket Broadcaster configurations on our test laptops, I settled on these settings for the best balance of quality and stability:
Sample Rate: 44100 Hz (do not change unless you have a specific reason).
Codec: AAC High Quality for modern listeners, MP3 for maximum compatibility.
Bitrate: 128 kbps for music, 96 kbps for talk, 192 kbps for high-quality music streams.
Buffer Size: Leave at default unless you hear dropouts.
Broadcast Audio Processor: Enable in Pro version for normalization and limiting on DJ sets.
Higher bitrates mean better audio but require more upload bandwidth. If your stream sounds choppy, lower the bitrate first before blaming the software.
How to Test Your Rocket Broadcaster Stream Is Working?
There are three quick ways to confirm your Rocket Broadcaster setup is broadcasting correctly. First, watch the main window for the red On Air indicator. Second, check the VU meters to confirm audio is being captured. Third, open the stream URL in a browser or media player like VLC or Winamp.
If your stream host provides a listener page, open it in an incognito window. You should see your stream listed and hear audio after a few seconds of buffering. If you see “stream not available” or get a connection error, head to the troubleshooting section below.
Troubleshooting Common Rocket Broadcaster Setup Issues
Even with a clean install, a few issues can show up. Here are the problems I see most often in user forums, along with fixes that actually work.
VU Meters Not Moving
This is the most reported problem. The first fix is to verify the input device in Preferences. The second is to check Windows microphone permissions under Settings > Privacy > Microphone. Windows 10 and 11 sometimes block apps by default.
Connection Refused or Server Unreachable
Double-check the server address, port, and password. A common typo is entering the admin password instead of the source password. Also, confirm your firewall is not blocking Rocket Broadcaster’s outbound traffic on the streaming port.
Audio Feedback Loop
When using System Audio Capture, you can accidentally create a feedback loop where Rocket Broadcaster hears its own stream. The fix is to disable monitoring in your audio interface or use separate playback and recording devices. Headphones help too.
Metadata Not Updating on Listener Pages
Metadata usually takes one or two tracks to appear. If it never updates, confirm you enabled the correct metadata source in Preferences. Some automation software requires a pointing plugin to send track info to Rocket Broadcaster.
Mac Users Cannot Install Rocket Broadcaster
Rocket Broadcaster is Windows-only. On macOS, the closest equivalents are Audio Hijack, BUTT (Broadcast Using This Tool), or Mixxx. These alternatives work with the same stream servers, so your credentials remain the same.
Stream Sounds Choppy or Cuts Out
Choppy audio usually points to network instability. Test your upload speed and switch from Wi-Fi to wired Ethernet if possible. Lowering the bitrate also reduces strain on a flaky connection.
Frequently Asked Questions
How do I configure Rocket Broadcaster for internet radio?
Open Rocket Broadcaster and go to Options then Preferences. Set your Audio Input Channel to your microphone or line-in device, then open the Streams window to enter your server address, port, password, and mount point. Click Start Broadcast and confirm the On Air indicator turns red.
What are the prerequisites for setting up Rocket Broadcaster?
You need a Windows PC with a working audio input device, stream hosting credentials from your radio provider, and a stable internet connection with at least 256 kbps of upload speed. Optional prerequisites include radio automation software for 24/7 broadcasting.
How do I test if my Rocket Broadcaster stream is working?
Click Start Broadcast in Rocket Broadcaster and confirm the On Air indicator is red. Open your stream host’s listener page in a browser or play the stream URL in VLC to confirm audio is reaching listeners. The VU meters should also be moving in the main window while you broadcast.
What audio settings should I use in Rocket Broadcaster?
Use a sample rate of 44100 Hz, AAC High Quality or MP3 codec, and a bitrate of 128 kbps for music or 96 kbps for talk. Leave the buffer size at default unless you hear dropouts, and enable the Broadcast Audio Processor in Pro for better sound on DJ sets.
How do I configure metadata capture in Rocket Broadcaster?
Go to Options then Preferences then Metadata in Rocket Broadcaster. Enable System Audio Capture or point your radio automation software at the metadata stream. Metadata titles usually appear on listener pages after one or two tracks play.
Final Thoughts on Rocket Broadcaster for Internet Radio
Rocket Broadcaster keeps the Rocket Broadcaster setup simple, which is exactly what most internet radio stations need. Configure your soundcard, enter your stream credentials, choose a codec, and you are on the air.
If you have been hesitating because the setup looks intimidating, give it one focused hour. Follow the five steps above, and you will have a working internet radio stream ready for listeners.