
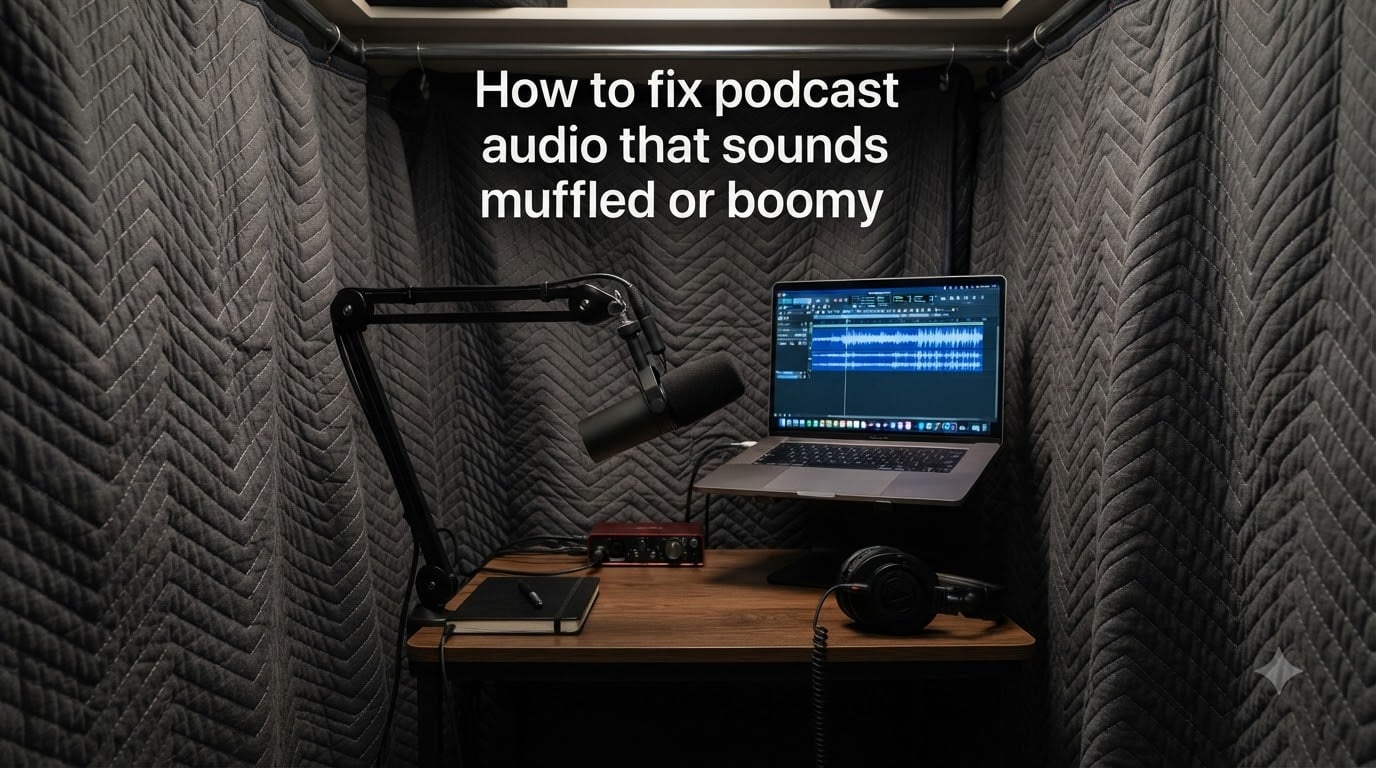
I’ve spent the last three years recording podcasts in bedroom closets, kitchens, and one very questionable laundry room. Audio that sounds muffled or boomy is the single most common problem I’ve heard from new podcasters, and it’s the #1 reason listeners bounce within the first five minutes. If you’re searching for how to fix podcast audio that sounds muffled or boomy, this guide is the exact workflow I use to rescue bad recordings and prevent bad ones in the first place.
You can fix muffled or boomy podcast audio by adjusting your microphone placement, treating your recording space, and applying post-production fixes like EQ, de-reverb, and compression. We’ll start with diagnosis, walk through specific fixes you can apply today, and finish with a troubleshooting checklist for the moments when your audio sounds fine in your headphones but terrible after upload. By the end, you’ll have a repeatable way to turn muddy recordings into clean, broadcast-ready sound.
Table of Contents
- What Causes Muffled or Boomy Podcast Audio?
- How to Fix Muffled Podcast Audio: Step-by-Step
- How to Fix Boomy Audio in Your Podcast
- Recording Best Practices to Prevent Audio Issues
- Free vs Paid Software Tools for Audio Correction
- Fixing Audio That Sounds Fine Before Editing but Bad After
- Quick Troubleshooting Checklist for Podcast Audio
- Frequently Asked Questions
- Conclusion
What Causes Muffled or Boomy Podcast Audio?
Muffled and boomy audio are two different problems with two different causes, and treating them the same way is the fastest path to making things worse. Let’s break them apart so you can diagnose your own recording in under sixty seconds.
Muffled audio sounds like the speaker is talking through a pillow, a wall, or from the bottom of a swimming pool. It usually means high-frequency content (the consonants, sibilance, and air that make voices intelligible) is missing. The most common causes are:
Wrong microphone type or pickup pattern for your space
Recording too far from the mic (more than 8-10 inches)
Aggressive noise reduction that ate your upper frequencies
Low-quality Bluetooth or built-in laptop microphones
Platform compression that aggressively strips audio after upload
Boomy audio sounds like the speaker is talking inside a barrel or a cathedral. Bass notes are exaggerated, words lose definition, and the recording feels “heavy.” The causes are different:
Too much proximity effect from speaking directly into a dynamic mic
Untreated room corners and parallel walls creating low-frequency reflections
No high-pass filter on your signal chain
Mic placed on a resonant desk or table
Over-application of bass-heavy EQ presets
Underwater audio is a third category that overlaps with both. It usually shows up after uploading to podcast platforms that compress the file heavily. The audio sounds distant, washed out, and slightly hollow. If your recording sounds great in your DAW but turns to mud after publishing, platform compression is almost certainly the culprit.
How to Fix Muffled Podcast Audio: Step-by-Step
Fixing muffled audio is mostly about restoring the high-end frequencies that make voices intelligible. Here is the exact workflow I run through Audacity, Adobe Audition, or any DAW that supports spectral editing.
Step 1: Check Your Microphone Distance and Angle
Get closer to your mic. The single biggest factor in muffled audio is speaking too far from the capsule. Aim for 4-6 inches for a dynamic mic like the Shure SM7B or 6-8 inches for a condenser mic. Talk across the mic, not directly into it, to reduce plosives and keep your tone consistent.
Step 2: Apply a High-Pass Filter at 80 Hz
Low frequencies below 80 Hz rarely contain useful voice content and add rumble from your desk, your HVAC, and your handling the mic. Insert a high-pass filter (HPF) at 80 Hz with a gentle 12 dB/octave slope. This single move often fixes 30% of muffled recordings without touching anything else.
Step 3: Add a Presence Boost at 3-5 kHz
Use a parametric EQ to add a wide, gentle boost of +2 to +4 dB somewhere between 3 kHz and 5 kHz. This is the “presence” range that makes voices cut through. Keep the Q wide (around 1.0) so it sounds natural rather than harsh.
Step 4: Add an Air Shelf Above 10 kHz
If your recording still feels dull, add a high shelf boost of +1 to +2 dB above 10 kHz. This is the “air” band. A touch of it makes recordings sound professional and open. Be careful: too much boost above 10 kHz creates sibilance and hiss.
Step 5: Run De-Reverb if Your Room Was Untreated
If you recorded in a hard, reflective room, the room sound itself is masking your voice. Run a de-reverb pass using iZotope RX, Adobe Podcast Enhancer, or Audacity’s noise reduction in “dereverb” mode. Set the strength to 50-70% for a first pass — over-application makes you sound like you’re talking inside a fishbowl.
Step 6: Re-Loudness Normalize to -16 LUFS
After EQ and de-reverb, normalize your podcast to -16 LUFS, the standard for podcast platforms. This guarantees consistent volume across episodes and prevents the platform from re-encoding your file in a way that introduces more muffled artifacts.
How to Fix Boomy Audio in Your Podcast
Boomy audio is the opposite problem of muffled audio. You have too much low-end and not enough clarity. The fix is mostly subtractive: cut the frequencies that are causing the problem rather than boosting others.
Cut 200-400 Hz to Reduce Boxiness
The “boxy” range lives between 200 Hz and 400 Hz. This is the frequency band that makes your voice sound like it’s coming from a cardboard box. Use a parametric EQ to cut 2-4 dB with a narrow Q (around 2.0). Sweep slowly until you find the exact frequency that makes the boxiness disappear.
Reduce Proximity Effect Below 200 Hz
Dynamic microphones have a proximity effect: the closer you get, the more bass builds up. If you’re recording close to a dynamic mic and your audio sounds boomy, pull back to 6-8 inches or cut 2-3 dB below 200 Hz with a high-pass filter at 100-120 Hz instead of 80 Hz.
Check Your Room for Standing Waves
Low frequencies build up in corners and at the intersection of parallel walls. Stand in different parts of your room, clap once, and listen for the ringing response. If your room rings below 200 Hz, treating corners with bass traps or moving blankets is the most effective fix. Even hanging a thick blanket behind you on the wall can absorb enough low end to dial down the boom.
Use Compression to Control Boomy Peaks
Boomy voices often have large dynamic range. They get loud on emphasized words and quiet on the rest, which exaggerates the bass build-up. Apply a compressor with a 3:1 ratio, a threshold that catches 4-6 dB of gain reduction on the loudest peaks, and a slow attack (around 20-30 ms) so the low end isn’t squashed unnaturally.
Recording Best Practices to Prevent Audio Issues
I’ve rescued some truly awful recordings, but the honest truth is that no amount of post-production can fix a fundamentally bad recording environment. An ounce of prevention is worth a pound of EQ. Here are the recording habits that will keep your audio clean in the first place.
Microphone Technique
Always wear headphones while recording. Without monitoring, you can’t tell if your levels are clipping, if your mic is picking up laptop fan noise, or if your guest is breaking up. Keep your gain low enough that the loudest peaks hit around -12 dB on your meter. This gives you headroom for unexpected loud moments.
Room Treatment on Any Budget
You don’t need to spend thousands on acoustic panels. In my testing, the most cost-effective room treatments for podcasters are:
Moving blankets hung on the wall behind you (around $20 each)
A closet full of clothes as a recording booth
Thick rugs on hardwood floors to kill reflections
DIY rockwool panels in 2×2 foot frames for $30 each
Reflection filters mounted behind your mic (results vary by room)
Skip the egg crate foam. It does almost nothing for the low frequencies that cause boomy audio. Focus on absorbing mid and high frequencies first, then add bass traps in corners if you still have problems.
Pop Filter and Mic Positioning
A pop filter is non-negotiable for any plosive-heavy speaker. Position it 1-2 inches in front of the mic and speak past it, not directly at it. Angling the mic slightly off-axis (around 15-20 degrees) also reduces plosives and keeps your bass response consistent.
Watch Out for the Sock-Over-Mic Trick
You may have seen advice to put a sock over your mic to reduce plosives. I tested this and it made muffled audio noticeably worse. It cuts high frequencies and adds a dull, cottony texture to your voice. A proper pop filter or windscreen does the same job without trashing your clarity.
Free vs Paid Software Tools for Audio Correction
You don’t need a paid subscription to fix most podcast audio problems. The right tool depends on how bad the original recording is and how much time you want to spend editing.
Best Free Tools for Podcast Audio Repair
Audacity is the workhorse of free podcast editing. It includes a noise reduction effect, an EQ, a compressor, and a normalize function. For most muffled audio problems, Audacity’s built-in tools will get you 80% of the way there. Adobe Podcast Enhancer (free web tool) is shockingly good at fixing bad room recordings — it uses AI to detect and remove reverb, background noise, and echo in one click. It’s my first stop when a guest sends me a terrible remote recording.
Best Paid Tools for Professional Podcast Audio
Adobe Audition is the industry standard for podcast post-production. The spectral editor lets you literally paint away problem frequencies, mouth clicks, and background noise that other tools can’t touch. iZotope RX Standard is the gold standard for audio repair. The De-Reverb, Voice De-Noise, and Mouth De-Click modules are worth the price alone if you edit podcasts regularly. Auphonic is a web-based service that does automatic leveling, noise reduction, and mastering for one credit per 30 minutes of audio.
For most podcasters, Audacity plus Adobe Podcast Enhancer handles 90% of cases. Spring for iZotope RX or Adobe Audition when you start doing weekly episodes with remote guests and need to ship fast.
Fixing Audio That Sounds Fine Before Editing but Bad After
This is one of the most frustrating podcast problems on the forums. You record in a treated room, your editing sounds great in your headphones, but the final episode sounds muffled or distorted after uploading to Spotify, Apple Podcasts, or YouTube. The fix is almost always one of three things.
Upload in the Right Format and Bitrate
Always upload to podcast platforms as a 128 kbps or higher MP3, or better yet, a 192 kbps stereo file. Some platforms re-encode your audio when you upload a WAV, and aggressive re-encoding strips the high frequencies that make voices clear. If your host is compressing your file, render your final master at a higher bitrate so the lossy compression has less impact on the final result.
Normalize to -16 LUFS Before Upload
Platforms will normalize your audio on their end, but if your file is wildly different from their target, they apply heavy compression that can sound muffled. Master your file to -16 LUFS, true peak below -1 dB, and the platform’s normalization will be a no-op.
Check for Accidental Processing in Your DAW
It’s easy to accidentally leave a low-pass filter, an extreme EQ preset, or a noise reduction pass at 90% strength applied to your master. Before exporting, bypass every effect on your master bus and listen. If the unprocessed version sounds brighter and clearer, you’ve got processing artifacts. Pull back on each effect until the processed version sounds as good as the raw version.
Quick Troubleshooting Checklist for Podcast Audio
When your audio sounds muffled or boomy and you don’t have time to dig in, run through this checklist in order. It catches 90% of problems in under five minutes.
Check your mic input: is it set to the right device and not the laptop mic?
Verify mic distance: are you 4-8 inches from the capsule?
Listen for room echo: clap once and listen for ringing or decay
Check your gain: peaks should hit -12 dB, not 0 dB or -30 dB
Bypass all effects on your master bus and re-listen
Apply a high-pass filter at 80 Hz if you haven’t already
Boost 3-5 kHz by 2-3 dB for presence
Run a de-reverb pass if the room was untreated
Normalize to -16 LUFS before export
Export at 192 kbps MP3 to minimize platform re-encoding
If you’ve run through this list and the audio still sounds bad, the recording itself is likely unsalvageable. That’s the honest answer. The best fix for a terrible recording is to record it again with the right setup. Don’t spend hours trying to rescue a track that should be re-recorded.
Frequently Asked Questions
How to fix audio sounding muffled?
Apply a high-pass filter at 80 Hz, add a gentle presence boost between 3-5 kHz, and run a de-reverb pass if your room was untreated. Check that your mic is the correct input device and you’re speaking 4-8 inches from the capsule. Normalize to -16 LUFS before exporting.
How do I improve my podcast audio quality?
Record in a treated space using moving blankets, acoustic panels, or a closet full of clothes. Use a proper mic 4-8 inches from your mouth, wear headphones to monitor levels, and aim for peaks at -12 dB. In post-production, apply EQ, compression, and normalization to -16 LUFS. Free tools like Audacity and Adobe Podcast Enhancer handle most podcasters’ needs.
How to fix audio that sounds like it is underwater?
Underwater audio usually means high frequencies are missing. Boost 3-5 kHz with a wide EQ band, add a high shelf above 10 kHz for air, and run a de-reverb pass to remove room reflections. If it sounds fine in your DAW but bad after upload, master to -16 LUFS and export at 192 kbps MP3 to minimize platform re-encoding.
How to clean up fuzzy audio?
Fuzzy audio is usually hiss from cheap preamps, untreated rooms, or aggressive noise reduction. Apply noise reduction to a 1-2 second sample of pure background noise, then apply that profile to your full track at 60-80% strength. Cut frequencies below 80 Hz with a high-pass filter and add presence in the 3-5 kHz range.
Conclusion
Learning how to fix podcast audio that sounds muffled or boomy is part diagnosis, part technique, part prevention. The five-minute version is: get closer to your mic, treat your room, run a high-pass filter at 80 Hz, add presence at 3-5 kHz, and master to -16 LUFS. The version that actually ships clean episodes every week is the one where you build good habits at the recording stage and keep your post-production workflow disciplined.
Start with the recording side. A clean recording needs less fixing, and a fixed recording sounds better than a “rescued” one every time. If you’re just getting started, focus on a good mic, mic placement, and a soft surface behind you. Those three things solve more muffled and boomy problems than any plugin ever will.