
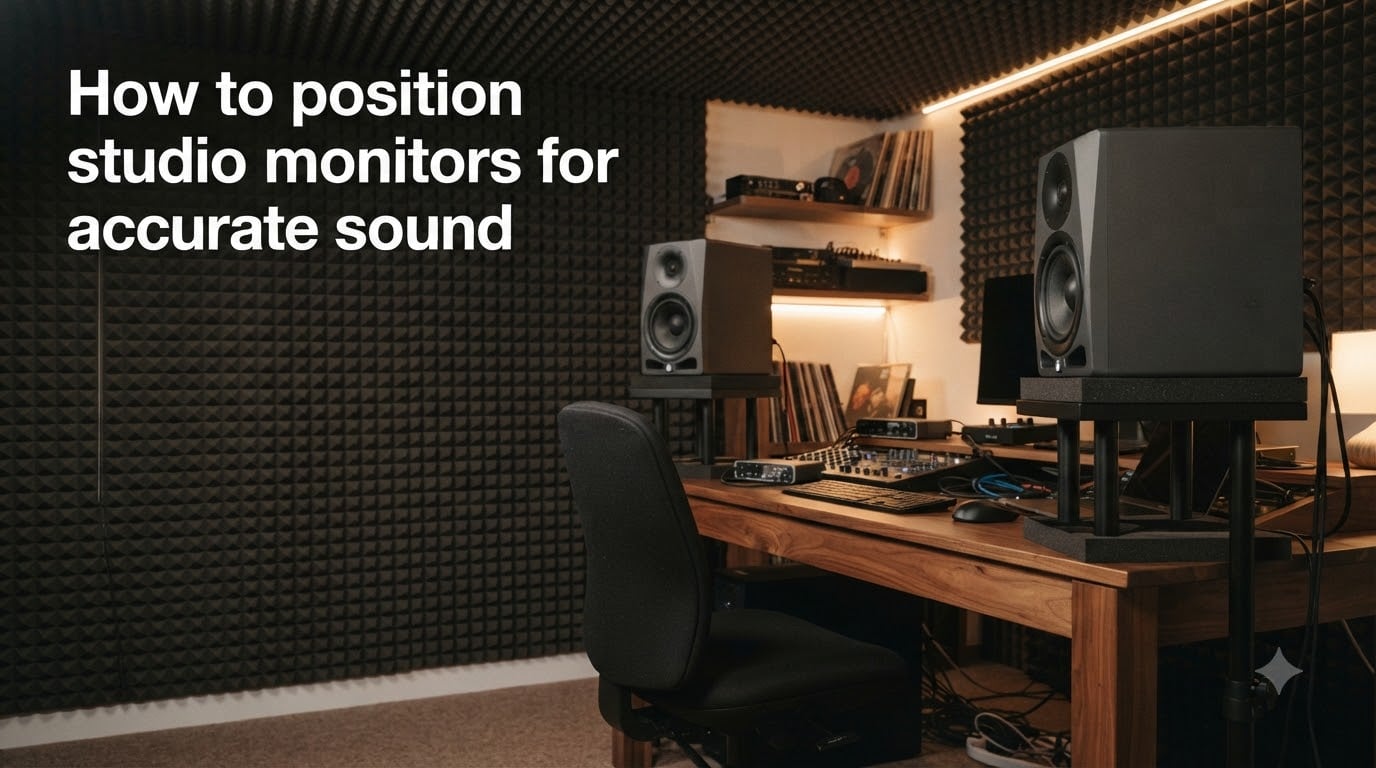
When I first set up my home studio, I dropped my monitors on the desk, plugged them in, and called it done. The mix sounded great in my room, then fell apart on every other system I played it on. The problem was not my ears, my interface, or my monitors. It was positioning.
How you position studio monitors determines whether what you hear actually reflects what is in your mix. After years of trial and error, plus a fair amount of measuring tape, I have learned that even small adjustments in distance, height, and angle can transform your sound. This guide walks through the same process I use with every new room, so you can stop fighting your space and start hearing the truth.
Table of Contents
- How to Position Studio Monitors: The Complete Guide
- The Equilateral Triangle Principle
- Monitor Height and Ear Level Alignment
- Distance From Walls and Boundary Effects
- Speaker Angle and Toe-In
- Nearfield Monitoring Explained
- Decoupling and Isolation Tips
- Common Mistakes to Avoid
- Small Room Solutions
- Frequently Asked Questions
- Final Thoughts
How to Position Studio Monitors: The Complete Guide
Positioning studio monitors comes down to four core decisions: where you sit, where the speakers go relative to you, how high they sit, and how far they are from walls. Get those four variables right and you are most of the way to accurate sound.
The rest of this guide explains each variable in detail, with the actual measurements I use. Every recommendation here is based on acoustic principles that have not changed in decades, plus the small-room realities that every home studio producer eventually faces.
The Equilateral Triangle Principle
The equilateral triangle is the single most important rule in studio monitor placement. Imagine an upside-down triangle on your floor. Your head sits at the bottom point. The left and right speakers sit at the other two points. The distance between your head and each speaker equals the distance between the two speakers.
This geometry matters because your brain decodes stereo imaging using tiny differences in arrival time and level between your two ears. When the triangle is equilateral, those cues reach your ears the way the recording engineer intended them to. When the triangle is lopsided, the stereo image collapses toward one side.
Here is how I set it up in practice:
- Sit in your mixing chair and mark the spot where your head will be.
- Measure the distance from that spot to where your left speaker will sit.
- Place the right speaker at exactly the same distance from your head.
- Measure the distance between the two speakers and confirm it matches the other two sides.
Most home studios work well with a triangle side length of 3 to 4 feet. That gives you a focused sweet spot without forcing you to sit too far from your desk.
Monitor Height and Ear Level Alignment
Monitor height is the most common mistake I see in home studios. People put their speakers wherever the desk allows, which usually puts the tweeters somewhere between chest height and forehead height. The result is a soundstage that feels muffled and a stereo image that loses focus.
The acoustic axis of a nearfield monitor is the line running straight out from the center of the baffle between the woofer and tweeter. Manufacturers tune the speaker so that this axis delivers the flattest frequency response. Your goal is to align your ears with that axis.
For most two-way monitors, the tweeter is just above the acoustic axis. I aim to have my ears roughly level with the tweeter itself. Here is what works in practice:
- Sit upright in your normal mixing posture and have someone measure where your ears land.
- Adjust your monitor stands or isolation pads so the tweeters sit at that exact height.
- Angle the monitors slightly up or down if needed so the acoustic axis points directly at your ears.
Genelec recommends keeping the vertical alignment within 15 degrees of your ear position. Outside that window, the high-frequency response starts to roll off and the stereo image gets hazy.
Distance From Walls and Boundary Effects
Walls are the silent saboteur of every home studio. They reflect sound, reinforce bass, and create comb filtering that colors your mixes. The closer your monitors are to a wall, the more those problems multiply.
Boundary effect is the acoustic phenomenon where sound waves bouncing off a nearby surface combine with the direct sound from the speaker. The result is a 6 dB boost at certain bass frequencies, plus cancellations at others. A monitor that sounds balanced at the desk can sound boomy and uneven once you push it 6 inches away from the wall behind it.
Here is how I handle wall proximity:
- Aim to keep the back of each monitor at least 12 inches away from the wall behind it. More is better if your room allows.
- Stay at least 18 inches away from side walls when possible to reduce early reflections.
- Avoid placing monitors in corners, where two boundaries compound the bass buildup.
- Face the short wall of a rectangular room rather than the long wall, which tends to excite stronger axial room modes.
If your room forces you close to a wall, look for monitors with built-in boundary compensation switches. Many brands now include high-shelf and low-shelf filters specifically for wall placement. They will not solve every problem, but they will take the worst edge off.
Speaker Angle and Toe-In
Once your triangle is set and your monitors are at the right height, the last major variable is toe-in. That is the horizontal angle of each speaker pointing toward your listening position.
The standard recommendation is 30 degrees of toe-in. That means each speaker is angled 30 degrees inward from a straight-ahead position. Combined with the equilateral triangle, this puts the acoustic axes pointing directly at your ears and creates a focused sweet spot with a wide stereo image.
Some engineers prefer a slightly wider angle, around 22 to 25 degrees, which can give a broader sweet spot useful for client sessions. Others prefer more aggressive toe-in, around 35 to 40 degrees, which tightens the center image but narrows the listening window. I default to 30 degrees and only adjust if I can clearly hear an issue.
A quick way to test your toe-in is the mirror trick. Place a small mirror on the listening position between your ears. Adjust each monitor until you can see the tweeter reflected in the mirror. That guarantees the acoustic axis is pointed right at your ears.
Nearfield Monitoring Explained
Nearfield monitoring is the practice of listening to monitors at a relatively close distance, typically 3 to 4 feet. The goal is to hear more of the direct sound from the speakers and less of the room reflections bouncing around behind you.
Every room has a critical distance, which is the point where direct sound and reflected sound are equal in level. Beyond that distance, your ears hear more room than source. Nearfield listening keeps you well inside the direct-sound zone, so the room matters less.
For home studios, nearfield is the only practical option. You are almost never far enough from your walls to escape room influence otherwise. Close-positioned nearfield monitors, properly aimed, give you the most accurate picture your room can deliver.
Decoupling and Isolation Tips
Decoupling means separating your monitors from the surfaces they sit on. Without it, the desk or stand becomes an extension of the speaker, vibrating in sympathy and adding resonances that color your low end.
Here is what actually works for decoupling in a home studio:
- Use dedicated monitor stands rather than placing speakers directly on your desk. Stands sit on the floor and bypass desk resonance.
- Add isolation pads (foam wedges or platforms) between the monitor and whatever surface it sits on. Even on stands, pads tighten the bass response.
- Fill stands with mass, such as sand or shot, to prevent them from ringing.
- Keep the desk surface clear of objects that can rattle when the bass hits.
I tested the same mixes on and off isolation pads in my own studio and the difference was striking. Pads reduced a low-mid smear around 200 Hz and tightened the kick drum enough that my low-end EQ decisions became much more reliable.
Common Mistakes to Avoid
After watching countless home studio setups, these are the placement mistakes I see most often. Each one is fixable in an afternoon.
- Monitors placed against the wall. Even a few inches of clearance helps, but 12 inches is much better.
- Tweeters above or below ear level. Use stands or foam wedges to dial in the height.
- No toe-in or wildly inconsistent toe-in. Both speakers should match.
- Monitors sitting on a cluttered desk with cables and objects between them.
- One speaker closer to a wall than the other. Asymmetry is the enemy of stereo imaging.
- Listening too far back from the speakers. Move your chair forward until the triangle works.
- Skipping basic acoustic treatment. A few absorption panels at first-reflection points make a real difference.
Pick one of these to fix today, listen for the change, then move to the next. You will hear more progress in a week of small fixes than in months of gear swapping.
Small Room Solutions
If you are working in a small apartment or bedroom studio, the equilateral triangle still works, but the distances get shorter. Most small rooms allow a triangle side of 2.5 to 3 feet, which is fine. Push the speakers too close and the stereo image collapses; too far and the room dominates.
Here is what I recommend for tight spaces:
- Face the short wall of the room, even if it means sitting closer to one wall than feels natural.
- Place asymmetric absorption behind the listening position to control the back wall reflection.
- Use nearfield monitors designed for close placement, such as 5-inch or 6-inch models.
- Keep one speaker at least 12 inches from any wall, even if the other cannot match. Some clearance beats none.
- Add a rug if you have hardwood floors to control floor reflections between you and the monitors.
Reddit users in small apartments often report that simply moving the desk 18 inches away from the back wall improved their mixes more than any plugin or upgrade. Room position is leverage you can use without spending anything.
Frequently Asked Questions
How to position studio monitor correctly?
Position the monitors so they and your head form an equilateral triangle. Place the tweeters at ear level, angle each speaker 30 degrees toward your ears, and keep at least 12 inches between the back of each monitor and the wall behind it. Sit in your normal mixing posture and confirm the triangle is symmetric before you start mixing.
What is the 83% rule for speakers?
The 83 percent rule for speaker placement suggests placing your speakers at roughly 83 percent of the room’s length from one wall, or 38 percent from the opposite wall. This position avoids the worst axial room modes and the strongest boundary bass buildup, giving you a flatter low-end response where you sit.
What is the 38 rule for studio monitors?
The 38 percent rule is the companion to the 83 percent rule. It means the listening position should sit at 38 percent of the room’s length from the wall opposite the speakers, while the speakers sit at roughly 38 percent of the room’s length from the front wall. Together these positions minimize the influence of low-frequency room modes.
How to get the best sound out of studio monitors?
Use the equilateral triangle setup with 30 degrees of toe-in, place the tweeters at ear level, keep monitors at least 12 inches from the wall, decouple them with stands or isolation pads, and treat first-reflection points with absorption. Together these adjustments produce the most accurate frequency response and stereo imaging your room allows.
How far should studio monitors be from the wall?
Studio monitors should sit at least 12 inches away from the wall behind them, with 18 inches or more being ideal. Greater distance reduces boundary bass buildup and gives you flatter low-frequency response at the listening position.
How high should studio monitors be?
Studio monitors should be raised so the tweeters sit at ear level when you are in your normal mixing position. Use monitor stands or isolation pads to dial in the exact height, and angle the monitors so the acoustic axis points directly at your ears within 15 degrees vertically.
Final Thoughts
Learning how to position studio monitors for accurate sound is one of the highest-leverage things you can do in your home studio. The right triangle, the right height, the right wall distance, and the right toe-in will change what you hear in your mixes more than any plugin or cable upgrade.
Start with the equilateral triangle, get the tweeters at ear level, and pull your monitors away from the wall. Measure twice, listen once, and let your ears confirm the geometry. Once those basics are locked in, the rest of this guide becomes a checklist for fine tuning. Your mixes will translate better, your decisions will be more confident, and you will stop wondering why your tracks sound different everywhere else.