
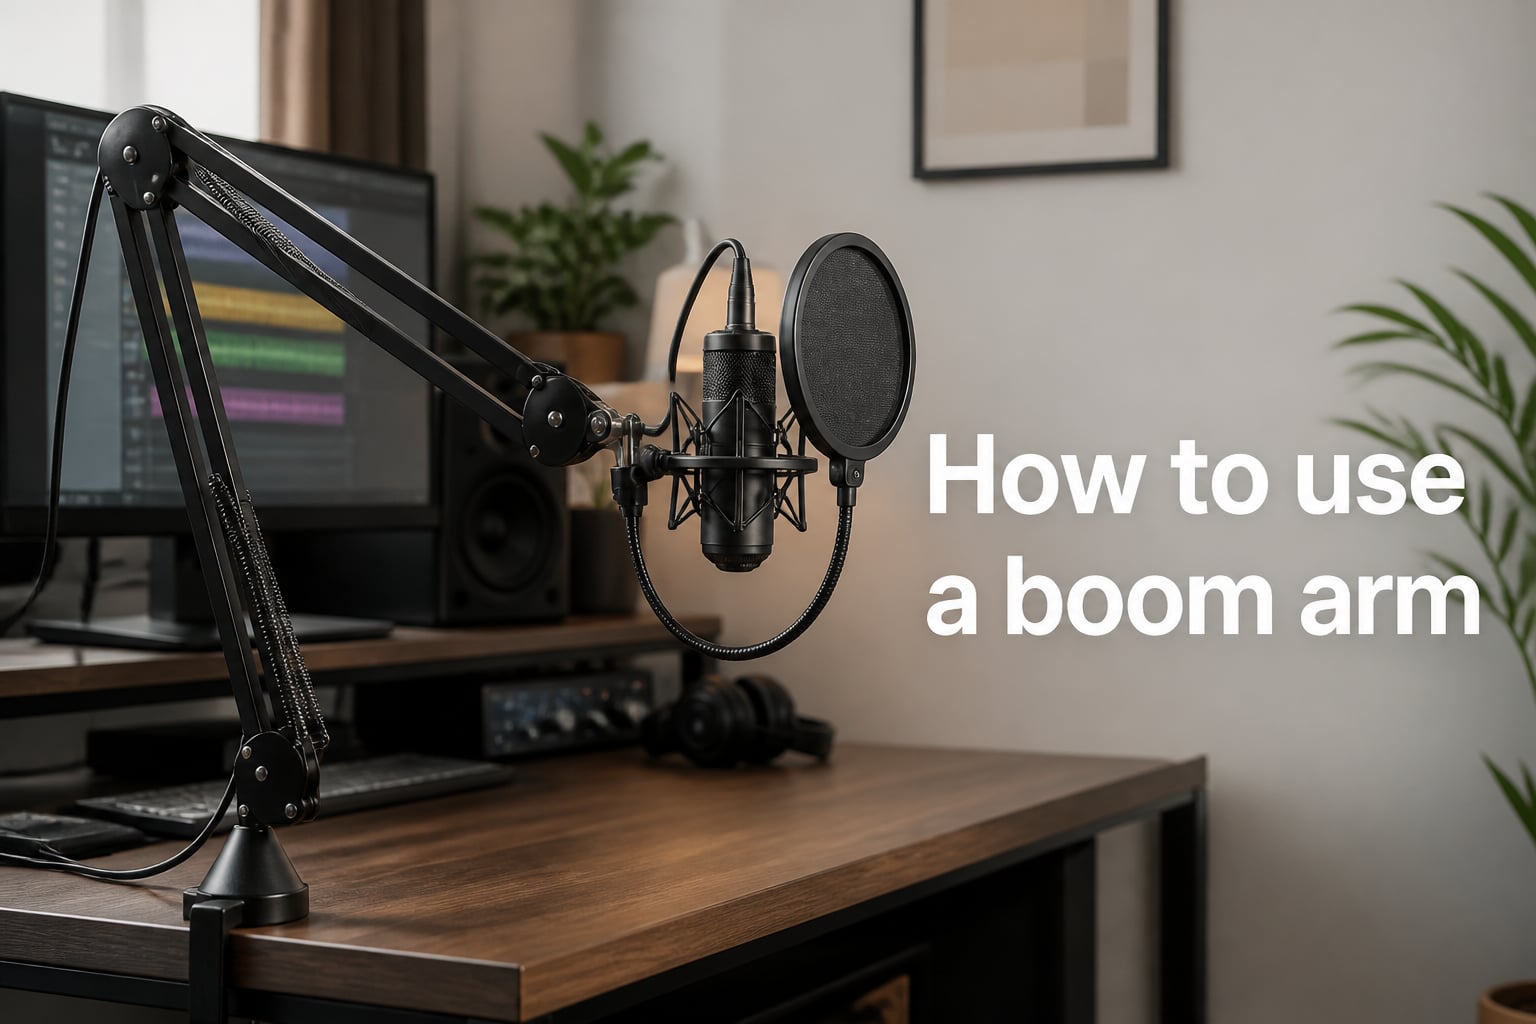
Learning how to use a boom arm is one of the fastest upgrades you can make to your recording setup. A boom arm gets your microphone off the desk, into the right position, and out of the way of your keyboard, mouse, and monitor. When you pair it with a shock mount and a pop filter, you also get cleaner audio with less rumble and fewer harsh plosives on every take.
In this guide, I will walk you through what a boom arm actually does, why a shock mount and pop filter matter, and the exact steps I use to set one up. I will also cover the 3 to 1 rule, common mistakes, and quick fixes for the most common boom arm problems. By the end, you will have a setup that looks clean and sounds professional.
Table of Contents
- What Is a Boom Arm and What Does It Do?
- Why Use a Shock Mount With Your Boom Arm?
- Why Use a Pop Filter and How It Works?
- How to Use a Boom Arm: Step-by-Step Setup
- Proper Microphone and Pop Filter Distance
- Dynamic vs Condenser Microphone Considerations
- Common Mistakes and How to Avoid Them
- Troubleshooting Common Boom Arm Issues
- Desk Space and Cable Management Tips
- Frequently Asked Questions
- Final Thoughts on Using a Boom Arm
What Is a Boom Arm and What Does It Do?
A boom arm is an adjustable microphone stand that clamps to your desk and holds your microphone in place on a pivoting arm. Instead of sitting on a flat base, your mic floats in the air, suspended by a set of joints that you can loosen, reposition, and tighten by hand. Most boom arms use a C-clamp on the desk edge and a pair of springs to balance the weight of the microphone.
The main benefits of a boom arm are positioning, ergonomics, and desk space. You can pull the mic close to your mouth for a session, then push it aside when you are typing or gaming. Podcasters, streamers, voice actors, and home studio owners all rely on this flexibility because it lets the mic follow their workflow instead of fighting for room on the desk.
Why Use a Shock Mount With Your Boom Arm?
A shock mount is a suspension cradle that holds your microphone inside a ring of elastic bands or rubber isolators. Its job is to decouple the microphone from the boom arm so that vibrations do not travel up the arm and into the mic capsule. Without one, every keystroke, foot tap, or desk bump can show up in your recording as a low-frequency thump.
Engineers call this kind of interference structure-borne noise, and it often sounds like a low rumble or rumble that is hard to remove in post. A shock mount absorbs that energy before it reaches the sensitive condenser capsule inside your microphone. It is especially important for condenser microphones, which are very sensitive to vibration because of their lightweight internal electronics.
Most shock mounts are shaped like a spider and clip or screw onto the end of your boom arm. You place the microphone inside the cradle, tighten the side screws, and the bands hold it gently in place. If you own a condenser microphone, you almost always need a shock mount. If you own a dynamic microphone, you can usually skip it.
Why Use a Pop Filter and How It Works?
A pop filter is a thin mesh screen that sits between your mouth and the microphone. Its job is to break up the bursts of air that come from hard consonant sounds like P, B, T, and K. Those bursts are called plosives, and when they hit a microphone capsule directly, they create a low-frequency pop that can ruin a recording.
The mesh works by scattering the air so that the microphone only hears your voice, not the wind blast from your lips. Most pop filters also act as a visual cue to keep a consistent distance from the mic, which helps your levels stay steady. Some models also protect the capsule from moisture, which matters during long sessions or if you speak energetically.
Pop filters come in two main styles. Nylon screens are inexpensive, lightweight, and effective for most home studios. Metal mesh filters are more durable, easier to clean, and slightly more transparent to high frequencies. Either works well, so the choice usually comes down to preference and budget.
How to Use a Boom Arm: Step-by-Step Setup
Here is the exact setup process I use every time I install a new boom arm. The whole thing takes about 10 minutes, and you only need a few basic tools, usually nothing more than a hex key that ships with the arm.
Step 1: Clamp the Boom Arm to Your Desk
Pick a spot on the back edge of your desk, ideally where the arm will swing in toward your mouth without hitting your monitor. Loosen the C-clamp with the hand screw, slide it over the desk edge, and tighten until the base feels solid. Give the arm a gentle wiggle to make sure it does not slide.
Step 2: Adjust the Arm Tension
Most boom arms have springs hidden inside the joints. Adjust the tension screws so the arm holds its position at any angle without drifting up or sagging down. Your microphone should feel weightless when you let go of the arm.
Step 3: Attach the Shock Mount
Slide or screw the shock mount onto the threaded end of the boom arm. Hand-tighten only. Over-tightening can crack the plastic threads or warp the mount.
Step 4: Install the Microphone
Place the microphone inside the shock mount cradle, making sure the capsule is centered. Tighten the side screws until the elastic bands hold the mic firmly. The mic should not wobble when you tap the boom arm.
Step 5: Mount the Pop Filter
Use the included clamp or a gooseneck adapter to attach the pop filter to the boom arm shaft. Position it a few inches in front of the microphone. Many users have to bend the flexible arm of the pop filter quite a bit to get the right angle, and that is completely normal.
Step 6: Route the Cable
Plug your XLR or USB cable into the microphone, then run it along the inside channel of the boom arm. Most arms include small cable clips to keep the wire tidy. A loose cable can pull the arm out of position, so secure it well.
Step 7: Test and Fine-Tune
Open your recording software, watch the input meter, and speak at your normal volume. Adjust the mic position and pop filter angle until you find a comfortable spot. If you hear rumbles when you type, the shock mount needs to be tightened. If you hear pops on P and B sounds, the pop filter needs to be closer to your mouth.
Proper Microphone and Pop Filter Distance
Getting the distance right is the single biggest factor in clear audio. Your mouth should sit about 4 to 8 inches from the microphone, and the pop filter should sit about 1 to 2 inches in front of the mic. The pop filter should never touch the microphone, because contact can muffle the sound and transmit vibrations.
Once you set the mic distance, you also want to think about the 3 to 1 rule. This rule says that when you use two microphones at once, the second one should be at least three times farther from the first than the first is from your mouth. Even if you only use one microphone, the 3 to 1 rule helps you avoid picking up reflections off nearby surfaces, so it is a good habit to keep your mic away from walls and hard objects.
Angle the mic slightly off-axis from your mouth. Pointing directly at the capsule exaggerates plosives, while a 10 to 20 degree angle off to the side tends to sound smoother and more natural.
Dynamic vs Condenser Microphone Considerations
Dynamic microphones, like the Shure SM58 or most broadcast mics, are less sensitive and can take more abuse. They usually do not need a shock mount, although a pop filter is still a good idea for vocal work. You can also get away with positioning them closer to your mouth.
Condenser microphones, like the Blue Yeti or AT2020, are much more sensitive and pick up every detail, including room noise and mechanical vibrations. They almost always need a shock mount, and they benefit from a pop filter more than dynamic mics do. They also tend to need a quiet recording space and proper gain staging to sound their best.
If you are still deciding which type to use, here is a quick rule of thumb. Use a dynamic microphone in noisy rooms, untreated spaces, or for live streaming. Use a condenser microphone in a treated home studio where you want the most detail and warmth in your voice.
Common Mistakes and How to Avoid Them
After helping dozens of creators set up their first boom arm, I have seen the same handful of mistakes over and over. Here are the big ones to watch out for.
Mistake 1: Pop filter too close to the mic. The filter should hover, not press against the mic. If it touches, you will lose high-end clarity and add vibrations.
Mistake 2: Pop filter too far from your mouth. If the filter sits 6 inches in front of the mic and you sit 8 inches behind it, the screen is doing nothing. Move the filter closer to your mouth instead of closer to the mic.
Mistake 3: Mic not centered in the shock mount. An off-center mic sits unevenly on the elastic bands and can fall over time. Always center the capsule before tightening.
Mistake 4: Forgetting the 3 to 1 rule. Placing the mic right against a wall or your monitor creates reflections that color your recording. Pull the mic forward and away from hard surfaces.
Mistake 5: Letting the cable hang. A heavy cable pulls the arm out of position. Always secure the cable to the boom arm with the built-in clips.
Troubleshooting Common Boom Arm Issues
Boom arm drifts down over time. The internal springs have lost tension. Use the adjustment screws on the joints to add tension until the arm holds position again.
Pop filter will not stay up. The gooseneck is not strong enough for the weight of the filter. Either bend the gooseneck into a tighter S-shape or upgrade to a stiffer gooseneck adapter.
Microphone picks up keyboard noise. The shock mount is too loose, or the arm is touching the desk. Tighten the shock mount screws and make sure the clamp is gripping a solid part of the desk.
Audio sounds muffled or dull. The pop filter is touching the mic, blocking high frequencies. Pull the filter back an inch or two and re-test.
Desk clamp keeps sliding. The desk edge is too thin, or the clamp pad is worn. Add a rubber shim or move the clamp to a thicker section of the desk.
Desk Space and Cable Management Tips
Where you clamp the boom arm matters almost as much as how you set it up. The best spot is usually on the back edge of the desk, slightly to one side of your monitor, so the arm can swing straight in front of you without hitting the screen. Avoid clamping on a keyboard tray or any surface that flexes under pressure.
Run your cables along the inside channel of the boom arm, then down the back of the desk using cable clips or a simple adhesive cable raceway. A clean cable run not only looks better, it also prevents the cable from snagging and tugging the arm out of place mid-recording.
Finally, give yourself a few inches of clearance around the base of the arm so you can swing it freely in and out of position. The whole point of a boom arm is flexibility, so leave room to use it.
Frequently Asked Questions
How do you use a pop filter?
A pop filter sits between your mouth and the microphone, about 1 to 2 inches in front of the mic. Speak through the mesh so air bursts from P and B sounds are broken up before they reach the capsule. This prevents harsh plosives from ruining your recording.
Should the pop filter touch the mic?
No. The pop filter should never touch the microphone. Keep at least 1 inch of gap between the filter and the mic so vibrations do not transfer through the mesh and so high frequencies are not blocked.
Does a pop filter make you sound better?
Yes. A pop filter removes plosive pops and helps you maintain a consistent distance from the microphone, which results in a cleaner, more even recording. It also protects the microphone capsule from moisture during long sessions.
How do I set up a boom arm microphone?
Clamp the boom arm to your desk, attach the shock mount, install the microphone inside the shock mount, mount the pop filter on the boom arm, route the cable along the arm, and adjust the spring tension until the arm holds any position. Test with your recording software and fine-tune the mic and pop filter angles.
What is the 3 to 1 rule for microphones?
The 3 to 1 rule states that when you use two microphones, the second mic should be at least three times farther from the first mic than the first mic is from your mouth. For solo recording, the rule still helps by reminding you to keep your mic away from walls and reflective surfaces.
Do you need a shock mount?
If you own a condenser microphone, you almost always need a shock mount to prevent vibration and rumble from reaching the sensitive capsule. If you own a dynamic microphone, you can usually skip the shock mount, although it can still help reduce mechanical noise.
Can any boom arm work with any mic?
Most boom arms support a wide range of microphone weights, usually between 1 and 4 pounds. Always check the weight rating of the boom arm against the weight of your microphone, and make sure the shock mount fits the diameter and shape of your specific mic model.
Final Thoughts on Using a Boom Arm
Knowing how to use a boom arm correctly makes a real difference in both your audio quality and your daily workflow. With the right clamp position, a properly tensioned shock mount, and a pop filter placed at the right distance, you will get cleaner recordings and a tidier desk in one afternoon.
Start with a basic setup, listen back to a few test recordings, and adjust as you go. Every voice and every room is a little different, so a small amount of fine-tuning goes a long way. Once your boom arm, shock mount, and pop filter are dialed in, you will wonder how you ever recorded without them.