
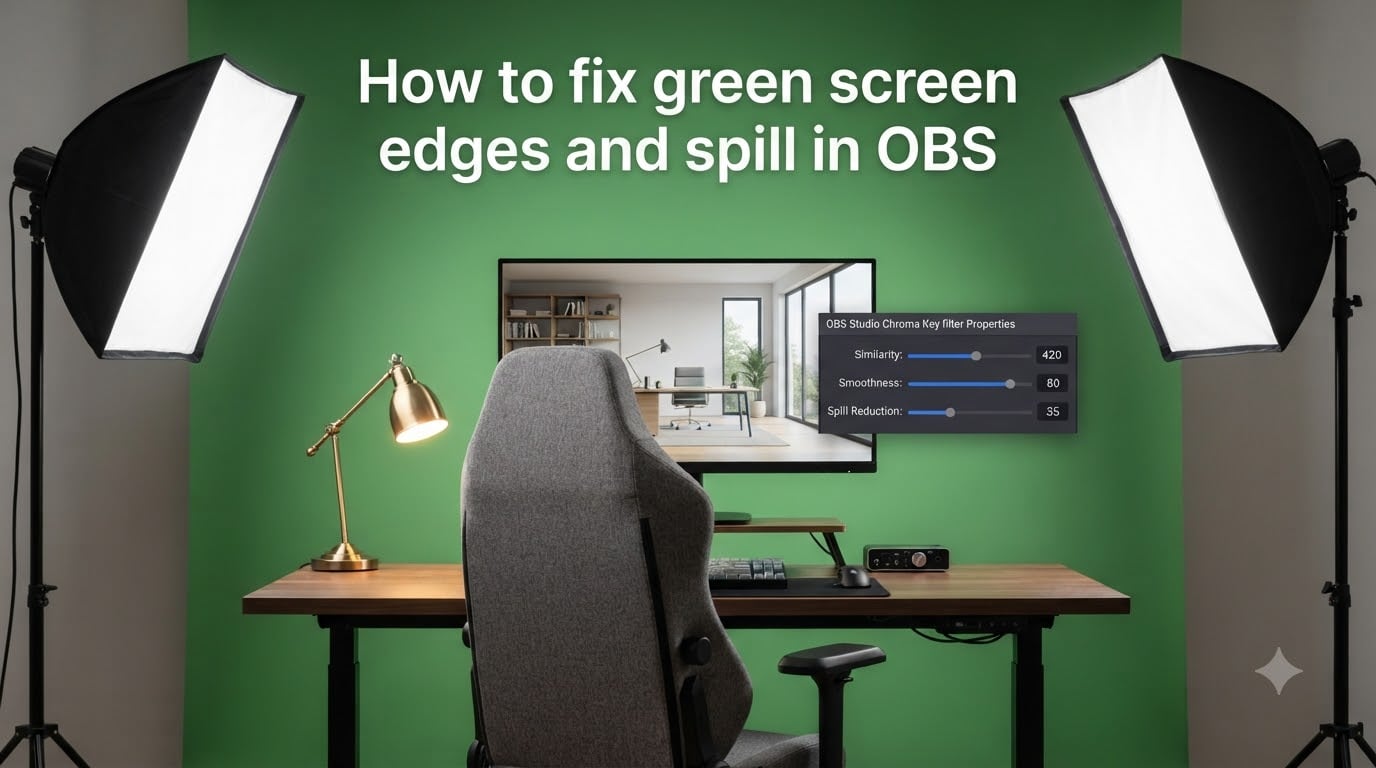
Green screen edges that look fuzzy and a green tint creeping into your hair are the two most common frustrations when using OBS Studio. I have spent dozens of hours dialing in keys for clients, and I can tell you the fixes are usually straightforward once you understand what each slider actually does.
This guide on how to fix green screen edges and spill in OBS walks through the exact filter setup, the slider values that work in 2026, and the lighting tricks that make everything easier. By the end you will have a clean key that looks professional on Twitch, YouTube, or your next video call.
Table of Contents
- What Green Screen Edge Spill Is and Why It Happens in OBS?
- Step-by-Step OBS Chroma Key Setup
- Chroma Key Settings Explained: Similarity, Smoothness, and Spill Reduction
- Fixing Green Edges and Spill: Specific Techniques That Work
- Lighting Setup for Clean Green Screen Keys
- Troubleshooting Common Green Screen Problems in OBS
- OBS Virtual Green Screen Alternatives
- Frequently Asked Questions
- Final Thoughts: Getting a Clean Green Screen in OBS
What Green Screen Edge Spill Is and Why It Happens in OBS?
Before you touch a slider, you need to understand what you are actually fighting. Most streamers blame OBS for fuzzy edges, but the software is doing real-time math on a live video feed — that is genuinely harder than the offline editing tools people compare it to.
How OBS Chroma Key Detects Green
The OBS chroma key filter works by picking one specific color (your key color, usually green) and making every pixel that matches it transparent. The filter compares each pixel to your key color and decides how similar it is before turning it invisible.
No two cameras produce the exact same green, and lighting shifts the color constantly. That is why the filter has multiple sliders — each one controls a different decision the algorithm has to make for every single pixel in your frame.
The Two Problems: Fuzzy Edges and Green Spill
Fuzzy edges happen when the filter cannot decide whether a pixel right at the boundary of your body is green screen or skin. It picks a middle value, and you get a soft, ghosty outline that wavers as you move.
Green spill is a different issue. Light from your green backdrop bounces off your shoulders, hair, and even your glasses and stains those surfaces with a green tint. The filter does not see that as a key color — it sees it as your skin, so it leaves it on screen. That is what the spill reduction slider exists to fix.
Step-by-Step OBS Chroma Key Setup
Setting up the filter takes about 60 seconds once you know where to look. Here is the exact path I use on every stream setup.
Adding the Chroma Key Filter to Your Source
Open OBS Studio and make sure your webcam source is visible in the preview.
Right-click the video capture device (or webcam source) in the Sources panel.
Hover over Filters, then click the plus button in the bottom-left of the Filters window.
Select Chroma Key from the list and give it a clear name like “Green Screen Key”.
Click OK to load the filter. The default settings will open with green as the key color.
If your background disappears immediately, you have the filter on the right source. If nothing changes, double-check that you applied the filter to the video source and not the scene.
Recommended Starting Slider Values
Before fine tuning, I drop in these numbers as a baseline on a standard 1080p webcam:
Similarity: 400
Smoothness: 80
Key Color Spill Reduction: 100
Contrast: 0
Brightness: 0
Gamma: 0
These are starting points, not final values. Your job from here is to nudge them while watching the preview until the edges look clean and the spill is gone. The sections below explain exactly what each slider does so you know which way to nudge.
Chroma Key Settings Explained: Similarity, Smoothness, and Spill Reduction
This is the part most guides skim over. Once you understand the three main sliders, you can fix almost any green screen problem in OBS without watching another tutorial.
Similarity Slider
Similarity controls how wide a range of colors the filter considers “green” and removes. At 1, only pixels that are exactly your key color disappear. At 1000, every pixel that even vaguely resembles green gets nuked — including parts of your skin.
For a well-lit green screen, a Similarity value between 400 and 500 hits the sweet spot. If your backdrop is unevenly lit, you may need to push it up to 600 or 700 to catch the darker patches, but go higher than that and you will start eating into your edges.
Smoothness Slider
Smoothness controls how soft the transition between foreground and background looks. It feathers the edge so the choppy pixel-line between you and the green screen becomes a gentle blend.
The trap is that more smoothness is not always better. Push it past 100 and your edges go soft and blurry, especially around hair. The forum users who post “why is my green screen fuzzy” pictures almost always have Smoothness too high. Start at 80 and only raise it if you see hard jagged edges.
Key Color Spill Reduction Slider
Key Color Spill Reduction is the slider that fixes the green tint on your shoulders and hair. It identifies pixels that survived the key but still contain traces of green and pulls that green channel down toward neutral.
Default starting value is 100. The forum thread warning is real: push this slider past 200 and you strip color out of your skin and shirt because the algorithm cannot always tell spill from a true green wardrobe. If turning it up causes your face to look gray, you have gone too far and the real fix is better lighting.
Advanced Sliders: Contrast, Brightness, Gamma
The three bottom sliders — Contrast, Brightness, and Gamma — adjust the input image before the key is applied. Most situations do not need them at all.
If your backdrop is unusually dark or light, small Contrast adjustments (between -10 and +10) help the filter separate green from skin. Brightness is useful when the camera is underexposing your backdrop. Gamma is the most sensitive of the three — change it by one or two notches and the entire key shifts.
Fixing Green Edges and Spill: Specific Techniques That Work
Settings alone will not save a bad lighting setup, but several techniques push the result from “okay” to “broadcast quality”. These are the moves I keep in my back pocket.
Stacking Two Chroma Key Filters for Uneven Lighting
If your backdrop has bright and dim patches, one filter often cannot catch both. The fix is to stack two Chroma Key filters on the same source, each tuned for a different region.
Add a second Chroma Key filter below the first one on the same source.
Set the first filter to remove the brighter green areas (lower Similarity, around 350).
Set the second filter to remove the darker green areas (higher Similarity, around 600).
Use the Color Key Color eyedropper on each filter to sample the actual shade of green in each lighting zone.
This is the trick only one of the top competitor guides mentions, and it consistently saves setups where the green screen is lit by a single window or a single overhead light.
Handling Glasses, Hair, and Green Clothing
Glasses are the hardest case because they reflect the green screen directly back into the camera. Tilt the glasses down slightly or add a small anti-reflective coating. If your lenses still pick up green, lower Spill Reduction to 100 and accept a small tint in exchange for keeping your face visible.
Hair is easier. Flyaway strands are usually picked up by raising Similarity by 25 to 50 points. If your hair is long and you see green strands surviving the key, Increase the distance between you and the backdrop. The reflected light bouncing off the screen is what tints the hair.
Green clothing is unfixable. Chroma keying requires a different color from your skin and your wardrobe. Wear anything green and parts of your shirt will disappear with the background. Switch to a contrasting neutral color when streaming.
Removing the Green Halo Around Shoulders
The green halo behind your shoulders is one of the most common complaints on r/obs. Halo happens when the filter removes the background but leaves a faint ring of green-tinted pixels just outside your body.
Three fixes work in order of effort. First, raise Spill Reduction from 100 to 150. Second, increase the distance between you and the backdrop so less bounce light hits your shoulders. Third, add a backlight aimed at the screen to wash the green out and replace it with white.
Lighting Setup for Clean Green Screen Keys
Lighting is the single biggest factor in how to fix green screen edges and spill in OBS. The right slider settings on a poorly lit screen will always look worse than average settings on a perfectly lit screen.
Even Backdrop Lighting
Your backdrop needs light that is as even as possible. Two softbox lights angled at 45 degrees from each side of the screen give the most consistent results. Each light should be placed about 3 feet from the backdrop and aimed at the center.
If you only have one light, place it directly above the screen pointing down. This avoids the hotspot a single side light creates and keeps the entire backdrop at a similar brightness.
Subject and Backdrop Distance
Aim for 3 to 6 feet between you and the backdrop. Closer than 3 feet and the green light bouncing off the screen will stain your shoulders and hair. Further than 6 feet and the light on the backdrop becomes unevenly distributed, creating shadows that confuse the filter.
A good rule of thumb: if you can see a sharp shadow of yourself on the backdrop, you are too close. Move back until the shadow softens or disappears.
Camera Settings to Lock Before Streaming
Auto-exposure and auto white balance are the enemy of a stable chroma key. Every time they adjust, the green color shifts slightly and the filter has to keep chasing it.
Open your webcam settings (in OBS, right-click the source, click Properties, then Configure Video) and turn off auto-exposure, auto white balance, and auto-focus. Lock the values you want. Most dedicated webcams let you save these as a preset so you do not have to redo them every stream.
Troubleshooting Common Green Screen Problems in OBS
Even with good settings, things go wrong. These are the actual problems streamers post about on obsproject forums and r/obs, with the fixes that work.
Why Is My Green Screen Fuzzy in OBS but Fine in Zoom?
Zoom and other video conferencing tools use AI background removal that does not need a green screen at all. They rely on trained models that understand human silhouettes and ignore the color underneath. That is why they look smoother — they are not actually doing chroma keying in the same way.
OBS does real-time color math on every frame, which is faster but less forgiving. To get closer to the Zoom look, use the advanced stacking technique above, lock your camera settings, and invest in even lighting. You will not match Zoom exactly, but you can get within 80-90% of the result.
Spill Reduction Removes All Color Instead of Just Green
This happens when Spill Reduction is set higher than 200 or when your key color is wrong. Lower the slider to 100 and use the eyedropper to reselect the key color from the brightest part of your backdrop.
If the problem persists, the real issue is that your backdrop is not pure green. Switch to a backdrop that is chroma key green (the specific shade used in film and broadcasting) rather than a craft store green that catches more yellow tones.
Green Screen Not Detected at All
If nothing happens when you adjust the sliders, the filter is probably picking up the wrong color. The eyedropper next to Key Color lets you click on the backdrop in the preview and select the exact green your camera is seeing.
Also check that the filter is on the right source. If you have multiple video sources, Chroma Key on the wrong one will do nothing visible. Right-click the source you see in preview, not a different one.
OBS Virtual Green Screen Alternatives
Sometimes a physical green screen is not practical. Travel setups, small rooms, or shared offices push creators toward alternatives. Here are the options that work in 2026.
OBS Virtual Camera Plugin
The OBS Virtual Camera plugin lets you output your OBS scene, including a chroma keyed background, as a webcam feed to other applications like Zoom, Discord, or Microsoft Teams. This is the cleanest way to keep your OBS quality when joining video calls.
It does not replace the chroma key — it just feeds the keyed output to other software. Your green screen still needs to be properly lit and configured inside OBS first.
NVIDIA Broadcast and Other AI Background Removal
NVIDIA Broadcast uses AI to remove backgrounds without a green screen at all. It runs on RTX graphics cards and produces a smoother result than OBS chroma key in many cases.
For streamers without an NVIDIA card, similar tools exist. Snap Camera, XSplit VCam, and many modern webcams now include built-in AI background removal. The downside is that these tools use more CPU and GPU power than a simple chroma key, and they sometimes lose edges around hair and glasses.
Frequently Asked Questions
How to get rid of green outline on green screen?
Increase the Key Color Spill Reduction slider in OBS to around 100-150, raise the distance between you and the backdrop to 4-6 feet, and add a backlight aimed at the screen to wash out the green reflection. If the outline persists, lower Similarity until the background is fully removed, then nudge Spill Reduction slightly.
Why is my green screen fuzzy?
Fuzzy green screen edges usually mean Smoothness is set too high or lighting is uneven. Lower Smoothness to around 80, lock your camera exposure and white balance, and light the backdrop with two softboxes at 45 degrees. If the fuzziness is on hair strands, raise Similarity by 25-50 points.
How to get rid of green screen in OBS?
Right-click your webcam source, hover over Filters, click the plus button, and select Chroma Key. The filter will remove the green background automatically. Adjust Similarity, Smoothness, and Spill Reduction until edges look clean and the green tint on your skin is gone.
Can OBS detect green screen?
OBS does not automatically detect a green screen. You must add the Chroma Key filter manually to your video source and select the key color. Once the filter is applied, OBS removes pixels matching the selected color in real time, but it cannot distinguish a green screen from a green wall in your background without manual setup.
Final Thoughts: Getting a Clean Green Screen in OBS
Learning how to fix green screen edges and spill in OBS comes down to three priorities. Lighting matters more than any slider setting. Stacking two chroma key filters beats one filter when the backdrop is uneven. And locking your camera settings stops the filter from chasing new colors every frame.
Start with the recommended Similarity (400), Smoothness (80), and Spill Reduction (100), then nudge one slider at a time while watching the preview. A clean key in OBS Studio is absolutely achievable, and once you have it dialed in, you can save the settings as a preset and reuse them on every future stream.