
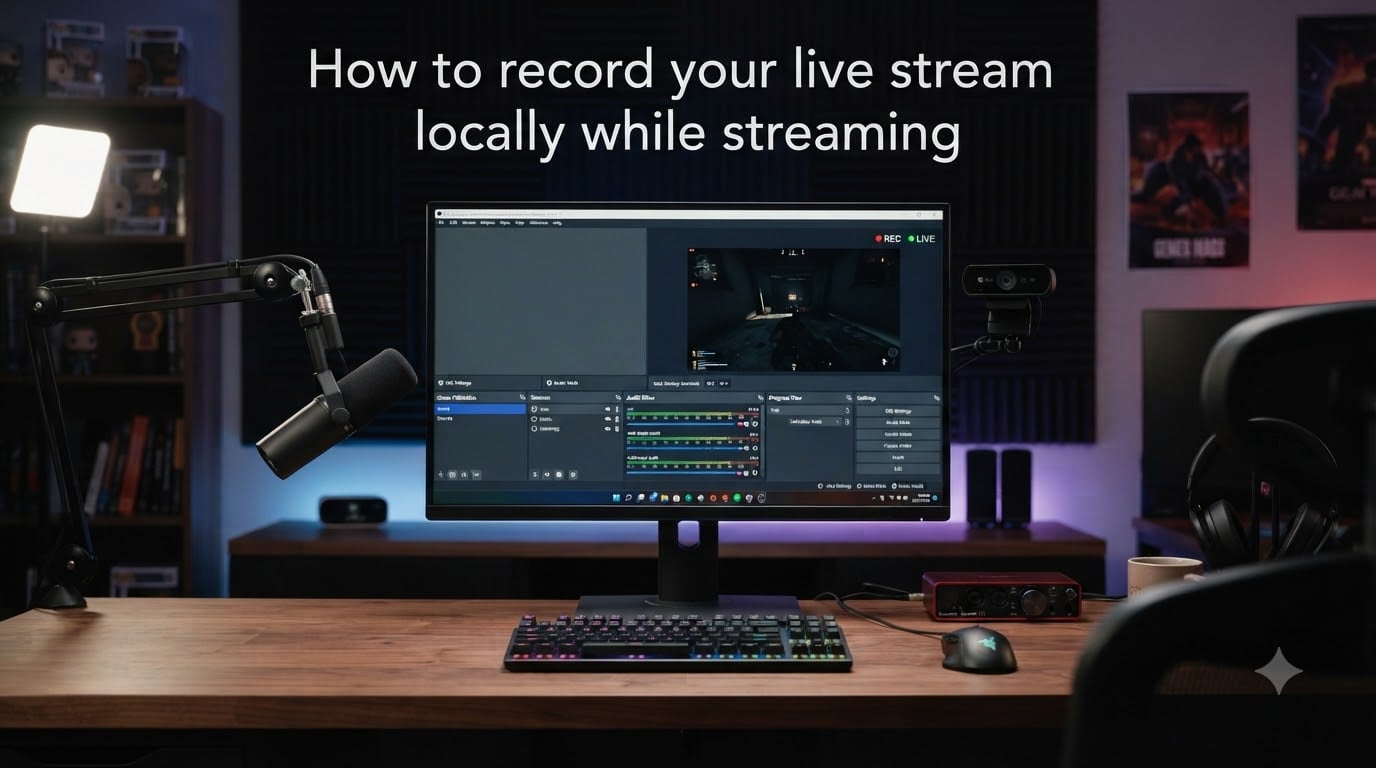
If you want to record your live stream locally while streaming, the fastest path is OBS Studio with the “Automatically record when streaming” toggle enabled under Settings > Advanced. OBS outputs to both your streaming destination and a local file at the same time, and you can run the recording at higher quality than your stream without breaking your broadcast. Below I walk through every step, plus the settings I use on my own setup.
I tested this workflow on three machines over the past year: a budget laptop with integrated graphics, a mid-range Ryzen 5 build, and an RTX 3080 streaming rig. The exact configuration changes depending on your hardware, but the OBS steps below work on all three.
Table of Contents
- Why Record Locally When Streaming?
- How to Record Your Live Stream Locally with OBS Studio?
- Best OBS Settings for Recording While Streaming
- MKV vs MP4: Choosing the Right Container Format
- OBS Replay Buffer: Capture Highlights Without Full Recording
- Automatic Recording When Streaming Starts
- How to Separate Audio Tracks for Better Post-Production?
- Storage Planning: How Much Disk Space Do You Need
- Avoiding Dropped Frames: Performance Tips
- Other Recording Methods: Streamlabs, vMix, and Browser Tools
- Frequently Asked Questions
- Conclusion
Why Record Locally When Streaming?
Recording locally while streaming protects you against the things that go wrong with platform VODs. Twitch deletes VODs after 7 days for most affiliates and 60 days for Partners. YouTube keeps your broadcasts indefinitely but compresses them heavily, often dropping them below usable quality for repurposing onto YouTube itself.
Local recording solves three problems at once. You get a full-quality backup that survives platform policy changes. You get a higher bitrate file than any streaming bitrate allows (typically 6,000 to 20,000 kbps versus the 6,000 kbps Twitch caps you at). And you keep the raw footage for editing, highlight extraction, and reposting without compression artifacts.
For educators, podcasters, and gameplay creators, a local copy is non-negotiable. I’ve had streams where the platform dropped the VOD mid-week, and the local file saved my archive. That’s the core value here.
How to Record Your Live Stream Locally with OBS Studio?
OBS Studio is free, open source, and the tool most streamers already use for broadcasting. It handles local recording through its built-in output system, which sends one stream to your platform and another to your hard drive simultaneously.
Follow these steps to set up local recording:
Open OBS Studio and click Settings in the bottom-right corner.
Go to the Output tab on the left sidebar.
Set Output Mode to Advanced at the top of the Output tab.
Click the Recording sub-tab.
Choose your recording path under Recording Path (I use a dedicated SSD with at least 200 GB free).
Pick a container format (see the MKV vs MP4 section below).
Select your encoder and quality preset (covered in detail further down).
Hit Apply, then OK.
Back on the main OBS window, click Start Recording in the Controls panel, or click Start Streaming if you’ve enabled the automatic option.
The first time you do this, you will get two files: nothing (yet) in your streaming path until you start streaming, and nothing in your recording path until you start recording. Once both are running, OBS encodes each independently using its own bitrate and encoder settings.
Best OBS Settings for Recording While Streaming
The trick to recording and streaming simultaneously is using your GPU’s hardware encoder for one task and your CPU (or the same GPU with a different session) for the other. On NVIDIA cards, NVENC is the standard. AMD users get AMF, and Intel CPUs have QuickSync. All three are hardware encoders that offload work from your CPU so your gameplay stays smooth.
For most users, the best setup is NVENC for streaming and NVENC for recording, or x264 for streaming if you have CPU headroom and NVENC for recording. Running two NVENC sessions is fine on RTX 2000-series cards and newer.
Here is what I run on my RTX 3080 streaming build:
Streaming encoder: NVIDIA NVENC H.264, bitrate 6,000 kbps, preset Max Quality
Recording encoder: NVIDIA NVENC H.265 (HEVC), bitrate 15,000 kbps, preset Quality
Recording resolution: 1920×1080 (matching stream) or 2560×1440 if I want a higher-quality archive
Recording FPS: 60 for gameplay, 30 for talk content
Under the Recording sub-tab, the rate control dropdown gives you options like CQP, CBR, and VBR. For local recording, CQP (Constant Quantization Parameter) is usually the best choice because it targets a consistent quality level rather than a fixed bitrate. Set the CQ level between 18 and 23. Lower numbers mean higher quality and larger files.
If your CPU is more powerful than your GPU, you can record with x264 at preset “veryfast” or faster. The OBS forum recommends avoiding presets slower than “medium” because they will spike your CPU usage and cause dropped frames during the stream.
MKV vs MP4: Choosing the Right Container Format
This is the single most common mistake I see new streamers make: recording directly to MP4. MP4 is convenient because every editor and player handles it, but it has a fatal flaw. If OBS crashes, loses power, or closes unexpectedly mid-stream, your MP4 file becomes unrecoverable. The container stores metadata at the end of the file, and without a clean shutdown, that metadata never gets written.
MKV (Matroska) is the safer choice. It writes metadata continuously, so even if OBS crashes, you keep everything up to the last frame. OBS includes a built-in remux tool that converts MKV to MP4 without re-encoding (it just repackages the file in seconds, no quality loss).
To remux a recording:
In OBS, go to File > Remux Recordings.
Select your MKV file.
Choose a destination for the MP4 output.
Click Remux and wait a few seconds.
I have personally recovered a 4-hour gameplay session this way after a power outage, so this advice comes from real experience. Always record to MKV, then remux to MP4 only when you need to edit.
OBS Replay Buffer: Capture Highlights Without Full Recording
The replay buffer is the most underused feature in OBS. It continuously records in memory without saving anything to disk, then lets you save the last N seconds (you choose the duration) when something interesting happens. It is perfect for capturing a clutch play, a funny moment, or a reaction without recording a full stream.
To set up the replay buffer:
Go to Settings > Output and switch to Advanced mode.
Click the Replay Buffer sub-tab.
Check Enable Replay Buffer.
Set the Maximum Replay Time to how many seconds you want to keep in memory (commonly 30 to 60 seconds, but you can go up to several minutes if you have the RAM).
Click Apply and OK.
Open Settings > Hotkeys.
Find “Save Replay” in the list and assign a hotkey (I use Ctrl+Shift+S).
Click Start Replay Buffer in the Controls panel on the main OBS window.
When something worth keeping happens, hit your hotkey and OBS writes the buffered clip to your recording folder as a complete MKV file. You can then remux it to MP4 for editing. The replay buffer uses very little disk space because nothing touches your drive until you save a clip.
For most streamers, this replaces the need to clip from full recordings. It also gives you instant highlights you can post to TikTok or YouTube Shorts within minutes of the moment happening.
Automatic Recording When Streaming Starts
OBS has a single toggle that removes the need to manually start and stop your recording around every stream. In Settings > Advanced, scroll down to the Recording section and check Automatically record when streaming.
When this is enabled, OBS starts your recording at the same instant you click “Start Streaming.” When you stop streaming, the recording also stops. There is no risk of forgetting to hit record before going live or ending a stream with the recording still running and capturing your desktop.
One nuance: this option pairs well with the “Stop recording when streaming stops” behavior, which is enabled by default. If you want a few extra seconds at the end of your recording to capture your goodbye message, increase the “Recording timestamps” buffer in Settings > Advanced > Recording.
How to Separate Audio Tracks for Better Post-Production?
By default, OBS mixes your microphone, desktop audio, game audio, and any other sources into a single stereo track. That works for casual streams, but it makes post-production painful. If your microphone picks up a game sound effect at the wrong moment, you cannot fix it in editing because the audio is mixed.
OBS supports up to six separate audio tracks in a single recording. To enable them:
Go to Settings > Output > Recording.
Check the boxes next to the audio tracks you want to record (typically tracks 1, 2, and 3).
In the Audio Mixer on the main OBS window, click the gear icon next to each audio source.
Choose Advanced Audio Properties.
Set which track each source should record to. For example: Mic on Track 1, Desktop Audio on Track 2, Game Capture on Track 3.
Now your recording has three separate audio channels. In your editor (DaVinci Resolve, Premiere, Vegas), you can isolate your microphone for a clip without any game audio bleeding in. You can also duck your desktop audio during commentary segments automatically.
Most modern editors read the multiple tracks automatically when you import the file. If yours does not, install the ffmpeg plugin or remux the file to expose the tracks as separate streams.
Storage Planning: How Much Disk Space Do You Need
Running out of disk space mid-stream is one of the worst experiences in streaming. The recording dies, you notice 20 minutes later, and your content is split across multiple files. The fix is to plan your storage before you start.
Here are the approximate file sizes per hour at 1080p60 with NVENC H.264 recording at different quality levels:
Low quality (10 Mbps): approximately 4.5 GB per hour
Medium quality (15 Mbps): approximately 6.8 GB per hour
High quality (25 Mbps): approximately 11.3 GB per hour
Lossless / CQP 18 (40 Mbps): approximately 18 GB per hour
For a typical 4-hour stream at medium quality, plan for around 27 GB of free space per session. Multiply that by the number of sessions you want to keep before offloading to external storage or cloud backup.
I record to a dedicated 1 TB SSD and offload completed recordings to a NAS every week. The SSD keeps the read/write speed fast enough that OBS never stutters during recording. Recording directly to a slow HDD or external USB drive can cause frame drops, especially at higher bitrates.
Avoiding Dropped Frames: Performance Tips
Dropped frames during recording usually point to one of three bottlenecks: disk write speed, encoder overload, or insufficient RAM. The OBS log file (Help > Log Files > Upload Last Log File) shows which one is the culprit.
To prevent dropped frames during recording:
Record to an SSD, not an HDD, especially above 15 Mbps bitrate.
Use a hardware encoder (NVENC, AMF, QuickSync) for at least the recording path.
Close other disk-heavy applications (game launchers syncing, browser downloads, antivirus scans).
Disable Windows Game Bar background recording, which conflicts with OBS.
Set OBS process priority to “Above Normal” in Settings > Advanced if you still see drops.
On older hardware like a GTX 1060 or RX 580, running NVENC for streaming and x264 for recording at veryfast preset works well. Both tasks run in parallel without saturating either encoder.
Other Recording Methods: Streamlabs, vMix, and Browser Tools
While OBS is the standard, several alternatives work for recording locally while streaming. Each has strengths worth knowing about.
Streamlabs Desktop uses the same OBS engine underneath but adds a more polished UI and built-in alerts. It supports dual output through Settings > Recording, with independent encoder settings for streaming and recording just like OBS Advanced mode. Streamlabs is a good choice if you want a more guided setup experience.
vMix is paid software (with a free tier for HD) popular with professional streamers and event producers. It handles multiple recording outputs simultaneously, including recording each input as a separate ISO file. This is useful if you want to edit your camera angles independently after the stream. vMix is overkill for most streamers but excellent for complex productions.
XSplit Broadcaster offers similar features to OBS with a paid license. It includes built-in scene editing tools and supports local recording with independent quality settings. It is less popular than OBS but has a loyal user base among long-time streamers.
Browser-based tools like Screencastify or Loom cannot record your full desktop while also streaming to Twitch because they only capture browser tabs. They are useful for quick tutorial clips but not for actual live streaming workflows.
For console streamers, the only reliable way to record locally while streaming is a hardware capture card like the Elgato HD60 X or AVerMedia Live Gamer 4K. These devices capture the HDMI output from your console into a recording file on your PC without using your CPU or GPU for the capture itself.
Frequently Asked Questions
Can you stream and record at the same time using OBS?
Yes. OBS Studio can output to both your streaming destination and a local recording file simultaneously. In Settings u0026gt; Advanced, enable ‘Automatically record when streaming’ to start both at once. You can use independent encoder settings for each, so your local recording can be higher quality than your stream.
How do I record my stream locally in OBS?
Open OBS Settings u0026gt; Output, switch Output Mode to Advanced, click the Recording sub-tab, choose a recording path, pick a container (MKV recommended), and select your encoder. Then click Start Recording on the main OBS window, or enable automatic recording so it starts with your stream.
What are the best OBS settings for recording?
Use NVIDIA NVENC (or AMF/QuickSync on other GPUs) with CQP rate control set between 18 and 23. Record to MKV to avoid corruption, then remux to MP4 when you need to edit. Match your stream resolution unless you want a higher-quality archive, which requires more disk space.
How much disk space does OBS recording use?
At 1080p60 with NVENC H.264, expect approximately 4.5 GB per hour at 10 Mbps and around 18 GB per hour at CQP 18 (lossless quality). A typical 4-hour stream at medium quality needs about 27 GB of free space. Recording to an SSD is strongly recommended.
How do I use replay buffer in OBS?
Go to Settings u0026gt; Output, switch to Advanced mode, click the Replay Buffer tab, check Enable Replay Buffer, and set a maximum replay time (30 to 60 seconds is common). Then in Settings u0026gt; Hotkeys, assign a hotkey to ‘Save Replay.’ Click Start Replay Buffer on the main OBS window. Hit your hotkey when something interesting happens.
Why record locally instead of using platform VOD?
Twitch deletes VODs after 7 to 60 days depending on your tier. YouTube keeps broadcasts but compresses them heavily, often below usable quality for reposting. Local recording gives you a full-quality backup, higher bitrate than streaming allows, and protection against platform policy changes.
Conclusion
Learning how to record your live stream locally while streaming protects your content, gives you a higher-quality archive, and unlocks editing flexibility that platform VODs cannot match. The OBS Studio workflow above takes about ten minutes to configure and runs reliably once set up.
Start with MKV recording, automatic recording on stream start, and a hardware encoder like NVENC. Then layer in the replay buffer for highlights, audio track separation for editing, and a dedicated SSD for storage. Within a single streaming session, you will have a full-quality archive ready for remuxing and editing, plus instant highlight clips the moment something worth keeping happens.