
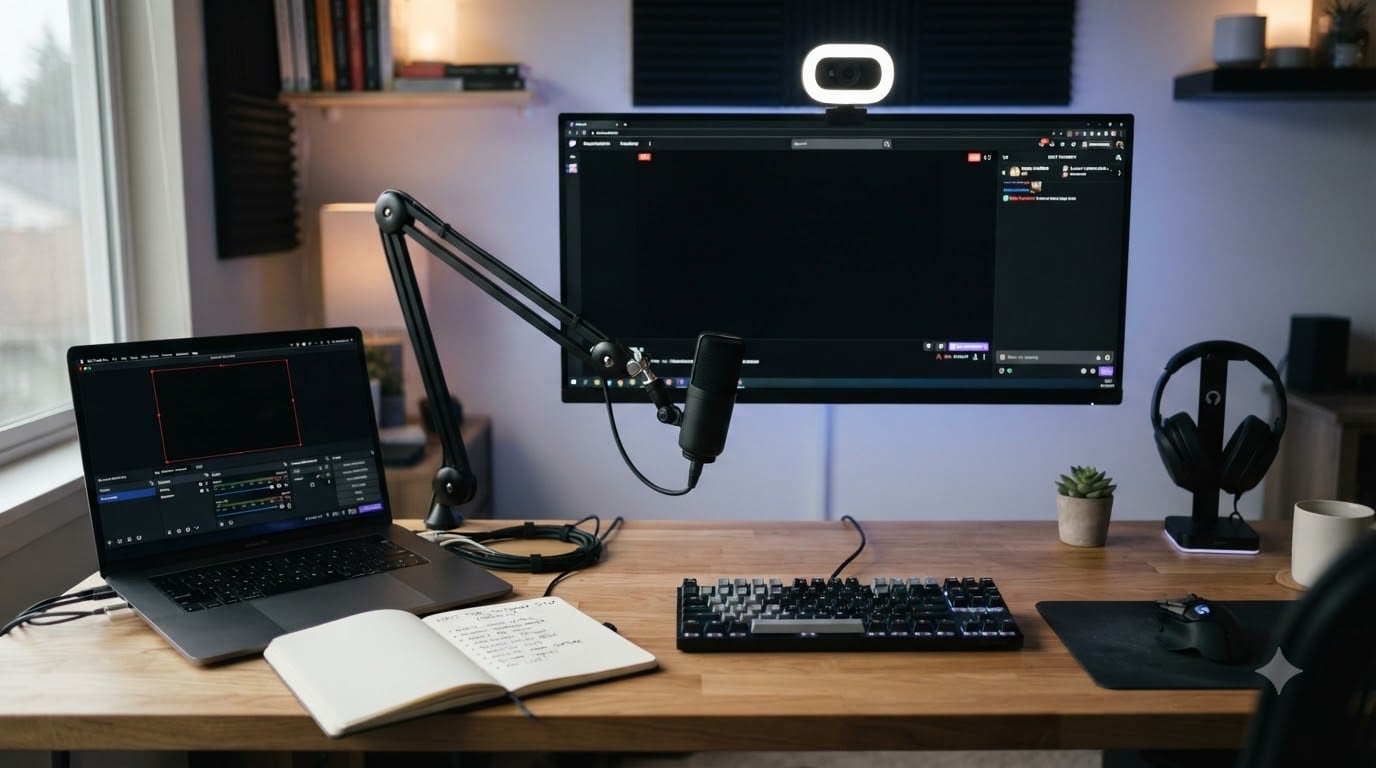
If you are about to go live for the very first time, your nerves are probably fighting your excitement. I have been there, and I can tell you that 90 percent of the chaos that ruins a first stream happens in the 30 minutes before going live. A solid first time streamer setup checklist takes that chaos away and replaces it with a calm, repeatable routine you can run every single broadcast.
This guide walks you through exactly what to do before, during, and after your first stream. I have tested this checklist with new creators across Twitch, YouTube Live, and TikTok Live, and it covers the technical setup, the content prep, and the mindset shifts that make a difference between a stressful debut and a smooth launch. By the end, you will have a complete first time streamer setup checklist you can print out and pin next to your desk.
Table of Contents
- What Does a First Time Streamer Setup Checklist Cover?
- Essential Equipment for a First Time Streamer
- Pre-Stream Tech Checklist: Test Everything Before Going Live
- Streaming Software Setup: OBS and Streamlabs for Beginners
- Pre-Stream Preparation Steps: Content, Engagement, and Mindset
- During Your Stream: Monitoring and Engagement Tips
- Post-Stream Tasks: VOD, Clips, Analytics, and Repurposing
- Frequently Asked Questions
- Final Thoughts on Your First Time Streamer Setup Checklist
What Does a First Time Streamer Setup Checklist Cover?
A first time streamer setup checklist is a step-by-step list of equipment, software, and content tasks organized into three phases: before, during, and after your broadcast. It exists so you never forget that one critical step (lighting, hotkeys, or saving your VOD) when the countdown to going live hits zero. Think of it as your pre-flight checklist before a plane takes off, except the runway is your first stream and the passengers are your future viewers.
The checklist covers three core areas. First, technical setup: your computer, microphone, webcam, lighting, internet connection, and streaming software. Second, content preparation: your game or topic, your talking points, your scene layouts, and your chat bot. Third, follow-through: saving VOD, clipping highlights, posting on social media, and reviewing analytics. Skip any one of these layers and your stream will feel scattered, even if your video and audio look perfect.
Essential Equipment for a First Time Streamer
You do not need a $2,000 setup to start streaming in 2026. The beginner streamer equipment list below gives you the minimum to look and sound professional, plus a recommended next step for when you start earning or want to upgrade. I have grouped everything by must-have, nice-to-have, and skip-for-now.
Must-Have Equipment (Budget-Friendly Starter Kit)
- Computer or laptop: At least an Intel i5 or AMD Ryzen 5 CPU, 8GB of RAM, and an SSD. 16GB of RAM is the sweet spot for streaming plus gaming without dropped frames.
- Microphone: A USB condenser microphone in the $50 to $100 range is the most common starting point. Clear audio matters more than a 4K camera, so do not cheap out here.
- Webcam: A 1080p USB webcam is plenty. Many streamers use a quality smartphone with a webcam app plus a mount before they ever buy a dedicated camera.
- Internet connection: At least 10 Mbps upload speed for 1080p streaming. Use a wired ethernet cable whenever possible; Wi-Fi introduces lag spikes at the worst moments.
- Streaming software: OBS Studio or Streamlabs Desktop. Both are free, and both are used by professional streamers.
Nice-to-Have Upgrades
- Key light and fill light: Two LED panels give your face even, flattering light and remove the harsh shadows from a single overhead bulb.
- Boom arm or mic stand: Stops your mic from picking up desk bumps and vibrations.
- Capture card: Only needed if you plan to stream console games (PS5, Xbox, Switch).
- Stream deck or hotkey pad: Helpful for switching scenes without fumbling for your mouse mid-game.
Skip for Now
An XLR microphone plus audio interface, a green screen, dual-PC setups, and mirrorless cameras are all great. None of them are necessary for your first stream. Earn the audience first, then upgrade with revenue or sponsorship money.
Pre-Stream Tech Checklist: Test Everything Before Going Live
Run this tech verification 30 minutes before every broadcast. It is the heart of any first time streamer setup checklist, and it only takes 10 minutes once you build the habit. I keep a printed copy of this section taped to my monitor for the first month of every new creator’s launch.
Step 1: Run a Speed Test
Open Speedtest.net and confirm your upload speed is at least 10 Mbps. Anything lower and your stream will buffer for viewers. If your upload speed is below 5 Mbps, stream at 720p instead of 1080p and lower your bitrate to 2,500 kbps.
Step 2: Check Your Microphone Levels
Speak at your normal streaming volume and watch the audio meter in OBS. Your voice should peak around -12 dB to -6 dB. If it clips (hits the red), pull your mic gain down by 10 percent and retest. Listen back through headphones, not speakers, to catch background hum, keyboard clicks, and echo.
Step 3: Frame Your Webcam and Lighting
Open your webcam preview in OBS or Windows Camera. Center your face in the top third of the frame, leaving room for overlays. Make sure your key light is angled at 45 degrees to your face and not behind you. Watch for harsh shadows on your cheeks or glare on your glasses. Move one lamp at a time until the lighting feels natural.
Step 4: Test Your Stream Internally
Use OBS’s Start Recording feature to capture a 60-second test clip. Watch it back and check audio sync, scene transitions, and that no alert windows are cropping your face. Better yet, run a private stream to Twitch or YouTube with the title “test, ignore” so you can see exactly what your viewers will see. Delete the recording or end the test stream immediately so it does not count against your analytics.
Step 5: Close Background Apps
Quit your browser tabs, Spotify, Discord overlays, and any auto-updating software. These drain CPU and upload bandwidth in the background. Streaming is a single-task environment, and a clean PC handles bitrate spikes better.
Streaming Software Setup: OBS and Streamlabs for Beginners
OBS Studio and Streamlabs Desktop are the two most popular free streaming software options in 2026. Both let you build scenes, add overlays, push alerts, and connect to Twitch, YouTube, or TikTok Live. Pick one based on your comfort level: OBS is lightweight and customizable, Streamlabs is more visual and beginner-friendly.
Download and Install
Grab OBS Studio from obsproject.com or Streamlabs Desktop from streamlabs.com. Both are free. Run the auto-configuration wizard; it will scan your internet and PC and recommend a starting bitrate and resolution.
Set Up Your First Scene
A scene is a layout you can swap during your stream. Your first scene should include your gameplay or full-screen capture, your webcam in the corner, and optional overlays (alerts, chat box, recent follower). You can build more scenes later for starting soon, be right back, and just chatting.
Configure Output Settings
Use these safe beginner settings that work for most home internet connections:
- Resolution: 1920×1080 (downscale to 1280×720 if your PC struggles)
- Frame rate: 30 fps (use 60 fps only for fast-paced games if your PC can handle it)
- Bitrate: 4,500 kbps for Twitch, 9,000 kbps for YouTube Live
- Encoder: x264 if you have a powerful CPU, NVENC (NVIDIA) or AMF (AMD) if you have a modern GPU
Connect to Your Streaming Platform
Grab your stream key from your Twitch or YouTube dashboard. In OBS, go to Settings, then Stream, and paste the key. Treat this key like a password. Never share it, and never paste it into a public Discord channel. A leaked key lets anyone stream to your channel.
Add Hotkeys
Map your most-used actions to keyboard shortcuts: mute and unmute mic, switch scenes, start and stop stream. The defaults are fine, but adjust them so you never have to alt-tab out of your game mid-stream.
Pre-Stream Preparation Steps: Content, Engagement, and Mindset
Tech setup gets you live. Content preparation and mindset decide whether viewers stay. The pre-stream preparation steps below take 20 minutes and make a real difference in your first streams confidence.
Plan Your Content
Write down three things: the game or topic you are streaming, a one-sentence hook for your stream title, and three talking points if chat goes quiet. Having a plan is not scripting; it is having lifelines when your mind blanks at minute 47.
Set Up a Chat Bot and Moderation
Install Nightbot or StreamElements Cloudbot. Both block spam, time out trolls, and run commands like uptime and socials. Get a moderator before you grow, even if that moderator is a friend who agrees to drop in. Moderation is required once you have five or more viewers, and never having it is one of the top mistakes new streamers make.
Connect Discord
Most communities live on Discord. Create a server, add a link to your Twitch or YouTube panel, and post in your server when you go live. Cross-posting to one or two related Discord communities (with permission) is the fastest way to get your first 10 regulars.
Mindset and Personal Prep
Your first stream will not be perfect. I have watched dozens of creators stress for hours over lighting angles and then wonder why no one watched. The truth is that viewers tolerate rough audio and a messy webcam. They do not tolerate a streamer who sounds bored or who apologizes for the stream every five minutes. Eat a snack, drink water, smile at the camera, and treat the first stream like a practice run with a live audience. The second stream will be better, and the tenth will be career-changing.
During Your Stream: Monitoring and Engagement Tips
Once you hit Start Streaming, the work is not over. The during-stream phase is about monitoring, engaging, and adapting. Keep a second monitor (or a tablet propped next to your screen) with your chat dashboard open so you can read and respond without alt-tabbing.
Watch Your Audio
Keep your headphones on so you can hear if your mic drops, your game audio gets too loud, or a viewer reports an echo. Audio issues are the number one reason viewers leave a stream within the first five minutes.
Engage in Chat
Read every message out loud for the first 30 viewers. Refer to people by name. Ask questions and pause for answers. The streamer who responds to chat gets followers; the streamer who ignores it gets quiet rooms.
Have a Backup Plan
Tech fails happen. If your internet drops, switch to a be right back scene and reset your router. If your webcam dies, keep your stream audio-only and explain what is happening. Viewers forgive technical hiccups; they do not forgive a streamer who disappears without a word.
Keep an Eye on Stream Time
Most first-time streamers underestimate how long two hours feels. Set a soft goal of 90 minutes for your first stream. You can always extend if you are having fun, but having a finish time keeps you from burning out on day one.
Post-Stream Tasks: VOD, Clips, Analytics, and Repurposing
Most streamers hit Stop Streaming and walk away. The streamers who grow quickly do three things after the stream ends, and they take less than 20 minutes total. Add these to your first time streamer setup checklist and you will get more out of every broadcast.
Save Your VOD and Highlights
Download your VOD before Twitch or YouTube deletes it. Save the original file to an external drive or cloud storage. Twitch keeps VODs for 14 days by default for non-Partners, so do this immediately, not in a week.
Clip and Share
Watch your VOD at 1.5x speed and clip the best two or three moments: a clutch win, a funny reaction, a great chat story. Post the clips to TikTok, YouTube Shorts, and X within 24 hours. Short-form clips are the single biggest growth driver for new streamers in 2026.
Review Your Analytics
Open your stream dashboard and look at average viewers, peak viewers, chat messages, and average watch time. The goal of your first stream is not to go viral; it is to learn. Did viewers stay until the end? Which moments spiked? Build your next stream around what worked.
Post and Engage
Post a thanks for watching message in your Discord, share a VOD link on social media, and thank any first-time followers by name on your next stream. The post-stream loop is what turns a casual viewer into a regular.
Frequently Asked Questions
What does a beginner streamer need?
A beginner streamer needs a computer with at least 8GB of RAM, a USB microphone, a 1080p webcam, a wired internet connection with 10 Mbps upload, and free streaming software like OBS Studio or Streamlabs Desktop. Add a key light for better video quality once you have the basics covered.
What is the best setup for a beginner streaming?
The best beginner setup pairs a mid-range PC with a USB condenser microphone (around $80), a 1080p webcam, a key light, and OBS Studio for streaming. Use a wired ethernet connection and aim for 1080p at 30 fps with a 4,500 kbps bitrate. This setup is enough to look and sound professional without overspending.
How do I prepare for my first stream?
Prepare for your first stream by testing your audio levels, framing your webcam, checking your internet upload speed, and running a private test stream 30 minutes before going live. Plan your content, set up a chat bot like Nightbot, connect your Discord, and have three talking points ready in case chat goes quiet.
What are common streaming mistakes to avoid?
Common streaming mistakes include forgetting to mute notification sounds, streaming on Wi-Fi instead of ethernet, ignoring chat, having no moderator, and not saving your VOD or clipping highlights. New streamers also tend to over-apologize for small issues instead of engaging with viewers and having fun.
Do I need a capture card to start streaming?
You only need a capture card if you plan to stream console games from a PS5, Xbox, or Switch. For PC gaming, OBS captures your screen directly with no extra hardware. Save the capture card for when you expand to console or dual-PC setups.
What internet speed do I need to stream on Twitch?
Twitch recommends at least 10 Mbps upload speed for 1080p streaming at 4,500 kbps bitrate. If your upload speed is between 5 and 10 Mbps, stream at 720p with a 2,500 kbps bitrate instead. Always use a wired ethernet connection to avoid lag spikes from Wi-Fi.
Final Thoughts on Your First Time Streamer Setup Checklist
Your first time streamer setup checklist is less about gear and more about habits. The streamers who make it past their first month are the ones who show up with a tested mic, a calm mind, and a plan for what to do when the stream ends. Run the tech checklist 30 minutes before every broadcast, prep your content and mindset, and follow the post-stream loop every time.
Start with the basics, refine what works, and build from there. You will not win your first stream, and that is okay. You will win the tenth, the twentieth, and the hundredth if you stick to a repeatable routine. Bookmark this guide, run the checklist on your next stream, and let me know how your first broadcast goes.