
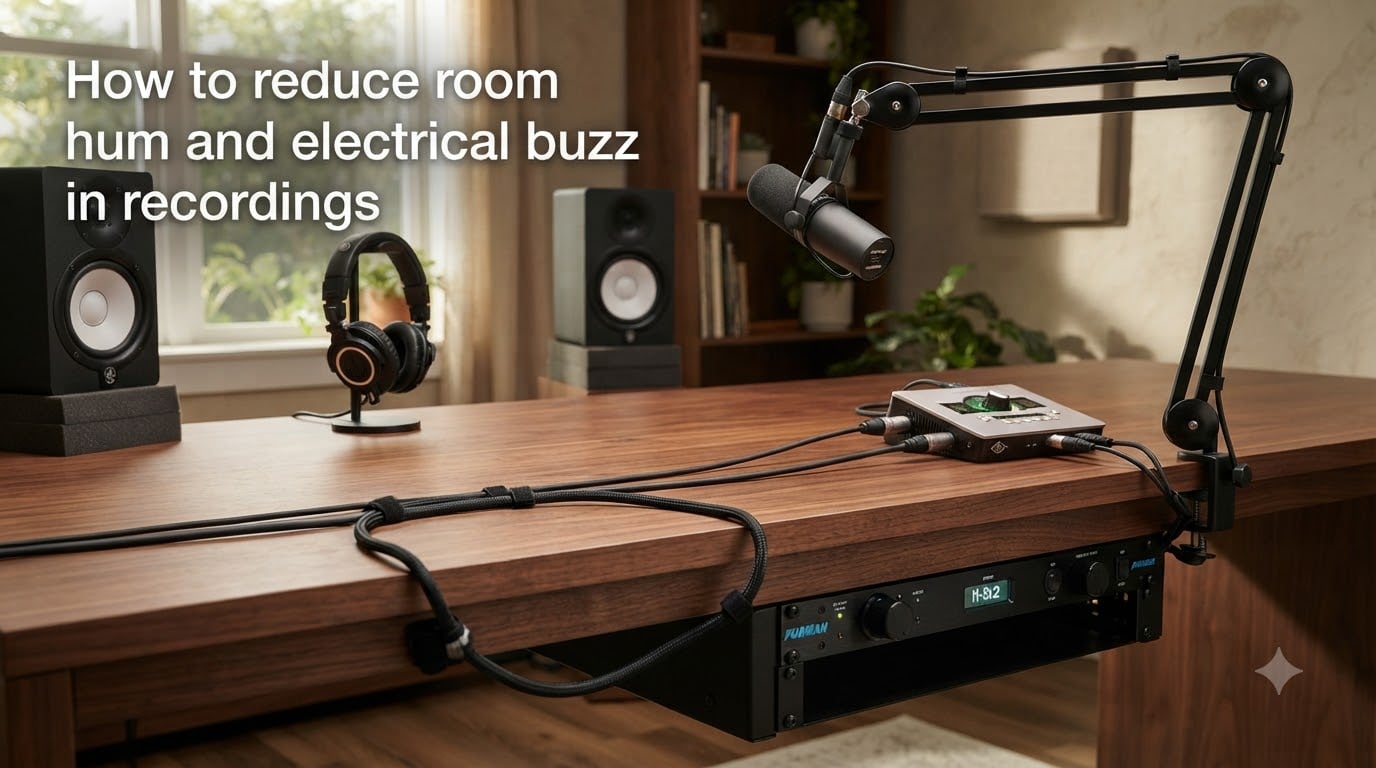
If you have ever listened back to what should have been a perfect take only to hear a steady drone underneath your voice, you already know how frustrating electrical noise can be. Learning how to reduce room hum and electrical buzz in recordings is one of the most practical skills any home studio owner can develop, because these problems appear at every price level and on every piece of gear.
I spent my first six months in a home studio convinced that buying a better microphone would silence the 60-cycle hum running through every track. The microphone was not the problem. The problem was my wiring, my cables, and a stubborn ground loop between my computer and audio interface. Once I learned the troubleshooting workflow, I fixed the issue in an afternoon for less than the cost of a single XLR cable.
In this guide, I will walk you through the same workflow. We will cover what causes hum and buzz, how cable management stops most problems before they start, when balanced connections matter, how to track down a ground loop, what power conditioning actually does, and how software tools like Audacity and iZotope RX can rescue a recording after the fact. By the end, you should be able to identify and eliminate the source of your noise instead of guessing.
Table of Contents
- What Causes Room Hum and Electrical Buzz in Recordings?
- Cable Management Best Practices
- Balanced vs Unbalanced Connections Explained
- Ground Loop Identification and Elimination
- Power Conditioning Solutions
- Software-Based Noise Reduction Techniques
- Room Acoustic Treatment Basics
- Step-by-Step Troubleshooting Workflow
- Frequently Asked Questions
- Final Thoughts on Reducing Hum and Buzz
What Causes Room Hum and Electrical Buzz in Recordings?
Electrical hum and buzz are not the same thing, even though people use the words interchangeably. Hum is a steady, low-frequency tone, usually at 50 Hz or 60 Hz depending on your country’s AC power, often with additional harmonics at 100/120 Hz and beyond. Buzz sounds harsher, more dissonant, and usually contains many harmonics. Buzz is almost always electrical interference, while hum often comes from ground issues or unshielded cables acting as antennas.
The three most common culprits are electromagnetic interference (EMI), ground loops, and improper cable types. EMI happens when audio cables run parallel to power cables, sit too close to monitors, or pass near Wi-Fi routers and switching power supplies. Ground loops form when two pieces of gear are connected to different electrical grounds and the audio signal finds a path between them through your cable shielding. Unbalanced cables, like standard 1/4 inch instrument cables and RCA connectors, have no defense against either problem.
Other sources catch people off guard. Dimmer switches on lights create terrible buzz because they chop AC power rapidly. Computer power supplies radiate noise across a wide spectrum. Fluorescent fixtures, phone chargers, and even some LED light bulbs can inject interference into nearby audio paths. I once tracked down a hum that only appeared during the day and disappeared at night. The culprit was a small desk lamp with an LED bulb that behaved differently when warm.
Cable Management Best Practices
The cheapest fix for electrical noise is also the most overlooked: organize your cables. Audio cables and power cables create electromagnetic fields, and when those fields overlap, you get interference. The fix is straightforward separation.
Keep power cables and audio cables at least a few inches apart, and where they must cross, run them perpendicular to each other rather than parallel. Parallel runs let the fields couple over long distances. A single crossing barely interacts at all. If you can route power cables along one edge of your desk and audio cables along another, you will eliminate a surprising amount of noise.
Invest in properly shielded cables. Cheap cables often use thin shielding that does not block EMI effectively. Look for cables with braided shields or foil-plus-braided combinations. Mogami, Canare, and Hosa all make reliable affordable options. Keep cable lengths as short as practical, because longer unbalanced cables act like bigger antennas for interference.
One more habit that pays off: coil excess cable length loosely rather than wrapping it tightly. Tight coils create inductors that can pick up hum, especially near power sources. A loose figure-eight or a simple bundle hung behind your desk works much better than a tight coil sitting next to your audio interface.
Balanced vs Unbalanced Connections Explained
A balanced connection uses three conductors: hot, cold, and ground. The hot and cold wires carry identical but opposite copies of your audio signal. At the receiving end, the interface flips the cold signal and sums it with the hot. Any interference picked up along the cable affects both wires equally, so the flipping cancels the noise while preserving your signal. This is called common-mode rejection, and it is why balanced cables are the standard for professional audio.
Unbalanced connections only have two conductors: signal and ground. There is no second copy of your signal to compare against, so any interference picked up along the cable ends up in your recording. Common unbalanced connectors include 1/4 inch TS (instrument cables), RCA, and 3.5 mm. These are fine for short runs in clean environments, but they are vulnerable over longer distances and near noisy electronics.
The XLR connector is the most common balanced connection in audio. You will find XLR inputs on virtually every microphone preamp and audio interface. Three-pin XLR carries balanced mono audio and also delivers phantom power to condenser microphones. If your microphone has an XLR output and your interface has an XLR input, use an XLR cable. The same goes for balanced 1/4 inch TRS cables, which work with line-level gear like outboard compressors and monitor controllers.
The rule I follow in my own studio: any cable run longer than about 6 feet, or any cable that passes near a power source, should be balanced. Short unbalanced patch cables inside a single rack are usually fine, but once you start stringing cables across a room, balanced becomes essential.
Ground Loop Identification and Elimination
A ground loop happens when two pieces of connected equipment are grounded at different points, and the difference in ground potential creates a small current that flows through your audio cable’s shield. You hear it as a steady 50 or 60 Hz hum that gets louder or softer depending on which equipment you turn on or off. Sometimes the hum only appears when certain combinations of gear are powered together.
The classic ground loop involves a computer connected to an audio interface, with monitors or other gear plugged into a different outlet on a different circuit. The grounds are at slightly different voltages, and the audio cable becomes the bridge. If you have ever unplugged your laptop from its charger and watched the hum disappear, you have witnessed a textbook ground loop.
The cleanest fix is to put all your gear on a single electrical circuit. Plug your computer, audio interface, monitors, and outboard gear into outlets that share the same breaker. If your studio outlets are on different circuits, running an extension cord from one to the other is not a great permanent solution but can confirm the diagnosis. If the hum goes away, the ground loop was the issue.
For stubborn ground loops, a direct box with a ground lift switch is the standard tool. The ground lift breaks the shield connection at one end of the cable, stopping the loop current. You can also find ground lift adapters for 1/4 inch and XLR cables. Use them sparingly and only when you have confirmed a ground loop, because breaking the shield reduces your protection against EMI.
Safety warning: Never lift the safety ground on a three-prong power plug, and never use a cheater plug to bypass the ground pin on your equipment’s power cable. The ground pin exists to protect you from electrical faults that could energize the chassis of your gear. Lifting signal grounds to solve audio hum is acceptable in specific cases, but lifting safety grounds is dangerous and potentially fatal.
Power Conditioning Solutions
A power conditioner cleans up the AC power feeding your gear. Real power conditioners do several things: they filter out electromagnetic and radio frequency interference on the power line, they provide surge protection, and they often include voltage regulation. They do not create clean power out of nothing, but they do prevent dirty power from reaching your equipment.
The cheapest effective option is a basic surge protector with EMI/RFI filtering, often called a power strip with noise filtering. These run from around $30 and can noticeably reduce buzzing from dimmer switches and noisy neighbors on the same transformer. For more serious setups, units from Furman, Tripp Lite, and APC add isolated outlet banks so digital gear and analog gear do not share the same power path, which often helps reduce noise.
Uninterruptible power supplies (UPS) combine battery backup with filtering, but the filtering quality varies widely. A good online double-conversion UPS regenerates the AC power completely, which is the gold standard for clean studio power. Most home studios do not need that level of protection, but if you live in an area with frequent brownouts or you run expensive tube gear, a quality UPS is worth the investment.
Do not confuse a power conditioner with a surge-only power strip. The cheapest power strips only protect against voltage spikes. They do almost nothing for EMI or RFI filtering. If your hum problem is on the power line, you need actual filtering, which means spending a bit more on a unit specifically labeled as a power conditioner.
Software-Based Noise Reduction Techniques
Software fixes cannot address the root cause of electrical noise, but they can make a recording usable when hardware solutions are out of reach. The two tools I recommend are Audacity (free) and iZotope RX (paid), and they take slightly different approaches.
Audacity has a built-in Noise Reduction effect that uses a noise profile. Record a few seconds of silence in your problem environment, select that section, and choose Noise Reduction from the Effect menu. Click Get Noise Profile, then select your entire recording and apply the effect with sensible settings. Start with around 12 dB of reduction, 6 dB of sensitivity, and 3 frequency smoothing. Adjust until the hum disappears without making the voice sound underwater.
iZotope RX takes this further with its De-hum module. You tell it the fundamental frequency (50 or 60 Hz) and how many harmonics to remove, and it surgically eliminates hum while preserving the rest of the spectrum. The standalone version also includes Mouth De-click, Breath Control, and Spectral De-noise, which together can rescue recordings that would otherwise be unusable. RX is expensive, but many studios consider it essential for post-production work.
Most DAWs also include a notch filter or parametric EQ that can reduce a specific frequency. If your hum is exactly 60 Hz, a narrow notch filter at 60 Hz with a fairly high Q setting will pull it down significantly. Use this as a last resort or in combination with other tools, because aggressive EQ can make vocals sound thin.
A high-pass filter set around 80 Hz is also useful, because most voices do not contain useful information below that frequency. Rolling off the low end eliminates low-frequency hum components and reduces rumble. The Pro Audio Files recommends 80 Hz or higher depending on what you are recording. Voices can usually tolerate 100 Hz without sounding thin, while music may need a lower setting to preserve bass instruments.
Room Acoustic Treatment Basics
Room acoustic treatment addresses reflections and reverb, not electrical noise. Foam panels, bass traps, and diffusers change how sound behaves in your room, but they cannot stop a 60 Hz hum from entering your audio chain through cables. If your noise is steady, tonal, and changes when you turn equipment on or off, the cause is almost certainly electrical, not acoustic.
That said, acoustic treatment still helps in a related way. A well-treated room lets you monitor your recordings accurately, which means you hear problems like hum and buzz more clearly while recording. Many home studio owners are so distracted by room reflections that they do not notice electrical noise until it is too late. Treat your room for reflections, and your ears will pick up electrical problems earlier.
Bass traps in the corners handle low-frequency buildup. Mid-range absorption at first reflection points on the walls and ceiling cleans up the soundstage. Diffusers on the back wall keep the room from sounding dead. None of this fixes hum, but all of it makes your recordings and your mixing decisions more accurate.
Step-by-Step Troubleshooting Workflow
When you hear hum or buzz, work through these steps in order. Most problems reveal themselves within the first three or four steps.
Step 1: Identify the type of noise. Steady 50/60 Hz tone suggests ground loop or shielding. Harsh buzz with multiple harmonics suggests EMI or cable damage. Crackling and popping suggests a loose connection or failing cable. Knowing the type points you to the right fix.
Step 2: Test with one piece of gear at a time. Turn off everything except your audio interface and one microphone. If the noise disappears, start adding gear back one piece at a time until the noise returns. The last piece you added is part of the problem.
Step 3: Try a different electrical outlet. Move your gear to outlets on different circuits. If the noise changes, you have a ground loop or power quality issue. A power conditioner often resolves this.
Step 4: Swap cables. Replace each audio cable with a known-good balanced cable, preferably a short one. If the noise disappears, the original cable was damaged or inadequate.
Step 5: Separate cables physically. Move power cables away from audio cables. Cross them perpendicularly where they must intersect. This alone resolves a surprising number of cases.
Step 6: Address the ground loop. If the noise persists, try a direct box with ground lift on the suspect connection, or move all gear to a single outlet. Verify the fix without the ground lift first by using a shared outlet.
Step 7: Apply software reduction if needed. Once you have minimized the problem at the source, use Audacity or RX to clean up the remainder. Do not rely on software as your only fix. It cannot remove 100 percent of the noise without damaging your signal.
Step 8: Document your findings. Write down what worked. Next time the same symptom appears, you will skip the trial-and-error and go straight to the fix that worked before.
If you have tried all of these steps and the noise remains, the problem may be in your building’s wiring rather than your gear. At that point, consult a licensed electrician. Bad wiring is a fire hazard, not just an audio quality issue.
Frequently Asked Questions
How to remove electrical noise from audio recording?
Start by separating power cables from audio cables and crossing them perpendicularly rather than running them parallel. Then verify all connections are balanced XLR or TRS wherever possible, test your gear on a single electrical circuit to rule out ground loops, and apply a high-pass filter at 80 Hz in your DAW to reduce low-frequency hum.
How to get rid of electrical hum?
Electrical hum at 50 or 60 Hz usually comes from a ground loop or unshielded cable acting as an antenna. Move all connected gear to the same electrical outlet, replace unbalanced cables with balanced XLR or TRS cables, and use a power conditioner with EMI/RFI filtering. If hum persists, try a direct box with a ground lift switch to break the loop.
How to get rid of buzz in recording?
Buzz typically indicates electromagnetic interference from nearby power cables, dimmer switches, monitors, or computer power supplies. Keep audio cables at least a few inches from power cables, use shielded cables with braided shielding, and unplug or relocate devices like dimmer switches and switching power supplies that sit close to your audio path.
How to get rid of room noise in audio?
Room noise has two sources: acoustic noise from outside or HVAC, and electrical noise from your equipment chain. For acoustic noise, use acoustic panels and bass traps and record during quiet hours. For electrical noise, follow the troubleshooting workflow starting with cable management, balanced connections, ground loop elimination, and power conditioning.
Final Thoughts on Reducing Hum and Buzz
Most hum and buzz problems in home recordings come from cables and grounding, not from the gear itself. I have seen people spend thousands upgrading equipment when a $20 balanced cable and a different outlet would have solved the problem in minutes. Start with the cheapest fix first: separate your cables, verify your connections, and put all your gear on one circuit.
If hardware solutions are out of reach, software tools like Audacity and iZotope RX can clean up most remaining noise. Do not rely on software alone, but do not skip it either when you need to deliver a recording today. The combination of careful hardware setup and a finishing pass with software is the realistic path that most home studio owners walk. Now you have the workflow to do both.