
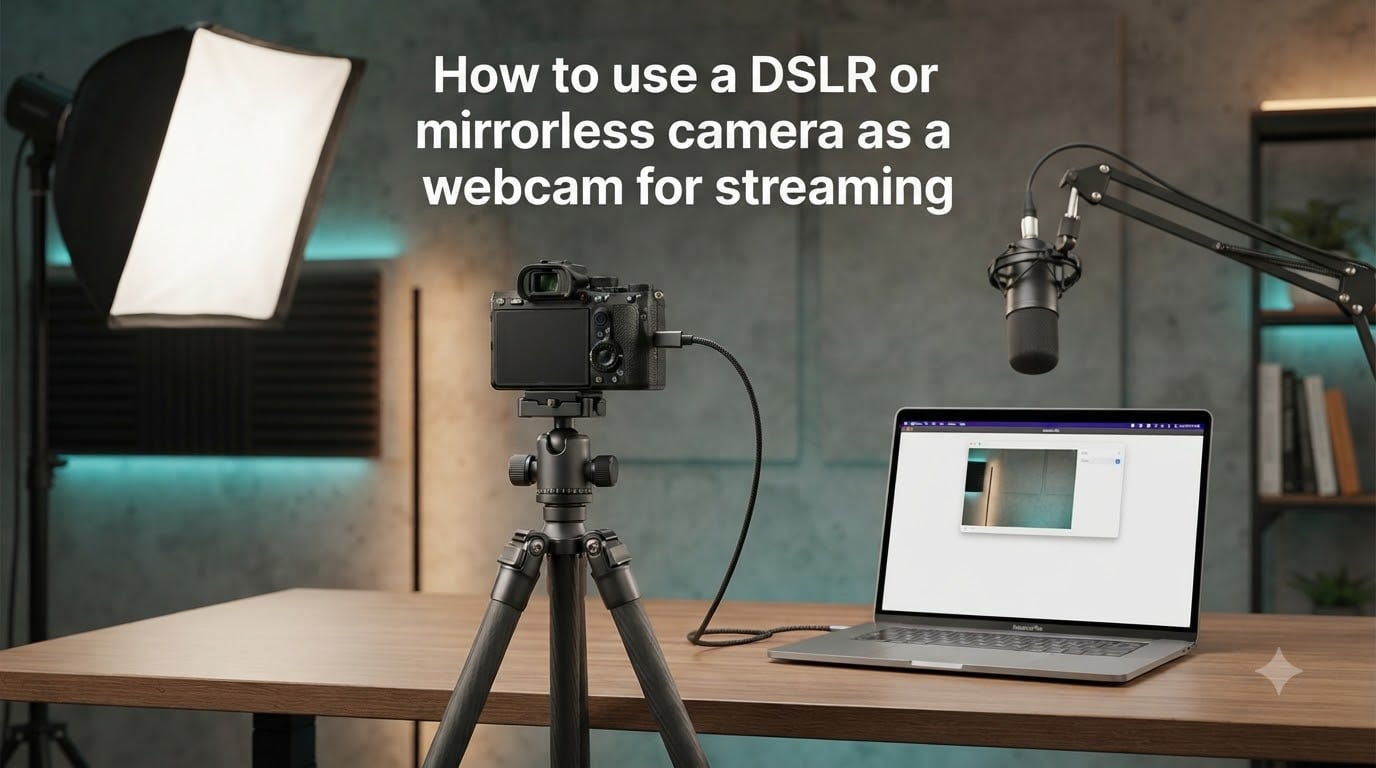
If you have ever looked at your grainy laptop webcam footage and wished for something better, you are in the right place. Learning how to use a DSLR or mirrorless camera as a webcam for streaming transforms the look of your broadcasts, video calls, and recordings in a way no software filter can match. The larger sensor, interchangeable lenses, and real autofocus system give you that shallow depth-of-field look streamers pay thousands to achieve.
Yes, you can use a DSLR camera for live streaming, and yes, you can also use a mirrorless camera as a webcam. Both camera types work, and the setup is more approachable than it was even two years ago. Most modern cameras from Canon, Sony, Nikon, Panasonic, and Fujifilm now ship with dedicated webcam utilities or built-in USB streaming support.
This guide walks through every connection method, the exact settings that matter, and the practical fixes for the problems real streamers hit (overheating, auto-sleep shutdowns, and audio sync drift). I have broken it down so you can pick the path that fits your camera and budget.
Table of Contents
- Why Use a DSLR or Mirrorless Camera as a Webcam?
- How to Use a DSLR or Mirrorless Camera as a Webcam for Streaming: Three Methods
- Method 1: USB Direct Connection with UVC Support
- Method 2: Manufacturer Webcam Software
- Method 3: Capture Card via Clean HDMI
- Best Camera Settings for Streaming
- Lens Selection for Streaming
- Power and Overheating Solutions
- Essential Equipment Checklist
- Common Troubleshooting
- Frequently Asked Questions
- Conclusion
Why Use a DSLR or Mirrorless Camera as a Webcam?
A dedicated camera beats a standard webcam in three areas that show up immediately on screen: low-light performance, background separation (that soft bokeh blur), and color depth. The sensor inside even an entry-level mirrorless camera is roughly 13 times larger than the sensor in a typical webcam. That is why your face stays clean and your background melts away.
Real autofocus is the other factor that separates these cameras from webcams. Eye-detection autofocus tracks your face as you move, which a fixed-focus webcam simply cannot do. If you lean, gesture, or stand up during a stream, the camera follows you.
For Twitch streamers, YouTube live hosts, podcasters, and professionals on repeated Zoom calls, the upgrade is noticeable within the first minute of footage. Viewers comment on it, and the production value rises without changing your lighting or backdrop.
How to Use a DSLR or Mirrorless Camera as a Webcam for Streaming: Three Methods
There are three proven ways to connect your camera to a computer for streaming. The right one depends on your camera model, your computer, and how much you are willing to spend on extra hardware.
The first method is a direct USB connection, which works if your camera supports the UVC (USB Video Class) protocol. The second uses free manufacturer webcam software, which covers the largest number of camera models. The third routes through an HDMI capture card, which gives the highest quality but requires buying extra gear.
Method 1: USB Direct Connection with UVC Support
The simplest path is a USB cable. If your camera supports UVC, your computer treats it like a standard webcam the moment you plug it in. No drivers, no extra software, no capture card.
Step 1: Check your camera manual for “USB streaming” or “UVC mode.” Recent Canon EOS R-series bodies, many Sony Alpha cameras, and select Panasonic Lumix models support this natively.
Step 2: Connect your camera to your computer using the USB cable that came with it (or a high-quality USB-C data cable). Charge-only cables will not work.
Step 3: Switch the camera to movie/video mode, then enable USB streaming in the menu. On most bodies this lives under the connection or toolbox menu.
Step 4: Open OBS Studio, Zoom, or your streaming software, and select your camera from the video device list. You should see the live feed immediately.
The trade-off with UVC is quality. Most cameras cap USB streaming at 720p or 1080p with compressed video, and some apply a slight crop. For most streamers that is more than enough, but if you need 1080p 60fps or uncompressed signal, move to the capture card method below.
Method 2: Manufacturer Webcam Software
Every major camera maker now offers a free webcam utility. These apps sit between your camera and your streaming software, translating the camera’s live feed into a virtual webcam your computer can use.
This method covers the widest range of camera models, including older bodies that lack built-in UVC streaming. Download the right app for your brand, install it, plug in your camera over USB, and the utility handles the rest.
Canon EOS Webcam Utility
Canon’s EOS Webcam Utility works with most Canon DSLR and mirrorless bodies released in the last several years, including the EOS R, RP, R5, R6, R50, R100, and many Rebel-series DSLRs. Download it from Canon’s website, install, and connect your camera via USB. The utility shows up as “EOS Webcam Utility” in your video device list inside OBS or Zoom.
One thing to know: the free version of Canon’s utility overlays a watermark after roughly 30 minutes on some camera models. The paid EOS Webcam Utility Pro removes the watermark and adds 1080p output.
Sony Imaging Edge Webcam
Sony’s Imaging Edge Webcam supports a long list of Alpha-series bodies including the popular A6100, A6400, A6700, ZV-E10, ZV-1, A7 III, and A7 IV. Install the app on Windows or macOS, plug in your camera with USB, set the camera to movie mode, and launch the utility. Sony’s app is free with no time limit, which makes it a favorite on Reddit’s streaming communities.
Nikon Webcam Utility
Nikon Webcam Utility covers most Z-series mirrorless bodies and many recent Nikon DSLRs like the D7500 and D850. The setup is the same as Canon and Sony: install, connect over USB, and select “Nikon Webcam Utility” as your video source. Nikon’s utility is free with no watermark.
Panasonic Lumix Webcam Software
Panasonic offers Lumix Tether for Streaming, which works with the GH5, GH6, G7, S5, and most other recent Lumix bodies. Many Panasonic cameras also support direct USB UVC streaming without the software, so check your menu first before installing the app.
Fujifilm X Webcam
Fujifilm X Webcam supports the X-T4, X-T5, X-S20, X-H2, and most recent X-series cameras. Download from Fujifilm’s site, connect over USB, and select “X Webcam” in your streaming software.
Method 3: Capture Card via Clean HDMI
The capture card method gives you the best possible image quality and works with almost any camera that has a clean HDMI output. It is also the only method that reliably delivers 1080p 60fps for fast-paced streams.
“Clean HDMI” means the signal sent out of the camera’s HDMI port does not include the on-screen graphics you normally see in the viewfinder, like the battery icon, focus brackets, or recording dot. Without clean HDMI, all of that junk shows up in your stream. Check your camera menu for “HDMI info display” and set it to off.
Step 1: Plug a mini or micro HDMI cable into your camera’s HDMI out port and run it to your capture card. Use a high-quality cable with strain relief at the camera end, because HDMI ports on cameras are fragile.
Step 2: Connect the capture card to your computer over USB. The Elgato Cam Link 4K is the most recommended option in streaming forums, and there are solid budget alternatives from brands like AVerMedia.
Step 3: Open OBS Studio, add a new Video Capture Device source, and select your capture card. Set the resolution and frame rate to match your camera’s output.
Step 4: Set your camera to movie mode and configure exposure, white balance, and focus before you go live. The capture card passes through whatever the camera outputs, so your in-camera settings are what your viewers see.
This method costs more because you need an HDMI cable and a capture card, but it is the path professional streamers take. It also sidesteps the compatibility quirks of manufacturer software on macOS.
Best Camera Settings for Streaming
Once your camera is connected, the settings inside the camera determine what your stream looks like. Streaming is different from photography, so a few adjustments matter.
Set your resolution to 1080p and your frame rate to 30fps for talking-head streams, or 60fps if you stream gaming alongside a face cam. Higher frame rates eat more bandwidth, so only push 60fps if your encoder and upload speed can handle it.
Use manual exposure, not auto. Pick a shutter speed close to double your frame rate, which is the standard rule for natural-looking motion. At 30fps that means 1/60 shutter, and at 60fps that means 1/120 shutter. Set your ISO as low as your lighting allows, and use auto ISO with an upper limit only if your light changes during a stream.
Lock your white balance manually rather than leaving it on auto. Auto white balance shifts when something bright enters the frame, and viewers notice the color jump. Set a Kelvin value that matches your key light, usually between 4500K and 5600K for daylight-balanced LED panels.
For focus, use continuous AF with face or eye detection if your camera has it. This is where mirrorless cameras outshine DSLRs, because on-sensor phase-detect autofocus tracks eyes far better than the older systems in DSLRs.
Lens Selection for Streaming
The lens matters as much as the camera body for the look of your stream. Most streamers want a slightly wide field of view with shallow depth of field, which means a fast prime or a wide-aperture zoom.
A 24mm, 30mm, or 35mm equivalent focal length works well for a single-person head-and-shoulders shot at typical desk distances. Pair it with an aperture of f/1.8 to f/2.8 and your background blurs nicely without making your face go soft when you lean.
Make sure the lens has electronic communication with the camera body, because you need autofocus to work for streaming. Manual-only vintage lenses look great but hunt focus constantly if your subject moves. Kit lenses that ship with most entry-level bodies (usually an 18-55mm or 16-50mm zoom) are fine to start with, just open them as wide as they go.
Power and Overheating Solutions
The number one complaint on streaming forums is cameras shutting down mid-stream. There are two causes: dead batteries and overheating. Both are fixable.
For power, use a dummy battery that plugs into a wall outlet. A dummy battery replaces your normal battery and lets the camera run indefinitely, which is non-negotiable for streams longer than an hour. Most camera brands sell official dummy batteries, and third-party options are widely available for under $30.
For overheating, especially common on Sony and Canon bodies during extended recording, give the camera airflow. Mount it on a tripod with the battery door open if you are using a dummy battery, keep it out of direct sun or hot lamps, and consider a small USB fan pointed at the body. Some cameras also let you raise the auto-shutoff temperature limit in the menu, which is worth checking.
To stop the camera from auto-sleeping during your stream, find the “auto power off” or “power saving” setting in your menu and set it to off or the maximum time. On Canon this is usually under the power saving section, on Sony it is under the toolbox menu, and on Nikon it sits under the setup menu. This single setting prevents the most frustrating mid-stream disconnects.
Essential Equipment Checklist
Here is the gear you need for a complete streaming setup beyond the camera itself.
Your camera body with a charged battery or dummy battery
USB cable (for Methods 1 and 2) or HDMI cable plus capture card (for Method 3)
Tripod or mounting arm to hold the camera at eye level
Key light, ideally a softbox or large LED panel placed at a 45-degree angle from your face
Fill light or reflector to soften shadows on the opposite side
External microphone, because camera audio is rarely good enough for streaming
Streaming software such as OBS Studio (free) to bring the camera feed together with your other sources
Common Troubleshooting
If your camera does not show up as a video source, the cause is almost always the cable. Many USB-C cables that come with accessories are charge-only and do not carry data. Swap in the cable that shipped with your camera or buy one explicitly labeled for data transfer.
If the feed freezes or drops every few minutes, check your auto-sleep and power-saving settings first. The second most common cause is the camera overheating, especially after 30 to 45 minutes of continuous use. Improve airflow and lower your recording temperature limit if available.
If you see on-screen icons in your stream, you do not have clean HDMI enabled. Go back into your menu and turn off the HDMI info display. This setting is separate from the in-viewfinder display.
If audio and video drift out of sync, the issue is usually frame rate mismatch. Make sure your camera output, your capture card or webcam utility, and your OBS video settings all use the same frame rate (typically 30 or 60 fps). On macOS, manufacturer webcam utilities sometimes introduce latency that the capture card method avoids.
If autofocus keeps hunting on a mirrorless camera, switch to a smaller autofocus area and enable eye detection. Point the focus box at your face and let the camera lock on, rather than using wide-area AF which can grab the background.
Frequently Asked Questions
Can a DSLR camera be used for live streaming?
Yes. Any DSLR with a clean HDMI output can stream through a capture card, and many recent DSLRs also support USB webcam utilities from Canon, Nikon, and other manufacturers. The setup is the same as for a mirrorless camera.
How to use a DSLR as a webcam for streaming?
Connect your DSLR to your computer over USB and use the manufacturer webcam utility (Canon EOS Webcam Utility, Nikon Webcam Utility, etc.), or run an HDMI cable from the camera to a capture card. Set the camera to movie mode, disable auto-sleep, and select the camera or capture card as your video source in OBS or your streaming software.
Can you use a mirrorless camera as a webcam?
Yes. Mirrorless cameras are actually better suited for webcam use than DSLRs because their on-sensor autofocus tracks faces and eyes more reliably. Most recent mirrorless bodies support either direct USB UVC streaming or a free manufacturer webcam utility.
Can you live stream with a mirrorless camera?
Yes. Connect your mirrorless camera over USB with the manufacturer webcam app or through an HDMI capture card, set your exposure and focus manually, disable auto power off, and select the camera as your video source in OBS, Streamlabs, or your preferred streaming software.
Conclusion
Learning how to use a DSLR or mirrorless camera as a webcam for streaming is one of the highest-impact upgrades you can make to your setup. The image quality jump from a standard webcam is immediate, and the three methods above cover every camera and budget combination you are likely to encounter.
Start with the manufacturer webcam utility if your camera supports one, since it costs nothing and takes ten minutes. If you need higher quality or your camera lacks a USB option, add an HDMI capture card. Lock down your power, auto-sleep, and overheating issues before you go live, and your viewers will see the difference from the first frame.