
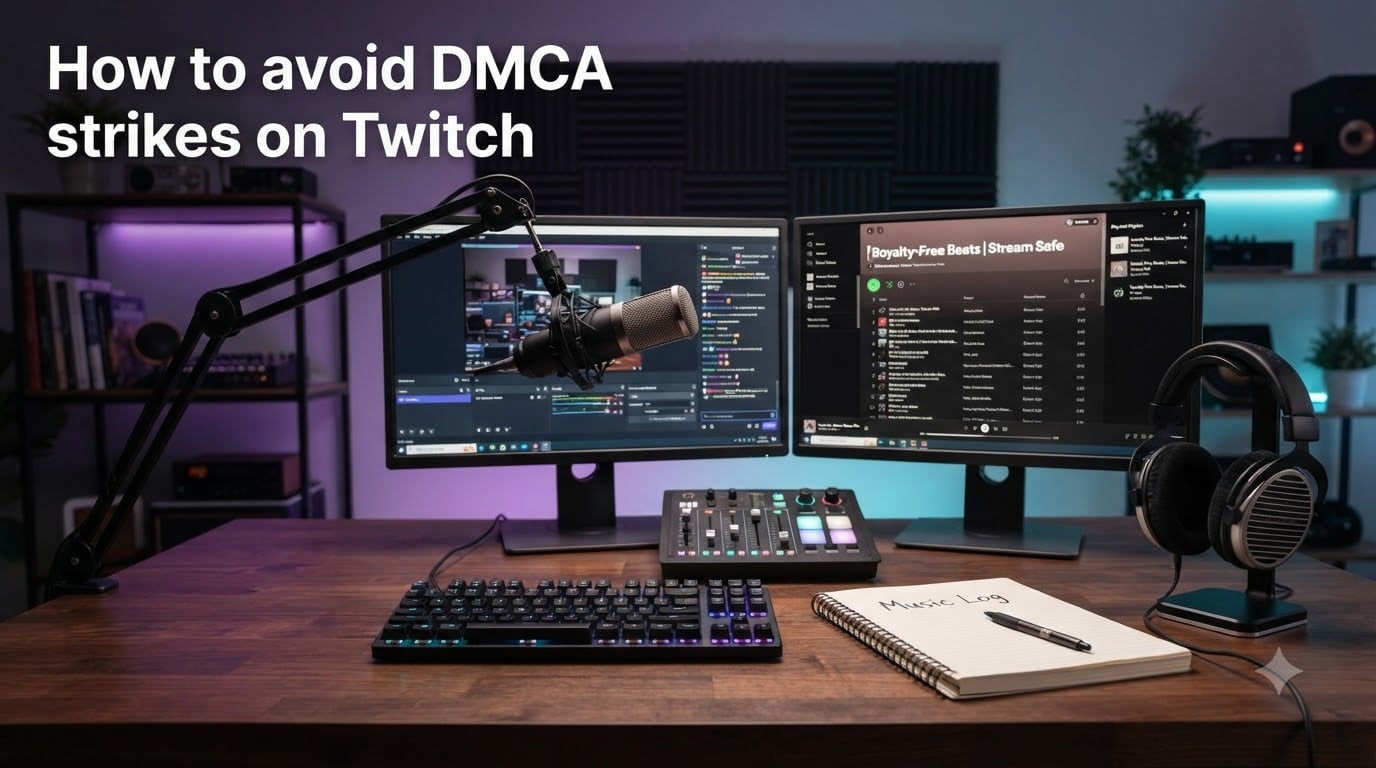
Learning how to avoid DMCA strikes on Twitch is one of the most important skills any streamer can build in 2026. I watched a friend lose 18 months of VODs in a single weekend because a background track triggered a copyright claim.
The DMCA problem on Twitch has not gone away. It has shifted. Twitch now relies heavily on automated audio scanning of past broadcasts, which means a strike can arrive weeks after you actually went live. The good news: Twitch also publishes tools specifically designed to protect streamers, and there is a clear playbook of safe-streaming habits that works.
In this guide, I will walk you through what DMCA actually means, how Twitch enforces it, the seven strategies working streamers use to stay safe, and exactly what to do if a strike shows up anyway. By the end, you will have a complete checklist to keep your channel protected.
Table of Contents
- What Is DMCA and Why It Matters for Twitch Streamers
- How DMCA Strikes Work on Twitch
- Common DMCA Myths That Get Streamers Banned
- 7 Proven Strategies to Avoid DMCA Strikes on Twitch
- How to Split Audio Tracks in OBS: Step-by-Step Guide
- Best Royalty-Free Music Platforms for Twitch Streamers
- What to Do If You Get a DMCA Strike on Twitch
- Frequently Asked Questions
- Final Checklist: Stream Safe in 2026 and Beyond
What Is DMCA and Why It Matters for Twitch Streamers
DMCA stands for the Digital Millennium Copyright Act, a U.S. copyright law passed in 1998. It gives rights holders a legal process to request takedown of infringing content hosted on online platforms. Streaming platforms like Twitch must comply with valid DMCA notices, or they themselves face legal liability.
For streamers, the part that matters most is this: copyright protects two separate things. The composition (the song itself) is owned by the songwriter or publisher. The sound recording (the actual studio version, or “master”) is owned by a label or the artist. Playing a song on stream usually infringes both, which is why a single track can trigger two separate claims.
That is why “I bought the song on Spotify” is not a defense. Buying a copy gives you a personal license to listen. It does not give you a public performance license, which is what streaming requires. Without an explicit license, Twitch cannot legally let you broadcast that music to viewers, and rights holders can issue a DMCA takedown against the platform.
How DMCA Strikes Work on Twitch
Twitch handles DMCA through a layered enforcement system. Knowing the order of events helps you understand where your real risk lives.
The Three-Strike Policy Explained
Twitch follows a three-strike policy that escalates with each confirmed copyright violation.
After a first DMCA notification, Twitch typically issues a copyright strike on your account, along with a 24-hour suspension. A second strike usually brings a longer suspension, plus limits on new content uploads. A third strike results in permanent channel termination. Your strikes are tied to your account, not your channel, so they carry across any channel you create.
There is also a separate track of “copyrighted audio warnings” that Twitch sends via email. These are not official DMCA strikes, but they are an early warning that a rights holder has flagged your content. Treat them seriously, because they often precede a real strike.
Live Streams vs VODs: Where DMCA Strikes Actually Happen
One of the most common questions I see is whether live streams get DMCAed in real time. The answer is rarely. Twitch’s automated systems, similar to YouTube’s Content ID, focus on stored video on demand (VOD) content. They scan hours of archived broadcasts for matching audio fingerprints and flag them after the fact.
This explains a confusing experience many streamers describe: the live stream went fine, but their VOD got muted three days later, or a strike showed up in their inbox two weeks after the broadcast. The flag did not happen live. It happened when the system reviewed your stored content.
This is also why deleting a VOD after a stream is not a guaranteed shield. If the system already detected and logged the match, the rights holder can still issue a takedown notice against your account based on the original stream URL.
How to Check Copyright Strikes on Twitch
You can check your current standing in two places. First, in your Twitch Dashboard, click on Settings, then Moderation, and scroll to the “Copyright Notices” section. You will see any active strikes with date stamps and brief descriptions.
Second, Twitch sends an email notification for every official DMCA action. To stay current, make sure your account email is one you check regularly. If you only check your dashboard, you can miss warning emails that Twitch treats as part of your compliance record.
Common DMCA Myths That Get Streamers Banned
Forum threads on Reddit and Twitch’s help community are full of bad advice. Let me clear up the three myths I see most often.
Myth one: “Fair use covers me if I am just listening.” It does not. Fair use is a narrow legal defense that applies to commentary, criticism, education, and parody. Playing a song in the background while you chat is not commentary. Courts consistently treat this as a public performance, not fair use.
Myth two: “I am a small streamer, so no one will notice.” Twitch’s detection is automated and runs across every channel. Size does not matter. A rights holder can search the platform for matches, and a single match anywhere is enough to trigger a takedown.
Myth three: “I will just delete the VOD.” As I noted above, deletion does not erase a logged match. It also does not erase the evidence a rights holder may have already collected. Delete-old-VODs only works as a proactive strategy, not a reactive one.
7 Proven Strategies to Avoid DMCA Strikes on Twitch
Here is the exact playbook I share with new streamers who want to enjoy music on stream without risking their channel. Pick these up one at a time, and within a week you will be fully protected.
1. Use Royalty-Free Music Only
The simplest way to avoid DMCA strikes is to never play unlicensed music. Royalty-free libraries give you a license to use tracks in your streams in exchange for either a one-time fee or, in many cases, no fee at all. As long as you follow the specific license terms (some prohibit monetization, others require attribution), you are safe.
This is the foundation of the whole strategy. Everything else on this list is built around it.
2. Set Up Separate Audio Tracks in OBS
OBS Studio lets you send different audio sources to different recording tracks. You can configure Track 1 to include your desktop audio (anything playing on your computer) and Track 2 to include only your microphone plus Discord alerts. Then you record locally with both tracks and stream to Twitch with only Track 2.
The result is that you can enjoy music live for your audience, but Twitch’s servers only ever receive your mic and clean audio. The VOD stored on Twitch is already DMCA-safe because it never contained the music in the first place.
3. Use Soundtrack by Twitch
Soundtrack by Twitch is a free desktop app Twitch launched specifically for streamers. It plays curated music that is licensed for use on Twitch streams and VODs. The catalog is limited and not always as exciting as the chart hits, but it is verified safe.
One thing to watch out for: streamers have reported bugs in Soundtrack by Twitch that mute the entire stream instead of just the music. Always test it with a short private recording before going live. The community reports this most often with multiple audio devices in use.
4. Delete Old VODs and Clips Proactively
Even with safe music, it is smart housekeeping to delete VODs you no longer need. Twitch keeps them for 60 days by default for Affiliates and Partners, and 14 days for non-Affiliates. If you have years of unfiltered streams stored, you have years of potential match targets.
Set a calendar reminder every quarter to clean up. Most streamers find that deleting the first 6 to 12 months of their channel history removes the bulk of any hidden risk from learning-the-ropes days.
5. Avoid In-Game Licensed Music
Many modern games ship with licensed soundtracks, and some, like older Tony Hawk titles or music-rhythm games such as Beat Saber and DDR, contain full pop songs. These are not safe to stream, even if the game itself is.
For rhythm games, the standard community workaround is to file a DMCA counter-notice after a strike, but treat that as a recovery path, not a prevention strategy. Prevention means checking the soundtrack of any new game before you broadcast it.
6. Collaborate with Independent Artists
Indie musicians are often happy to have their music played on stream. They want exposure, and most work with streamers on simple handshake agreements. Many will even create Twitch-friendly license packs on request. Pairing with one indie artist per month can give you a rotation of safe, fresh music that bigger streamers do not have access to.
Major labels like Warner, Sony, and Universal almost always pursue strikes aggressively. Independent artists are more lenient and are usually a safer bet even when something is technically unmatched.
7. Keep a Music Log for Every Stream
This is the underrated habit that saves streamers. Keep a simple text file or spreadsheet where you note the date of each stream and the music source you used (royalty-free library name, Soundtrack by Twitch session, indie artist, or none). If a strike ever appears, you can answer the appeal with proof.
It takes about 30 seconds per stream and turns a “he said, she said” copyright dispute into a clear paper trail. Streamers who log their music report far better outcomes on appeal.
How to Split Audio Tracks in OBS: Step-by-Step Guide
Because audio splitting is the single most effective technical shield, here is the exact setup.
Step 1. Open OBS Studio and click on Settings, then Audio. Scroll down to the “Advanced” section. You will see audio tracks 1 through 6, each with checkboxes for desktop audio and microphone.
Step 2. On Track 1, check only Microphone/Aux. Leave Desktop Audio unchecked. This is the track that will be sent to Twitch.
Step 3. On Track 2, check both Microphone/Aux and Desktop Audio. This is your local recording track that includes music.
Step 4. In Settings, then Output, set Recording Format to mkv or mp4, and the audio track to Track 2. Then set Streaming Output to a separate path and choose Track 1 for streaming audio.
Step 5. Hit Start Recording, then Start Streaming. OBS will record your full desktop audio locally, while Twitch only sees your mic. After the stream, your local file is private and your VOD is automatically safe.
Test this setup with a quick 2-minute recording before going live the first time. Confirm in your local file that the music is present, and confirm in your Twitch VOD that it is not.
Best Royalty-Free Music Platforms for Twitch Streamers
Here are the libraries the Twitch community trusts most, along with what makes each one useful.
NCS (NoCopyrightSounds) is the YouTube giant. Their music is free for content creators with attribution in the description. Most tracks are energetic and stream-friendly, which is why you hear them on so many smaller channels.
StreamBeats was built specifically for streamers by Harris Heller. It is free, no attribution required, and organized by mood, which makes it fast to game with.
Pretzel Rocks is a paid service designed for live streamers. It includes a desktop player that integrates with OBS and supports safe song requests from viewers. Worth it if you run a Just Chatting channel with active music requests.
Monstercat is a label that offers a streamer-friendly license. You can play their full catalog on stream for a flat annual fee, with no per-track notes required.
Epidemic Sound is a more expensive subscription but has the deepest catalog and a clean license for multi-platform creators. Good fit if you also publish YouTube or TikTok.
Incompetech (Kevin MacLeod’s library) is free, requires only attribution, and is heavily used for low-key background music. Ideal for art streams or chill content.
What to Do If You Get a DMCA Strike on Twitch
If a strike lands despite your precautions, you have two real options: clean up and rebuild, or file a counter-notification.
First, review the claim in your Twitch email. Identify the exact VOD flagged, the rights holder, and the timestamp. Delete the VOD if it is still up, and check your other recent broadcasts for similar issues. This shows good faith and may reduce the chance of escalation.
Second, if you genuinely believe the claim is wrong (for example, you used licensed royalty-free music that was falsely matched), you can file a DMCA counter-notification. This is a legal document submitted to Twitch that requires you to include your contact info, a description of the removed content, and a statement under penalty of perjury that the content was removed in error. Once Twitch receives it, they forward it to the rights holder, who then has 10 to 14 business days to file a lawsuit against you or drop the claim.
Counter-notifications are powerful but not free. If the rights holder actually sues, you may need legal counsel. Most streamers reserve them for clear mismatches, not hopeful appeals.
Third, if you accept the claim, change your setup immediately. Switch to a royalty-free library, configure OBS audio tracks, and avoid any music from the rights holder that flagged you. Most streamers who take this step after a first strike never get a second.
Frequently Asked Questions
Can you ignore a DMCA on Twitch?
No. If Twitch receives a valid DMCA notice, it must act on it by law. Ignoring the notice can lead to VOD removal, account suspension, and permanent termination after three strikes. The only official response is to comply, appeal if appropriate, or file a counter-notification if the claim is wrong.
Is DMCA still a thing on Twitch?
Yes. Twitch still receives DMCA notices from rights holders and enforces them, but most enforcement now targets stored VODs through automated audio matching rather than live streams. Streamers still receive strikes, suspensions, and terminations, so the problem is active in 2026.
How do people not get copyrighted on Twitch?
The most common method is to play only royalty-free music from licensed libraries, configure separate audio tracks in OBS so music stays local, and use Soundtrack by Twitch for stream-safe background music. Deleting old VODs and avoiding in-game licensed tracks also reduces risk.
How to check copyright strikes on Twitch?
Open your Twitch Dashboard, go to Settings, then Moderation, and scroll to the Copyright Notices section. Active strikes appear there with date and reason. Twitch also sends an email for every official DMCA notification, so keep your account email current.
Can you play copyrighted music on Twitch if you delete the VOD?
Not safely. Twitch’s automated systems log matches before the VOD is deleted, and rights holders can still issue takedowns based on the original stream. Deletion after the fact does not erase a recorded match. Use it as a proactive cleanup habit, not a reactive fix.
Does Twitch scan live streams for copyrighted music?
Currently, Twitch’s automated detection focuses on stored VODs, not live streams. Live streams are rarely hit in real time, but strikes can appear days or weeks later when the system reviews archived broadcasts. Treat live safety as part of VOD safety, because they are now linked.
Final Checklist: Stream Safe in 2026 and Beyond
You now have everything you need to avoid DMCA strikes on Twitch. Quick recap: understand that DMCA targets both composition and recording rights, know that Twitch scans VODs more than live streams, and run your channel with the seven strategies above: royalty-free music, OBS audio tracks, Soundtrack by Twitch, VOD cleanup, careful game choices, indie collaborations, and a simple music log.
Do this and you can stream with confidence. Your channel will grow on your content, not get knocked down by a rights holder you have never heard of. Save this guide as your reference, and revisit the checklist every quarter as Twitch continues to update its policies.
Today, the safest and most sustainable way to avoid DMCA strikes on Twitch is a combination of platform tools and disciplined habits. Start with OBS audio tracks and a single royalty-free library, then expand from there. Within a week, you will wonder why you ever streamed any other way.