
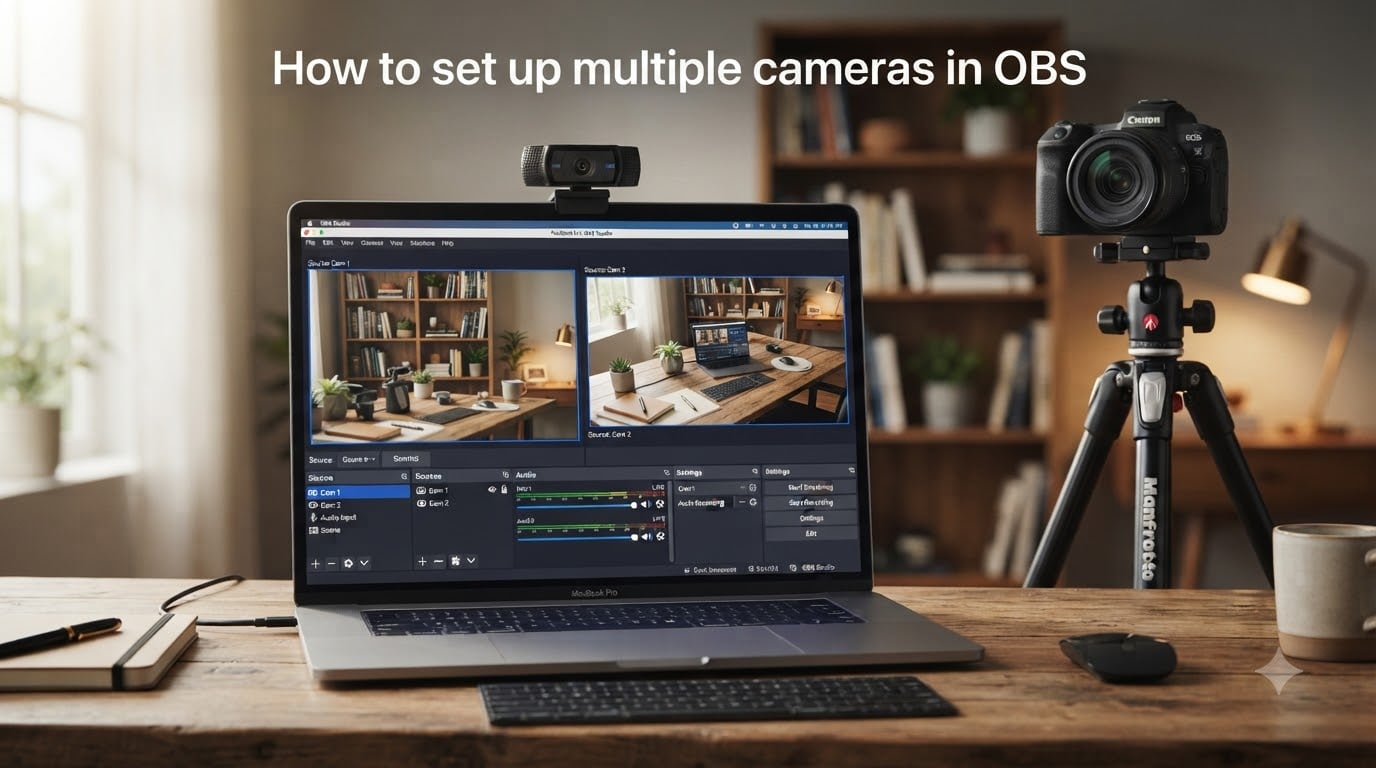
If you have ever watched a polished live stream or a professional podcast and wondered how the host switches between angles so smoothly, the answer is almost always OBS Studio with multiple cameras. I have spent the last several months helping streamers, podcasters, and church production teams build multi-camera setups, and the good news is that you do not need a video switcher or a big budget to make it work.
In this guide, I will walk you through how to set up multiple cameras in OBS from scratch. You will learn the exact steps I use for my own productions, the USB bandwidth warning that saves most beginners hours of frustration, and the layout tricks that make any stream look polished. Whether you are recording a two-person podcast or running a four-camera church broadcast, the same workflow applies.
Table of Contents
- What You Need Before Adding Multiple Cameras
- How to Set Up Multiple Cameras in OBS: Step-by-Step
- Step 1: Install and Launch OBS Studio
- Step 2: Connect Your Cameras Before Opening OBS
- Step 3: Add Each Camera as a Video Capture Device Source
- Step 4: Create Scenes for Each Camera Angle
- Step 5: Arrange Camera Positions in Each Scene
- Step 6: Configure Audio for Multiple Cameras
- Step 7: Set Up Hotkeys for Instant Camera Switching
- Step 8: Test Before Going Live
- Layout Options for Multiple Camera Feeds
- Hotkeys and Studio Mode for Seamless Switching
- Recording Multiple Cameras as Separate Files
- Troubleshooting Common Multi-Camera Issues
- Frequently Asked Questions
- Conclusion
What You Need Before Adding Multiple Cameras
Before we open OBS, let me cover the hardware and software checklist. Skipping this step is the number one reason multi-camera setups fail, so I always start here with my clients.
You will need OBS Studio version 28 or newer installed on your computer. The free software runs on Windows, macOS, and Linux, and you can download it directly from the official OBS Project website. Avoid third-party “OBS” builds because they often bundle plugins that cause conflicts later.
For cameras, you have three reliable options. USB webcams are the easiest because they are plug-and-play and most laptops have at least two USB ports. HDMI cameras require a capture card, which costs more but gives you access to professional camcorders and DSLRs. PTZ (pan-tilt-zoom) cameras connect over network cable and are popular in churches and conference rooms.
Here is the warning I wish someone had told me earlier: USB bandwidth is a real bottleneck. Most USB webcams need between 200 and 400 Mbps of bandwidth, and a single USB 3.0 port shares roughly 5 Gbps across all devices. If you plug two webcams into a USB hub, you will get freezes, black frames, or “device disconnected” errors. The fix is to spread cameras across separate USB controllers or use a powered USB 3.0 hub with per-port bandwidth.
You also want cameras that match in frame rate and resolution. Mixing a 30 fps webcam with a 60 fps DSLR creates visible jitter when you switch between them. I recommend sticking with 1080p at 30 fps for most setups because it balances quality with bandwidth.
How to Set Up Multiple Cameras in OBS: Step-by-Step
Now the fun part. I will walk you through the exact process I use when configuring OBS for a new client. The whole setup takes about 20 minutes once you have done it a few times.
Step 1: Install and Launch OBS Studio
Download OBS Studio from obsproject.com and run the installer. The Auto-Configuration Wizard runs the first time you launch the program. I usually skip it and configure settings manually because the wizard often picks suboptimal bitrates for multi-camera recording. Choose “Optimize for Recording” if you only need local files, or “Optimize for Streaming” if you are going live to Twitch or YouTube.
Step 2: Connect Your Cameras Before Opening OBS
Plug in all cameras before you launch OBS so the software detects them on startup. On Windows, each camera appears as a separate “USB Video Device” in Device Manager. On macOS, open Photo Booth first to confirm each camera works independently. If a camera does not show up in either tool, OBS will not see it either, so troubleshoot the cable or driver before continuing.
Step 3: Add Each Camera as a Video Capture Device Source
Click the plus button under the Sources panel at the bottom of OBS and choose “Video Capture Device.” A configuration window opens. From the Device dropdown, select your first camera. I always rename the source to something descriptive like “Face Cam” or “Guest Cam” because the default name “Video Capture Device 1” gets confusing once you have four of them.
Click OK. Repeat this process for every camera, creating one source per device. This step is the foundation of how to set up multiple cameras in OBS because each source acts independently and can be added to any scene.
Step 4: Create Scenes for Each Camera Angle
A scene in OBS is a collection of sources arranged in a specific layout. Click the plus button under the Scenes panel on the left and create one scene per camera angle. I name mine “Host Only,” “Guest Only,” and “Two Shot” so the transition is obvious during a stream.
To add a camera to a scene, drag its source from the Sources list into the scene, or click the source and check the box next to the scene name. OBS lets you reuse one source across many scenes, which saves CPU and keeps your audio levels consistent.
Step 5: Arrange Camera Positions in Each Scene
Click on a camera preview in OBS to reveal red handles around its edges. Drag the corners to resize and use the center to move it. Holding Alt while resizing crops the image instead of stretching it, which I use to fit two cameras side-by-side at full 16:9.
For a clean Picture-in-Picture layout, place your main camera full-screen and shrink the second camera into a small box in the bottom-right corner. For a side-by-side interview layout, drag one camera to the left half and the other to the right half. Right-click the source and choose “Transform” then “Fit to Screen” if you want to start over.
Step 6: Configure Audio for Multiple Cameras
Each webcam has its own microphone, and if both are enabled you will hear echo. Open the Audio Mixer panel and mute every camera microphone by clicking the speaker icon until it shows red. Use a single dedicated microphone instead, and add it as an “Audio Input Capture” source so it appears in every scene automatically.
If your two cameras are far apart and you must use both mics, set them to mono and pan one hard left and the other hard right. This creates a stereo image and gives your editor more flexibility in post-production.
Step 7: Set Up Hotkeys for Instant Camera Switching
This step is what makes your stream feel professional. Open Settings, then Hotkeys, and scroll to the Scenes section. Click the empty field next to “Switch to Scene” and press a key combination. I use Ctrl+1 for Host Only, Ctrl+2 for Guest Only, and Ctrl+3 for Two Shot because my left hand stays near the keyboard during interviews.
You can also assign hotkeys to specific sources if you want to hide or show a camera within a scene without switching entirely. This is useful for picture-in-picture layouts where the small box pops up only when someone talks.
Step 8: Test Before Going Live
Click “Start Recording” in OBS and run a 60-second test. Check the recorded file for audio sync issues, frame drops, and color mismatch between cameras. If the test looks clean, you are ready to stream. I always record a short test even for casual podcasts because fixing a problem after a 90-minute recording is painful.
Layout Options for Multiple Camera Feeds
Once your cameras are working, the next decision is how to display them. OBS gives you total control, but the most common layouts fall into three categories.
Picture-in-Picture puts one camera full-screen and overlays a smaller version of the second in a corner. This is the standard layout for gaming streams where the face cam sits in the bottom-right while gameplay fills the background. Use it whenever your main content lives in one camera and the second is supplementary.
Side-by-Side splits the canvas into two equal halves. This is the best layout for two-person interviews and remote podcasts where both speakers need equal visual weight. The downside is that each person only gets half the screen real estate, so make sure each camera is framed tightly.
Quad view divides the canvas into four equal boxes. Church production teams and panel discussions use this layout because four cameras fit comfortably without feeling cramped. You can also stack two cameras vertically for a stacked layout if your subjects are sitting across from each other rather than side-by-side.
For complex broadcasts, try scene nesting. Create a “Camera A” scene and a “Camera B” scene, then add both as sources inside a master “Interview” scene. This lets you resize each camera once and have those changes apply everywhere the nested scene appears.
Hotkeys and Studio Mode for Seamless Switching
Hotkeys let you switch cameras with a single key press, which is essential for live shows. Studio Mode adds a preview window so you can see your next camera before the audience sees it. Enable Studio Mode from the button in the bottom-right of OBS, then click between scenes in the preview panel. The transition only happens when you click “Transition” or press the assigned hotkey.
I always enable Studio Mode for client work because it prevents accidental jumps. The default transition is a 300 ms cut, which feels natural for interviews. For gaming streams, a quick fade of 150 ms hides the cut and looks more polished. You can change the duration in Settings, then Video.
Set up hotkeys for Studio Mode transitions too. Ctrl+Tab is a popular choice to toggle the transition button without reaching for your mouse. Combining hotkeys with Studio Mode gives you director-level control without buying a hardware switcher.
Recording Multiple Cameras as Separate Files
Sometimes you need each camera as its own file for post-production editing. OBS does not do this by default, but the free Source Record plugin handles it cleanly. Download the plugin from obsproject.com, drop the files into your OBS plugins folder, and restart the software.
After installation, right-click any source and choose “Source Record.” Set the output path and filename, then start your main recording. OBS will save each camera as a separate MP4 or MKV file alongside your mixed recording. This is what podcast editors call ISO recording, and it gives you the freedom to cut, swap, and color-grade each angle independently in DaVinci Resolve or Premiere.
I recommend ISO recording for any podcast longer than 20 minutes because mistakes happen, and having clean per-camera files saves hours of edit time. Just remember that ISO files fill your hard drive fast, so plan for roughly 1 GB per minute of 1080p footage per camera.
Troubleshooting Common Multi-Camera Issues
Even with careful setup, problems show up. Here are the issues I see most often and the exact fixes that work.
USB Bandwidth and Freezing Cameras
If your cameras freeze, go black, or disconnect randomly, USB bandwidth is almost always the cause. Spread cameras across different USB controllers by plugging one into a rear port and another into a front port. On laptops, use a powered USB 3.0 hub because internal hubs share a single controller. You can confirm bandwidth problems by opening Device Manager, selecting your camera, and checking the “Bandwidth” tab under advanced properties.
Second Camera Not Detected
When OBS does not see your second camera, close OBS entirely, unplug the working camera, and confirm the second camera works in another app like Photo Booth or the Windows Camera app. If it does, plug both back in and relaunch OBS. This forces OBS to re-scan all devices on startup. Outdated webcam drivers also cause this, so check the manufacturer’s website for firmware updates.
Audio Sync Issues
If your audio drifts ahead or behind the video, right-click the audio source in the Audio Mixer and choose “Advanced Audio Properties.” Adjust the “Sync Offset” field in milliseconds. Positive numbers delay the audio, negative numbers advance it. I usually start with 50 ms increments and play back the recording until the sync feels right.
Frame Rate Mismatches
Mixed frame rates cause visible jitter when you switch between cameras. Open Settings, then Video, and confirm your OBS canvas frame rate matches what each camera outputs. If one camera runs at 30 fps and another at 60 fps, the 60 fps feed will look choppy during cuts. Force both cameras to the same frame rate in their respective Video Capture Device properties.
Wireless Cameras with VDO.Ninja
If cables limit your camera placement, VDO.Ninja is a free browser-based tool that streams video over WebRTC. Open VDO.Ninja on a phone or laptop, generate a stream link, and add the link as a “Browser Source” in OBS. The video appears with minimal latency, and you can place cameras anywhere with Wi-Fi. I use VDO.Ninja for remote podcast guests and trade show setups.
Frequently Asked Questions
Can I use multiple webcams at once in OBS?
Yes, OBS Studio supports unlimited USB webcams as separate Video Capture Device sources, provided your USB bandwidth can handle them. Spread cameras across different USB controllers or use a powered USB 3.0 hub to avoid freezing.
Can OBS have two identical camera feeds?
You can absolutely use two of the same webcam model. Just add each one as a separate Video Capture Device source and OBS will index them independently. Rename each source to avoid confusion.
How do I have multiple OBS virtual cameras?
OBS lets you output one virtual camera at a time by default. To use multiple virtual cameras, install the obs-virtualcam plugin and add multiple instances through the Tools menu, each tied to a different scene.
How do I set up multiple cameras for recording?
Connect each camera, add them as Video Capture Device sources, create scenes with the cameras you want, set up hotkeys for switching, and click Start Recording. Test a short clip first to confirm audio sync.
Why is my second camera not detected in OBS?
The most common cause is USB bandwidth saturation or driver conflicts. Unplug the first camera, confirm the second works in another app, then plug both back in and relaunch OBS so it re-scans all devices.
How do I record each camera as a separate file?
Install the free Source Record plugin from the OBS Project site. Right-click any source, choose Source Record, set the output path, and OBS will save each camera as its own file alongside the mixed recording.
Conclusion
Learning how to set up multiple cameras in OBS is one of the highest-impact skills a content creator can develop. Once you have your cameras connected, scenes built, and hotkeys configured, you can run broadcasts that look like they came from a professional studio, even from a home office.
Start simple with two cameras and one scene, then expand as you get comfortable. Test before every stream, label your sources clearly, and respect the USB bandwidth limits that catch most beginners. Within an afternoon, you will have a setup that is ready for podcasts, live shows, or tutorial videos.
If you hit a snag, the OBS Project forum and the r/obs subreddit are the best places to ask for help. Now go plug in that second camera and start streaming.